Advertisement
Advertisement
Table of Contents

Subscribe to Our Youtube Channel
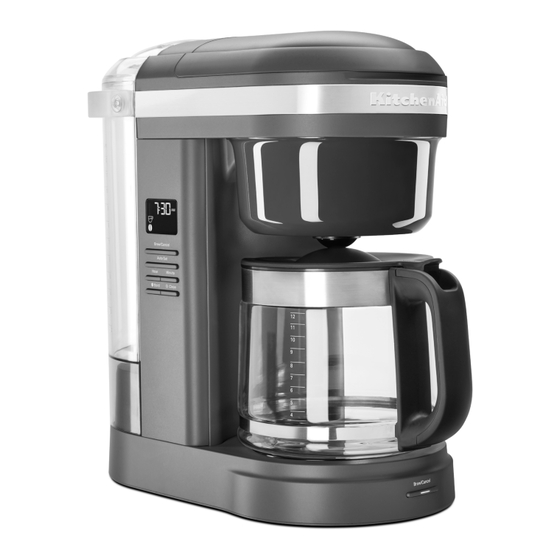
Summary of Contents for KitchenAid KCM1208DG
- Page 1 Coffee Maker KCM1208...
-
Page 2: Parts And Features
PARTS AND FEATURES Auto Brew/Cancel Brew/Cancel Brew/Cancel Auto Set Auto Set Auto Set Hour Hour Hour Minute Minute Minute Bold Bold Bold Clean Clean Clean Water Tank Lid Dosage Ladder Water Tank Handle Showerhead Water Tank Brew Basket Lid Cord Storage in Base (not shown) Auto Icon Brew/Cancel Button A.M./P.M. -
Page 3: Important Safeguards
7. Do not let cord hang over the edge of table or counter or touch hot surfaces. 8. Do not place on or near a hot gas or electric burner, or in a heated oven. 9. The use of attachments not recommended or sold by KitchenAid may cause fire, electrical shock, or injury. -
Page 4: Product Safety
PRODUCT SAFETY 15. Do not set a hot carafe on a wet or cold surface. 16. To disconnect, turn any control to “off,” then remove plug from wall outlet. 17. Scalding may occur if the lid is removed during the brewing cycles. 18. -
Page 5: Getting Started
GETTING STARTED SETTING THE CLOCK NOTE: When the Coffee Maker is first plugged in or when power is restored after an interruption, the display will initially show 12:00 AM. Cord is stored in base. If needed, gently pull cord outwards. Plug into a grounded 3 prong outlet. -
Page 6: Product Usage
PRODUCT USAGE SETTING THE BREW STRENGTH NOTE: Regular is the default setting. TIP: While brewing small batches (2-4 cups), using the “Bold Setting” is recommended. Brew/Cancel Auto Set Hour Minute Bold Clean To switch between Regular and Bold brew strengths: Press the Bold button. FILLING WATER FOR BREWING TIP: Brew 2 Carafe of fresh, cool water and discard before brewing the first Carafe of coffee. - Page 7 PRODUCT USAGE ASSEMBLY OF BREW BASKET Raise the Brew Basket lid and remove the Insert the Gold Tone permanent filter or Brew Basket. cone paper filter into the Brew Basket. TIP: The coffee filter can also be inserted and coffee grounds added with or without removing the Brew Basket from the Coffee Maker.
- Page 8 PRODUCT USAGE PROGRAMMING THE AUTO SET FEATURE NOTE: When the Coffee Maker is first plugged in or when power is restored after an interruption, the display will initially show 12:00 A.M. IMPORTANT: Set the correct time as per the instructions in “Setting the clock” before using the Auto Set feature.
-
Page 9: Brewing Coffee
BREWING COFFEE TIP: Brew 2 pots of fresh, cool water and discard before brewing the first pot of coffee. Brew/Cancel Brew/Cancel Auto Set Auto Set Hour Minute Hour Minute Bold Clean Bold Clean Press any of the Brew/Cancel buttons The Coffee Maker will beep 3 times when the Brew cycle is complete. -
Page 10: Care And Cleaning
CARE AND CLEANING NOTE: Unplug and allow the Coffee Maker to cool down before cleaning. Dishwasher-safe parts, top rack only: Brew Basket and Gold Tone Permanent Wash by hand in warm and soapy water. filter. Dry thoroughly: Carafe and Water Tank. Wipe the Showerhead with a damp cloth to remove any coffee splashes. -
Page 11: Troubleshooting Guide
TROUBLESHOOTING GUIDE WARNING Electrical Shock Hazard Plug into a grounded 3 prong outlet. Do not remove ground prong. Do not use an adapter. Do not use an extension cord. Failure to follow these instructions can result in death, fire, or electrical shock.


Need help?
Do you have a question about the KCM1208DG and is the answer not in the manual?
Questions and answers
how reset tripped fuse
The document does not provide instructions for resetting a tripped fuse on the KitchenAid KCM1208DG. It only advises to plug the unit into a grounded outlet and check the circuit breaker.
If the fuse is tripped, ensure the appliance is plugged into a grounded 3-prong outlet and check your home's circuit breaker to reset it if necessary.
No internal fuse reset instructions for the coffee maker are given.
This answer is automatically generated
My coffee maker won't full brew. It stops half way down from taking the water. And the lines are clear.
how to reset fuse on kcm1208dg