Advertisement
Quick Links
Advertisement

Summary of Contents for PELLET PRO 440
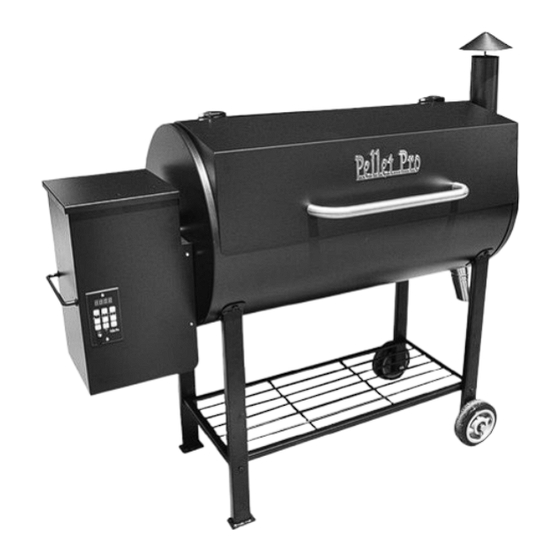
- Page 1 Pellet Pro® 440 & 680 Pellet Grill Operation Manual With our exclusive Pellet Pro® PID Controller! Using PID Auto-tuning Algorithm Technology FOR OUTDOOR USE ONLY WARNING: MAKE SURE GRILL IS IN AN OPEN AREA AWAY FROM COMBUSTIBLE MATERIALS WHEN IN USE AND COMPLETELY EXTINGUISHED BEFORE...
- Page 2 INTRODUCTION Congratulations on your purchase of the Pellet Pro® Pellet Grill. With proper set-up, operation and maintenance, this grill will provide you with delicious food and years of cooking enjoyment. Parts packed are as listed ➢ Grill Body w/ Attached Hopper ➢...
- Page 3 Setting Up Your Pellet Pro® Grill 1) Cut down sides of box 2) Open lid and remove all parts inside of the grill. Lay each part out in an organized fashion for easy access. Locate the bag of hardware inside of the chimney tube.
- Page 4 Pellet Pro® Digital Controller Diagram Operating Voltage: AC100V ± 10%, 50-60Hz To view a video on how to operate the Fuse: 5A glass fuse controller, go to Operating Temperature: -15 ~ 70°C www.smokedaddyinc.com/controllers Storage Temperature: -30 ~ 70°C Humidity: 0 ~ 95% RH...
-
Page 5: Section One: Initial Firing Instructions
Pellet Pro Startup ® Grill will always be on “Standby” when turned on until temperature is set. SECTION ONE: INITIAL FIRING INSTRUCTIONS (To be used only when grill has not been “seasoned”) In order to ensure proper operation of the grill, you must first allow the auger tube to be “charged”... -
Page 6: Section Two: Subsequent Start-Up
SECTION TWO: SUBSEQUENT START-UP → Turn the power switch on and set the controller to your desired temperature using the “+” or “Mid” button. Open lid/door until a flame is established in the burnpot. Once there is a flame, close the lid/door to allow the temperature to increase. After the cook is finished, clean grates, open the door/lid and turn the power “off”. -
Page 7: Section Three: Maintaining
SECTION THREE: MAINTAINING YOUR NEW PELLET PRO GRILL ® 1. Change the aluminum foil on the Grease Drain Pan frequently. Periodically clean the grease out of the V-shaped Grease Drain and Grease Drain Tube and off of the interior surfaces of the Grill. Empty the Grease Bucket occasionally and line with aluminum foil for easy clean-up. - Page 13 Q: What if I want to attach the Pellet Pro® Controller to another pellet hopper? A: The Pellet Pro® Controller is compatible with pellet grill brands such as Traeger, Camp Chef, Char-Broil, and any other pellet hopper assembly that uses an auger, fan, RTD probe, and electronic igniter.


Need help?
Do you have a question about the 440 and is the answer not in the manual?
Questions and answers