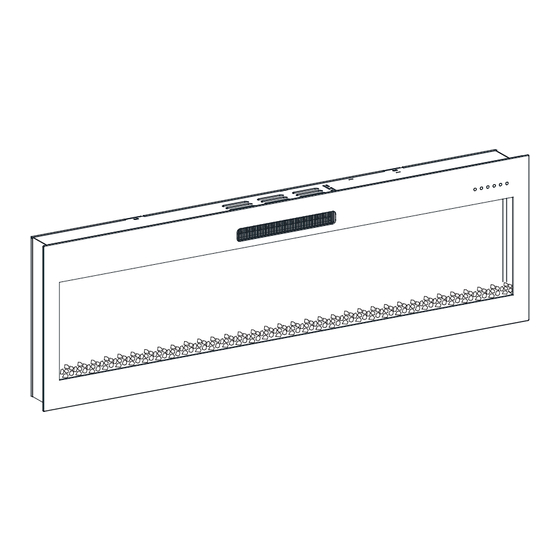
Table of Contents
Advertisement
Quick Links
CONSUMER SAFETY INFORMATION: PLEASE READ THIS MANUAL BEFORE
INSTALLING AND OPERATING THIS APPLIANCE. FAILURE TO FOLLOW
THESE INSTRUCTIONS MAY RESULT IN A POSSIBLE ELECTRIC SHOCK, FIRE
HAZARD, AND/OR INJURY AND WILL VOID THE WARRANTY.
WARNING: IF THE INFORMATION IN THIS MANUAL IS NOT FOLLOWED, AN
ELECTRIC SHOCK OR FIRE MAY RESULT IN PROPERTY DAMAGE, PERSONAL
INJURY, OR LOSS OF LIFE.
THIS INSTRUCTION BOOKLET CONTAINS IMPORTANT SAFETY INFORMATION.
PLEASE READ AND KEEP FOR FUTURE REFERENCE.
USE AND CARE GUIDE
ELECTRIC FIREBOX
RV48P80L-C5
RV60P80L-C5
261046
01
Advertisement
Table of Contents

Subscribe to Our Youtube Channel
Summary of Contents for INNOFLAME RV48P80L-C5
- Page 1 USE AND CARE GUIDE ELECTRIC FIREBOX RV48P80L-C5 RV60P80L-C5 261046 CONSUMER SAFETY INFORMATION: PLEASE READ THIS MANUAL BEFORE INSTALLING AND OPERATING THIS APPLIANCE. FAILURE TO FOLLOW THESE INSTRUCTIONS MAY RESULT IN A POSSIBLE ELECTRIC SHOCK, FIRE HAZARD, AND/OR INJURY AND WILL VOID THE WARRANTY.
-
Page 2: Important Instructions
IMPORTANT INSTRUCTIONS When using electrical appliances, basic precautions should always be followed to reduce the risk of fire, electrical shock, and/or injury including the following: 1. Read all instructions before using this heater. 2. This heater is hot when in use. To avoid burns, do not let bare skin touch hot surfaces. If provided, use handles when moving this heater. -
Page 3: Package Contents
PACKAGE CONTENTS DESCRIPTION Fireplace Glass Front Acrylic Crystals 1 Bag Hardware Screw Bag 1 Bag Remote Control Manual Acrylic Crystals Fireplace Glass Front Hardware Screw Bag Remote Control Manual... -
Page 4: Specifications
SPECIFICATIONS Voltage: 120VAC Rating: 1400 Watts Frequency: 60Hz PRE-INSTALLATION GROUNDING INSTRUCTIONS: Figure 1 This heater is for use on 120 volts. The cord has a plug as shown at (A) in figure 1. An adapter as shown at (C) is available for connecting three-blade grounding-type plugs to two-slot Grounding Pin receptacles. - Page 5 Do not share a socket with other appliances when using electric fireplaces, please use a dedicated socket. × √ × Never use with an extension cord or relocatable power tap (outlet / power strip). × TOOLS REQUIRED (NOT INCLUDED) Safety goggles Phillips screwdriver Power drill...
-
Page 6: Installation (Wall Mounting)
INSTALLATION (WALL MOUNTING) 1. Remove the mounting bracket from the back of the fireplace. 2. Attach the mounting bracket to a wall. IMPORTANT: This unit is designed to be securely attached to a wall with a fixed structure. Failure to do, so might result in personal injury and/or property damages. NOTE: Wall anchor is not needed if the bracket is to be mount directly on the studs. - Page 7 3. Hang the fireplace on the mounting bracket. Secure the fireplace to the mounting bracket with the two screws removed in Step 1. 4. Place decorative crystals inside the fireplace. 5. Put the glass front panel on the fireplace. CAUTION: Careful when handling glass to prevent injury or damage.
-
Page 8: Installation (In-Wall)
INSTALLATION (IN-WALL) WARNING: Cabinet construction and electrical outlet wiring must comply with local bulding codes regulations to reduce the risk of fire, electrical shock and injury to persons. Cabinet - in / cm Model RV48P80L-C5 47.8/121.5 18.5/47 6.5/16.5 RV60P80L-C5 57.8/146.9 18.5/47... - Page 9 1. Remove the mounting bracket from the back of the fireplace. 2. Plug into the power supply and push the fireplace into the cabinet . 3. Use supplied screws to secure the fireplace to cabinet.
- Page 10 4. Place decorative crystals inside the fireplace. 5. Put the glass front panel on the fireplace. CAUTION: Careful when handling glass to prevent injury or damage. 6. Lock glass in place. Move to lock Unlocked Locked...
- Page 11 OPERATING INSTRUCTION Control Panel The control panel is located on the top right corner of the unit. To control the unit, touch any button to wake up the control panel. The power button will flash, and all other buttons will light up. The control panel will turn off after 10 seconds of inactivity.
- Page 12 Lock and Unlock Heater Function: Press and hold the heater button for 10 seconds. The ember bed will flash 6 times, indicating that the heater function is locked. To unlock the heater function, press and hold the heater button for 10 seconds. The ember bed will flash 6 times, indicating the heater function is unlocked.
-
Page 13: Remote Control
REMOTE CONTROL Power The Power Button turns the fireplace ON and OFF. Heater The Heater Button turns the heat ON and OFF. Press “+” or ”-” button to set the temperature. Flame The Flame Button turns the flame ON and OFF. Press “+” or ”-” button to set the flame color. -
Page 14: Batteries Replacement
BATTERIES REPLACEMENT The battery compartment is located on the back end of the remote control. 1. Press and slide the battery cover open. 2. Insert two 1.5V (AAA) batteries ensuring they are installed correctly with regard to the polarities (+ and -) marked on the inside of the battery compartment. 3. -
Page 15: Maintenance
MAINTENANCE Clean the metal trim using a water-dampened soft, clean cloth. DO NOT use brass polish or household cleaners as these products will damage the metal trim. The motors used on the fan and the flame generator assembly are prelubricated for extended bearing life and require no further lubrication. -
Page 16: Year Limited Warranty
1 YEAR LIMITED WARRANTY Our electrical fireplace is free from manufacturing and material defects for a period of one year from date of purchase, subject to the following conditions and limitations. 1. This electric fireplace must be installed and operated at all times in accordance with the installa- tion and operating instructions furnished with the product, Any unauthorized repair, alteration, willful abuse, accident, or misuse of the product shall nullify this warranty.


Need help?
Do you have a question about the RV48P80L-C5 and is the answer not in the manual?
Questions and answers