Table of Contents
Advertisement
Advertisement
Table of Contents

Related Manuals for Honeywell UV100A


Summary of Contents for Honeywell UV100A
- Page 1 UV100A Ultraviolet System OWNER’S GUIDE 69-1381-4...
-
Page 2: How Your Ultraviolet Air Treatment System Or Surface Treatment System Works
System or as a Surface Treatment System. Air Treatment System Installed in the return air duct of your system, your Ultraviolet Air Treatment System kills a high percentage of airborne germs circulating through your forced air heating and cooling system. Individual results depend on careful installation and maintenance and on the actual amount of time your system fan operates. -
Page 3: Surface Treatment System
When installed next to the cooling coil of your system, your Ultraviolet Surface Treatment System prevents a high percentage of the growth of micro-organisms such as mold that may grow on duct surfaces, coils, and drain pans. Individual results depend on careful installation and maintenance. See Fig. 2. - Page 4 To prevent exposure to ultraviolet light, disconnect power to Ultraviolet System before servicing any part of heating and air conditioning system. Do not mount device in location that allows ultraviolet light to be seen after installation. Do not attempt to bypass duct mount switch.
-
Page 5: Mercury Notice
UV100A ULTRAVIOLET SYSTEM MERCURY NOTICE This device contains mercury in the sealed ultraviolet bulb(s). Do not place your used bulb(s) in the trash. Dispose of properly. Broken Bulb Cleanup. Do not use a household vacuum. Sweep debris (phosphor/glass) into a plastic bag and dispose of properly. -
Page 6: How You Can Check Your Ultraviolet System
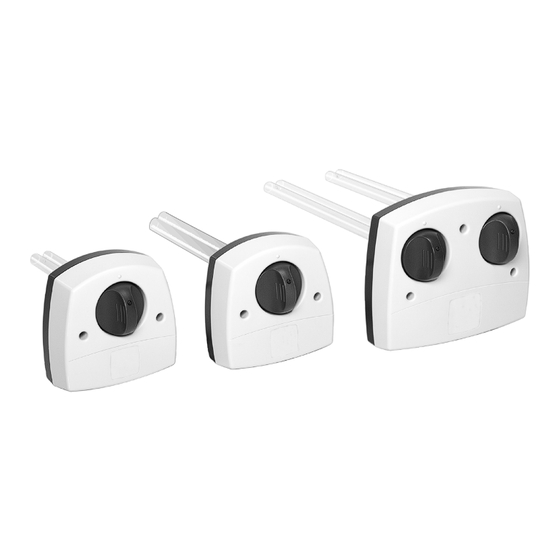
It is recommended that every month you verify that your ultraviolet lamp is operating. View the bulb only through the lamp light indicator on the lamp handle. See Fig. 3. Do not attempt to look into the duct at the illuminated bulb(s). -
Page 7: How You Can Maintain Your Uv System
Fig. 4. UV bulb cleaning reminder schedule. To clean your bulb(s): 1. Disconnect the power to your heating and cooling system. 2. Unplug or turn off power to your UV System and allow the bulb(s) to cool for at least 15 minutes. 69-1381—4... - Page 8 4. Holding the lamp handle, wipe the lamp glass using a soft cloth dampened with glass cleaner. If you touch the lamp glass with your hands, be sure to clean the area of any oils left from bare hands. See Fig. 6.
- Page 9 UV100A ULTRAVIOLET SYSTEM 6. Dry bulb with a clean, dry cloth. 7. Insert the bulb into the base with the lamp light indicator at the eleven o’clock position. Continue pushing and gently rotating counterclockwise until the lamp handle inserts fully into the base. See Fig. 8.
-
Page 10: Bulb Replacement
Surface Treatment System 2. Disconnect the power to your heating and cooling system. 3. Unplug or turn off power to your UV System and allow lamps to cool for at least 15 minutes. 4. Rotate the lamp handle counterclockwise and gently pull the lamp handle to remove the bulb. - Page 11 M22854 Fig. 11. Replace lamp glass in SnapLamp™ handle. 7. Insert the bulb into the base with the lamp light indicator at the eleven o’clock position. Continue pushing and gently rotating counterclockwise until the lamp handle inserts fully into the base. See Fig 8.
-
Page 12: Limited Warranty
Honeywell warrants this product, excluding bulbs, to be free from defects in the workmanship or materials, under normal use and service, for a period of one (1) year from the date of purchase by the consumer. If, at any time during the warranty period, the product is defective or malfunctions, Honeywell shall repair or replace it (at Honeywell’s option) within a reasonable period of time.
Need help?
Do you have a question about the UV100A and is the answer not in the manual?
Questions and answers