
Subscribe to Our Youtube Channel
Related Manuals for Alliance Laundry Systems LWS01N-3088 Series


Summary of Contents for Alliance Laundry Systems LWS01N-3088 Series
- Page 1 Automatic Washers Home Laundry LWS01N*-3088 W001C W001C Keep These Instructions for Future Reference. (If this machine changes ownership, this manual must accompany machine.) Part No. 201658R1 www.comlaundry.com April 2007...
-
Page 3: Table Of Contents
All rights reserved. No part of the contents of this book may be reproduced or transmitted in any form or by any means without the expressed written consent of the publisher. 201658 © Copyright, Alliance Laundry Systems LLC – DO NOT COPY or TRANSMIT... - Page 4 Notes © Copyright, Alliance Laundry Systems LLC – DO NOT COPY or TRANSMIT 201658...
- Page 5 Shepard Street P.O. Box 990 Ripon, WI 54971-0990 Phone: (920) 748-3950 for the name and address of the nearest authorized parts distributor. © Copyright, Alliance Laundry Systems LLC – DO NOT COPY or TRANSMIT 201658...
- Page 6 Notes © Copyright, Alliance Laundry Systems LLC – DO NOT COPY or TRANSMIT 201658...
-
Page 7: Installation
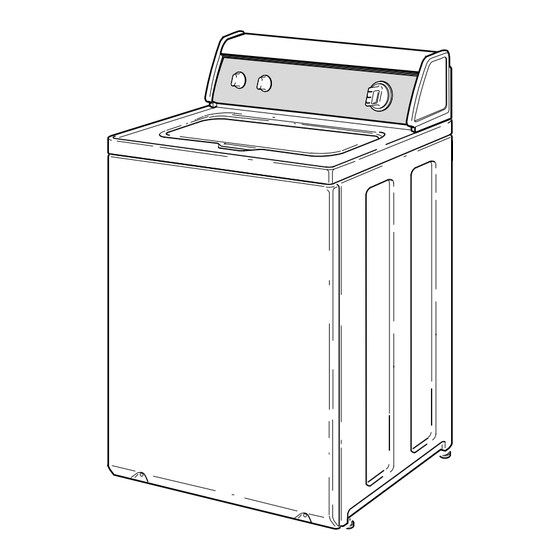
71.1 cm (28 in.) 56.2 cm (22.13 in.) 1.02 cm 65 cm (25.6 in.) 66 cm (26 in.) (0.4 in.) *With leveling legs turned into base. TLW2075N © Copyright, Alliance Laundry Systems LLC – DO NOT COPY or TRANSMIT 201658... -
Page 8: Before You Start
827 kPa (20 to 120 pounds per square inch). For more detailed information, refer to section on Water Supply Requirements. D074I D074I Wrench Screwdriver Pliers Level Figure 1 © Copyright, Alliance Laundry Systems LLC – DO NOT COPY or TRANSMIT 201658... -
Page 9: Installing The Washer
This will prevent damage to washer components. NOTE: Refer to your Operating Instructions for reinstalling shipping brace and shipping plug. © Copyright, Alliance Laundry Systems LLC – DO NOT COPY or TRANSMIT 201658... -
Page 10: Step 3: Connect Fill Hoses
All hoses should be checked on a yearly basis for any visible signs of deterioration. Any hose showing the signs of deterioration listed above should be replaced immediately. All hoses should be replaced every five years. © Copyright, Alliance Laundry Systems LLC – DO NOT COPY or TRANSMIT 201658... -
Page 11: Step 4: Connect Drain Hose To Drain Receptacle
Standpipe Adapter Tie-Down Strap Standpipe 5.08 cm (2 in.) or 4 cm (1-1/2 in.) W324I Diameter Retainer Clamp Drain Hose Sleeve Standpipe Adapter Figure 6 Figure 5 © Copyright, Alliance Laundry Systems LLC – DO NOT COPY or TRANSMIT 201658... - Page 12 562P3 Siphon Break Kit Standpipe Drain Hose TLW1962N Figure 8 TLW1962N Drain Hose Standpipe (Standpipes higher than 122 cm [4 feet] are not recommended) Tie-Down Strap Standpipe Adapter Figure 7 © Copyright, Alliance Laundry Systems LLC – DO NOT COPY or TRANSMIT 201658...
- Page 13 TLW1963N W329I Tie-Down Strap (Tape if necessary) Standpipe Adapter TLW1963N Drain Hose Cabinet Top Hinge Figure 10 Tie-Down Strap or Wire Tie Figure 9 © Copyright, Alliance Laundry Systems LLC – DO NOT COPY or TRANSMIT 201658...
-
Page 14: Step 5: Position And Level The Washer
Tie-Down Strap (Tape if necessary) damaged. Verify that washer doesn’t rock. Figure 11 W179I Level Locknut Leveling Leg Rubber Cup Washer Base Figure 12 © Copyright, Alliance Laundry Systems LLC – DO NOT COPY or TRANSMIT 201658... -
Page 15: Step 6: Connect The Washer To Electrical Power
NOTE: The agitator should not be removed except for service. The washtub is designed to be self- cleaning. W391I W391I Figure 14 © Copyright, Alliance Laundry Systems LLC – DO NOT COPY or TRANSMIT 201658... -
Page 16: Electrical Requirements
Hertz the washer is designed to operate Round Grounding Prong on. Refer to Figure 18. Neutral Figure 17 DO NOT OPERATE OTHER APPLIANCES ON THE SAME CIRCUIT. DO NOT OVERLOAD CIRCUITS! © Copyright, Alliance Laundry Systems LLC – DO NOT COPY or TRANSMIT 201658... -
Page 17: 120 Volt/50 Hertz
W032 Do not modify the plug provided with the washer – if it will not fit the outlet, have a proper outlet installed by a qualified electrician. © Copyright, Alliance Laundry Systems LLC – DO NOT COPY or TRANSMIT 201658... - Page 18 Standard IEC 60335-1, clauses 24.3 and 22.2. Gap is defined as the minimum contact separation of each pole in the switch between the “ON” and “OFF” positions. Figure 19 © Copyright, Alliance Laundry Systems LLC – DO NOT COPY or TRANSMIT 201658...
-
Page 19: Water Supply Requirements
NOTE: Water pressure under 138 kPa (20 pounds per square inch) will cause an extended fill time in the washer. W187I Water Supply Faucets Cold Water Connection Hot Water Connection Fill Hoses Figure 20 © Copyright, Alliance Laundry Systems LLC – DO NOT COPY or TRANSMIT 201658... -
Page 20: Risers
Refer to Figure 21. W005I W005I Risers (Air cushions) Water Supply Faucets Figure 21 © Copyright, Alliance Laundry Systems LLC – DO NOT COPY or TRANSMIT 201658... -
Page 22: Installer Checklist
Installer Checklist Fast Track for Installing the Washer (Refer to the manual for more detailed information) ➊ ➎ • Remove the Shipping • Position and Level LEVEL LEVEL Brace and Shipping the Washer. D255I D255I Plug. W316I W316I CHECK CHECK TLW521N ➋...
Need help?
Do you have a question about the LWS01N-3088 Series and is the answer not in the manual?
Questions and answers