Advertisement
Table of Contents
Advertisement
Table of Contents

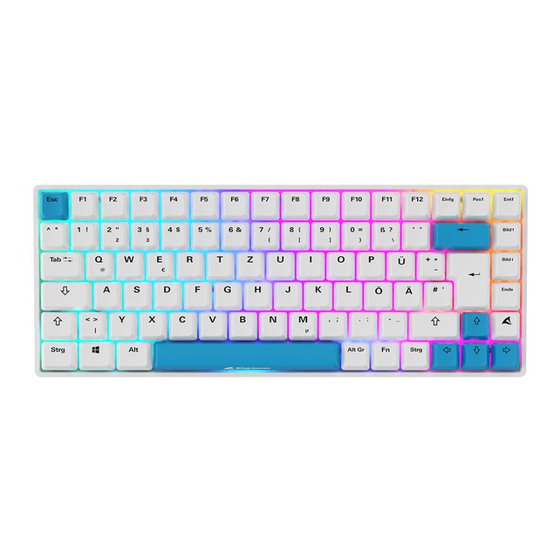
Summary of Contents for Sharkoon SKILLER SGK50 S3
- Page 1 ILLUMINATION Manual...
-
Page 2: Specifications
Cable Length 150 cm 150 cm Gold-Plated USB Plug ü ü Package Contents: SKILLER SGK50 S3 Red SKILLER SGK50 S3 Brown Keycap Puller Tool Keycap Puller Tool Switch Puller Tool Switch Puller Tool USB Cable (150 cm) USB Cable (150 cm) - Page 3 SKILLER SGK50 S3 SKILLER SGK50 S3 PBT SKILLER SGK50 S3 Yellow (G PRO 3.0 Yellow) Barebone Gaming Keyboard Gaming Keyboard Gaming Keyboard Hot-swap (Gateron) Hot-Swap (Gateron) Hot-Swap 84 ANSI / 85 ISO 84 ANSI / 85 ISO 84 ANSI / 85 ISO...
- Page 4 VIA/QMK If VIA configuration is not possible through the website at https://usevia.app/, please then use the alternative website at https://via.evove.top/.
-
Page 5: Macro Keys
Macro Keys Macro Start Recording Stop Recording Macro Key 1 Macro Key 2 Set up Macros To set up macros, first press and hold down the function key and then press the tab key. Once you have done this, the two macro keys ; and ‘ will start flashing. -
Page 6: Lighting Effects
Lighting Effects Brightness + Brightness – Change Lighting Effect Change Color of Lighting Effect Frequency – Frequency + Lighting Profiles Set up Lighting Profiles Saturation + Saturation – Set up Lighting Profiles To set up or modify lighting profiles, first press and hold down the function key and then also press the key. -
Page 7: Additional Functions
Additional Functions Reset to Factory Default Windows Key Locked Play /Pause Previous Track Next Track Mute Volume – Volume + Print Scr Scroll Lock Pause Up Arrow Left Arrow Down Arrow Right Arrow... - Page 8 Remove Keycaps Before removing a switch, first remove the keycap. To do this, place the arms of the keycap puller tool either to the left and right or to the top and bottom of the keycap, and then pull the keycap upwards with careful but constant pressure.
- Page 9 Remove Switches Once you have removed the keycap from the switch, position the switch puller tool correctly on the tabs of the switch. These are positioned to the front and the back of the switch. Before pulling out the switch, make sure that both tabs are securely pressed with the switch puller tool and that the switch can be removed from the socket without resistance.
- Page 10 Install Switches To install the switches, position the switch so that one tab is at the front and the other tab is at the back. Each pin on the underside of the switch should be pointing exactly to its relevant contact in the keyboard socket. Make sure that the switch is led vertically into the socket opening (at a 90-degree angle to the socket).
- Page 11 All named products and descriptions are trademarks and/or registered trademarks of the respective manufacturers and are accepted as protected. As a continuing policy of product improvement at Sharkoon, the design and specifications are subject to change without prior notice. National product specifications may vary.
- Page 12 Follow us on Facebook Instagram YouTube TikTok Twitter Sharkoon Technologies GmbH Grüninger Weg 48 35 415 Pohlheim Germany © Sharkoon Technologies 2023...


Need help?
Do you have a question about the SKILLER SGK50 S3 and is the answer not in the manual?
Questions and answers