Table of Contents
Advertisement
Available languages
Available languages
Quick Links
D
B
®
ual
rite
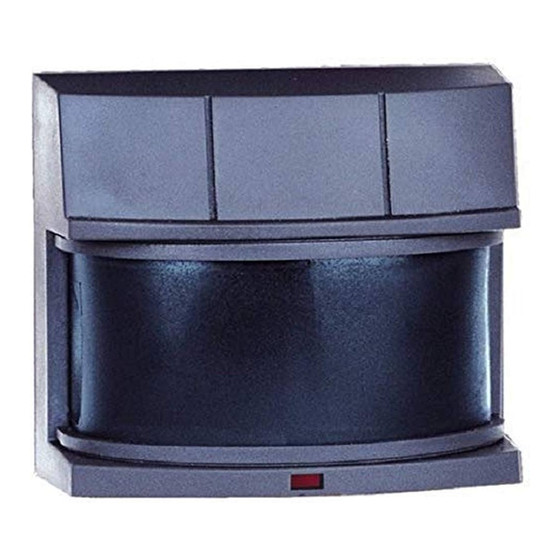
Replacement
Sensor Head
Model SL-5316
Features
• Turns on lighting when motion is detected.
• Automatically turns lighting off.
• Patented D
B
Timer.
®
ual
rite
• Photocell keeps the lighting off during daylight hours.
• LED indicates motion was sensed (day or night).
Requirements
• Not for use with fluorescent lights.
• The light control requires 120-volts AC.
• If you want to use Manual Mode, the control must be
wired through a switch.
• Install sensor in accordance with local codes.
OPERATION
Mode:
On-Time:
Test
5 Seconds
Normal
1, 5, 20 min.
Manual
Until Dawn*
* resets to Auto Mode at dawn.
Note: When first turned on wait about 1
the circuitry to calibrate.
© 2011 HeathCo LLC
Works:
Day
Night
x
x
x
x
/
minutes for
1
2
Put ON-TIME switch on
the sensor bottom to
TEST and the D
B
ual
rite
switch OFF.
Put the ON-TIME switch in the 1, 5,
or 20 minute position.
MANUAL MODE
Manual mode only works at night be-
cause daylight returns the sensor to
AUTO.
Flip the light switch off for one second
then back on to toggle between AUTO
and MANUAL MODE.
Manual mode works only with the ON-
TIME switch in the 1, 5, or 20 position.
Mode Switching Summary
TEST
AUTO
MANUAL MODE
* If you get confused while switching modes, turn the power
off for one minute, then back on. After the calibration
time the control will be in the AUTO mode.
D
B
ual
Light comes on half bright for selected time after dusk
(Off, 3 hr., 6 hr., until dawn). Selecting OFF disables this
feature.The motion sensing features will continue to work
as described in this manual. If motion is sensed, the light
turns on full bright for the ON-TIME (1, 5, or 20 minutes)
then returns to dim mode.
TEST
ON-TIME
D
B
ual
rite
®
TEST 1 5 20
Off 3 6 Dusk to
AUTO
ON-TIME
TEST 1 5 20
1 Second
OFF then...
... back on.
Move ON-TIME Switch to 1,
5, or 20 minutes
Flip light switch off
for one second then
back on*
TIMER
®
rite
595-5109-14
®
Dawn
Advertisement
Table of Contents

Subscribe to Our Youtube Channel
Related Manuals for Heath Zenith DualBrite SL-5316


Summary of Contents for Heath Zenith DualBrite SL-5316
- Page 1 TEST ON-TIME ® Put ON-TIME switch on rite the sensor bottom to TEST and the D ® ® rite rite TEST 1 5 20 Off 3 6 Dusk to switch OFF. Dawn Replacement AUTO Sensor Head ON-TIME Put the ON-TIME switch in the 1, 5, or 20 minute position.
-
Page 2: Installation
INSTALLATION ight ontrol For under eave installation, the sensor head must be WARNING: Turn power off at circuit breaker or rotated as shown in the next two steps for proper opera- fuse. tion and to avoid the risk of electrical shock. For eave mount only: 1. -
Page 3: Test And Adjustment
TEST AND ADJUSTMENT 3. Loosen the clamp screw in the Clamp sensor ball joint and gently rotate Screw 1. Turn on the circuit breaker and light switch. the sensor. 4. Walk through the coverage area Ball NOTE: Sensor has a 1 minute warm up period before noting where you are when the Joint... -
Page 4: Troubleshooting Guide
TROUBLESHOOTING GUIDE SYMPTOM POSSIBLE CAUSE SYMPTOM POSSIBLE CAUSE Lights will Lights stay 1. Light switch is turned off. 1. A lamp is positioned too close to the not come on. 2. Light is loose or burned out. on continu- sensor or pointed at nearby objects that ously. - Page 5 Para AUTOMATICO: ON-TIME Ponga el control de tiempo (ON-TIME) en la posición de 1, 5 o 20 minutos. Repuesto TEST 1 5 20 Para ® rite Para MODO MANUAL: el Cabezal del Detector El modo manual funciona sólo por la noche porque la luz del día pone al detector en modo AUTOMATICO.
- Page 6 INSTALACION oneCte ontrol Para instalar debajo de un alero, se debe girar el ca- ADvERTENCIA: Desconecte la energía en el bezal del detector, como se muestra en los dos próximos disyuntor. pasos, para un funcionamiento correcto y para evitar el riesgo de electrocución.
-
Page 7: Prueba Y Ajuste
PRUEBA Y AJUSTE 3. Afloje el tornillo sujetador en la Tornillo unión esférica y gire despacio el Sujetador 1. Prenda el cortacircuitos y el interruptor de luz. detector. 4. Camine por el área a protegerse NOTA: El detector tiene un período de cerca de 1 Unión y dése cuenta dónde está... -
Page 8: Guia De Investigacion De Averias
GUIA DE INvESTIGACION DE AvERIAS SINTOMA POSIBLE CAUSA SINTOMA POSIBLE CAUSA La luz no se en- La luz se queda 1. El interruptor de luz está apagado. 1. Un faro está colocado demasiado cerca ciende. 2. El faro está flojo o fundido. prendida continua- al detector o apunta a objetos cercanos 3. - Page 9 ESSAI Placer l’interrupteur de ON-TIME ® rite tempsencircuit(ON-TIME) à la base du capteur à Tête de détecteur TESTetl'interrupteurD TEST 1 5 20 Off 3 6 Dusk to à OFF. ® Dawn de remplacement rite AUTOMATIQUE ® rite ON-TIME Amener l’interrupteur de temps en circuit (ON-TIME) à...
- Page 10 INSTALLATION D’É âBlage oMManDe Clairage Pour l’installation sous avant-toit, la tête du détecteur MISE EN GARDE : Coupez l’alimentation au doit être tournée comme indiqué aux deux étapes ci- disjoncteur ou au fusible. dessous pour assurer le bon fonctionnement et éviter les risques de choc électrique.
-
Page 11: Essais Et Réglages
ESSAIS ET RÉGLAGES 3. Desserrer la vis de blocage de la Vis de rotule et faire pivoter le détecteur blocage 1. Mettre en circuit le disjoncteur et l’interrupteur pour pointer. d’éclairage. Rotule 4. Marcher dans la zone de cou- NOTE : Le capteur doit se réchauffer 1 minute avant verture et noter à... -
Page 12: Guide De Dépannage
GUIDE DE DÉPANNAGE SYMPTÔME CAUSE POSSIBLE SYMPTÔME CAUSE POSSIBLE Les lampes ne Les lampes 1. L’interrupteur d’éclairage est en position 1. Un projecteur se trouve trop près du dé- s’allument pas. hors circuit. restent allumées tecteur de la commande d’éclairage ou 2.
Need help?
Do you have a question about the DualBrite SL-5316 and is the answer not in the manual?
Questions and answers