Advertisement
Quick Links
Instructions
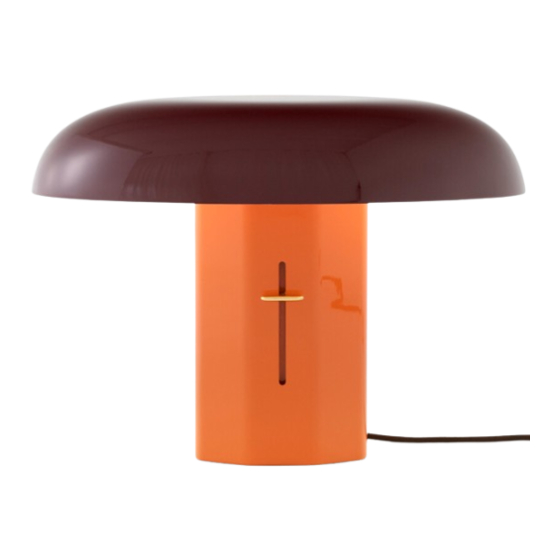
Montera JH42
Jaime Hayon
2024
Please read these instructions carefully and retain them for
future reference to ensure the product is used correctly.
For your own safety, please study each step of this instruction
manual first. &Tradition is not responsible for any faults or
damage caused by not following these instructions correctly.
Do not modify this product in any way.
If you have any questions or comments, please do not hesitate
to contact us by mail on: info@andtradition.com
Advertisement

Related Manuals for &Tradition Montera JH42


Summary of Contents for &Tradition Montera JH42
- Page 1 Instructions Montera JH42 Jaime Hayon 2024 Please read these instructions carefully and retain them for future reference to ensure the product is used correctly. For your own safety, please study each step of this instruction manual first. &Tradition is not responsible for any faults or damage caused by not following these instructions correctly.
- Page 2 Safety precautions - Dispose of bag from packaging immediately and keep out of reach of children. - The lamp is only intended for interior use. - Do not place the cable within reach of small children or anywhere there is a risk of it becoming a trip hazard. - If the external cable or cord of the lamp is damaged, it must be replaced by the manufacturer or a similarly qualified person to avoid any potential hazards.
- Page 3 Contents A Lamp shade B Lamp base Tools needed - 2 x Bulb type E14...
- Page 4 Please follow steps 1 to 3 to assemble the product. Step 1 / 3 Install the light bulb on both sockets at either side and ensure that it sits tight. Avoid using a bulb which comes in direct contact with the shade.
- Page 5 Step 2 / 3 Place the shade on top of the shade stand. Ensure that the shade is properly attached to the lamp by the magnets. When moving the lamp, make sure to hold onto the lamp by the base, and do not lift the lamp by the shade.
- Page 6 Step 3 / 3 Connect the lamp to an electrical socket and enjoy using your new lamp.
Need help?
Do you have a question about the Montera JH42 and is the answer not in the manual?
Questions and answers