Table of Contents
Advertisement
Quick Links
Advertisement
Table of Contents

Subscribe to Our Youtube Channel
Related Manuals for Gaggenau VI262120


Summary of Contents for Gaggenau VI262120
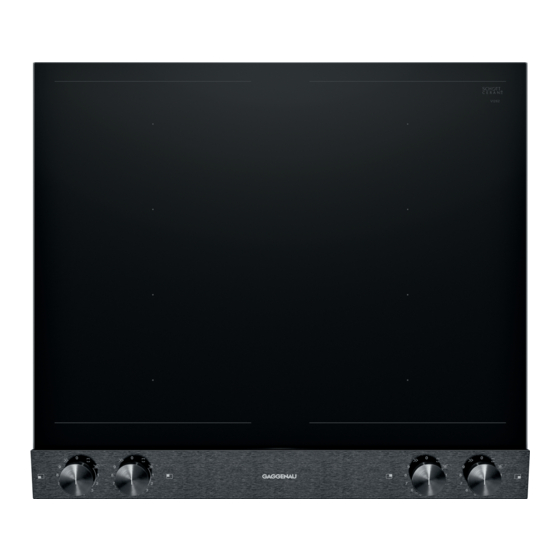
- Page 1 Gaggenau en User manual and installation instructions VI26212. Induction hob...
- Page 2 2.200 W 3.700 W 3.300 W 3.700 W IEC 60335-2-6...
-
Page 3: Table Of Contents
Safety en Table of contents The appliance can only be used safely if it is correctly installed according to the safety in- structions. The installer is responsible for en- INFORMATION FOR USE suring that the appliance works perfectly at its Safety .............. 3 installation location. -
Page 4: Safety
en Safety 1.4 Safe use WARNING ‒ Risk of electric shock! Improper repairs are dangerous. WARNING ‒ Risk of fire! ▶ Repairs to the appliance should only be Leaving fat or oil cooking on an unattended carried out by trained specialist staff. hob can be dangerous and may lead to fires. ▶... -
Page 5: Avoiding Material Damage
Avoiding material damage en An appliance with a cracked or broken sur- WARNING ‒ Risk of suffocation! face can cause cuts. Children may put packaging material over ▶ Do not use the appliance if it has a cracked their heads or wrap themselves up in it and or broken surface. -
Page 6: Environmental Protection And Saving En- Ergy
en Environmental protection and saving energy Environmental protection and saving energy 3 Environmental protection and saving energy 3.1 Disposing of packaging Lift lids as infrequently as possible. ¡ When you lift the lid, a lot of energy escapes. The packaging materials are environmentally compat- ible and can be recycled. -
Page 7: Disposal
Disposal en Disposal 5 Disposal 5.1 Disposing of old appliance Valuable raw materials can be reused by recycling. Dispose of the appliance in an environmentally ▶ friendly manner. Information about current disposal methods are available from your specialist dealer or local author- ity. -
Page 8: Familiarising Yourself With Your Appliance
en Familiarising yourself with your appliance Familiarising yourself with your appliance 6 Familiarising yourself with your appliance frying, energy savings as well as greater ease of clean- 6.1 Cooking with induction ing and care. It also offers improved heat control as the In comparison to conventional hobs, induction techno- heat is generated directly in the cookware. -
Page 9: Before Using For The First Time
More information on care and cleaning. → Page 14 7.3 Cookware You can find a list of recommended cookware on the official website www.gaggenau.com. Further information on suitable cookware. → Page 6 Basic operation 8 Basic operation 8.1 Switching on the hob Notes ¡... - Page 10 en Flex Zone ¡ To brown the food, fry it in small portions, one after ¡ You can find recommendations for energy-efficient the other. cooking under ¡ Some items of cookware may reach high temperat- → "Saving energy", Page 6 ures while the food is cooking. You should therefore use oven gloves.
-
Page 11: Basic Operation
Booster for pots en Connecting the two cooking zones 9.2 Cookware positions for two independent cooking zones Set down the cookware. Turn one of the control knobs to . This is where you can find an overview of the position- Select the power level with the other control knob. ing of the cookware. -
Page 12: Frying Sensor Function
¡ Use oil or fat that is suitable for stir fries. If you are tomer service, specialist retailers or our online shop using butter, margarine, cold-pressed olive oil or www.gaggenau.com. lard, use temperature setting 1 or 2. ¡ Never leave a frying pan unattended during heating, Note: You can also use other cookware. - Page 13 Frying sensor function en Cordon bleu 10-30 Meat Escalope, plain 6-10 Poultry breast 10-30 Escalope, breaded 6-10 Chicken nuggets 10-15 Fillet 6-10 Gyros 10-15 Chops 10-15 Kebab 10-15 Cordon bleu 10-15 Fish fillet, plain 10-20 Steak, rare, 3 cm thick Fish fillet, breaded 10-20 Steak, medium, 3 cm thick 8-12...
-
Page 14: Automatic Switch-Off
en Automatic switch-off Use the control knob to select the temperature level Once the frying temperature has been reached, add you require. the oil and then the food to the pan. → "Recommendations for cooking with the frying Turn the food so that it does not burn. sensor", Page 12 11.6 Switching off Frying Sensor Turn the control knob that you used to select the... - Page 15 FAQs en ¡ Abrasive cleaners ¡ You cannot remove the knob for cleaning. ¡ Aggressive cleaning products such as oven spray ¡ Lemon and vinegar are not suitable for cleaning and or stain remover may create dull patches. ¡ Abrasive sponges Clean the control knob with warm soapy water and ¡...
-
Page 16: Cleaning And Servicing
en Troubleshooting 14.2 Cookware Question Answer Which cookware is suitable for ¡ You can find more information on which items of cookware are compatible the induction hob? with induction cooking in → "Suitable cookware", Page 6. Why is the cooking zone not ¡ The cookware is on a different cooking zone to the one that has been heating up? switched on. -
Page 17: Customer Service
Customer Service en Fault Cause and troubleshooting None The electronics have detected a fault. If this fault recurs, call the after-sales service. ▶ The illuminated ring The appliance has been operating continuously for an extended period. The safety shut-off on the control knob has switched the heating process off. -
Page 18: Installation Instructions
en Installation instructions The product number (E no.) can also be found on the 16.1 Product number (E-Nr.) and production glass ceramic. You can also display the customer ser- number (FD) vice index (KI) and the production number (FD) in the You can find the product number (E-Nr.) and the pro- basic settings. - Page 19 Installation instructions en ¡ Improper installation, connection or incorrect install- Installation above an oven ation may lead to loss of the warranty. The worktop must be at least 30 mm thick. ¡ You can only install the induction hob above draw- ers or ovens with fan ventilation. ¡...
- Page 20 en Installation instructions ¡ Only a qualified electrician may connect appliances Requirements without a plug. They are subject to the requirements ¡ The fitted units are heat-resistant up to 90 °C. of the local electricity provider. We recommend in- ¡ The worktop is level, horizontal and stable. stalling a residual-current-operated circuit-breaker Follow the instructions on combining several appli- (RCCB) in the appliance's power supply circuit.
- Page 21 Installation instructions en Mark the unit cut-out in accordance with the installa- Observe the clearance between the intermediate tion diagram. floor and the worktop. Creating ventilation openings Requirement: The appliance requires sufficient ventila- tion from below to function correctly. Make a unit cut-out in the upper area on the rear of the unit.
- Page 22 en Installation instructions When installing in a cooking island, ensure that the Connect the cable to the mains socket in accord- appliance is well ventilated. ance with the figure. 17.10 Installing the appliance WARNING ‒ Risk of electric shock! If the insulation of the power cord is damaged, this is dangerous.
- Page 23 Installation instructions en For this, if required, shorten the clamps and re- ‒ move the insulation in order to insert a clamp that connects the 2 cables. 17.12 Checking the functionality Switch on the appliance. Use the operating instructions to check that the ap- pliance is working.
- Page 24 BSH Hausgeräte GmbH Carl-Wery-Straße 34 81739 München, GERMANY www.gaggenau.com Valid within Great Britain: Imported to Great Britain by BSH Home Appliances Ltd. Grand Union House Old Wolverton Road Wolverton, Milton Keynes MK12 5PT United Kingdom...
Need help?
Do you have a question about the VI262120 and is the answer not in the manual?
Questions and answers