Midland MB400 - Two-Way Radio Manual
- Programming instructions manual (13 pages) ,
- Owner's manual (19 pages) ,
- Programming instructions manual (12 pages)
Advertisement
- 1 INTRODUCTION
- 2 FEATURES
- 3 GETTING TO KNOW YOUR RADIO, QUICK START CONTROLS
- 4 INSTALLING THE ANTENNA
- 5 INSTALLING THE BATTERY
- 6 INSTALLING THE BELT CLIP
- 7 INSTALLING EXTERNAL ACCESSORIES
- 8 CHARGING THE BATTERY PACK
- 9 USE AND CARE
- 10 ABOUT RANGE
- 11 OPERATING YOUR RADIO
- 12 TROUBLESHOOTING GUIDE
- 13 SPECIFICATIONS
- 14 ACCESSORIES
- 15 Documents / Resources
INTRODUCTION
For over half a century, Midland Radio has been providing radio communication with superior Quality, Reliability, and Strong Value. With these Core Values in mind, the Midland MB400 provides a communication solution for Manufacturing, Retail, Hospitality, Construction, Warehousing, Maintenance, and other Business uses.
FEATURES
- IP67 Waterproof
- 4 Watts Transmit Power
- Emergency Call
- 16 Channels
- 142 Privacy Codes
- Repeater Compatible
- VOX
- Monitor
- Scan
- Priority Scan
- Battery Save Mode
- Voice Announcements
- Adjustable Squelch
- Roger Beep
- Hi/Low Power Setting
- Busy Channel Lockout
- Time Out Timer
- Low Battery Alert
- Rapid Charger
- Accessory (Headset) Jack
- PC Programming
- Radio Cloning
- Desktop Charger
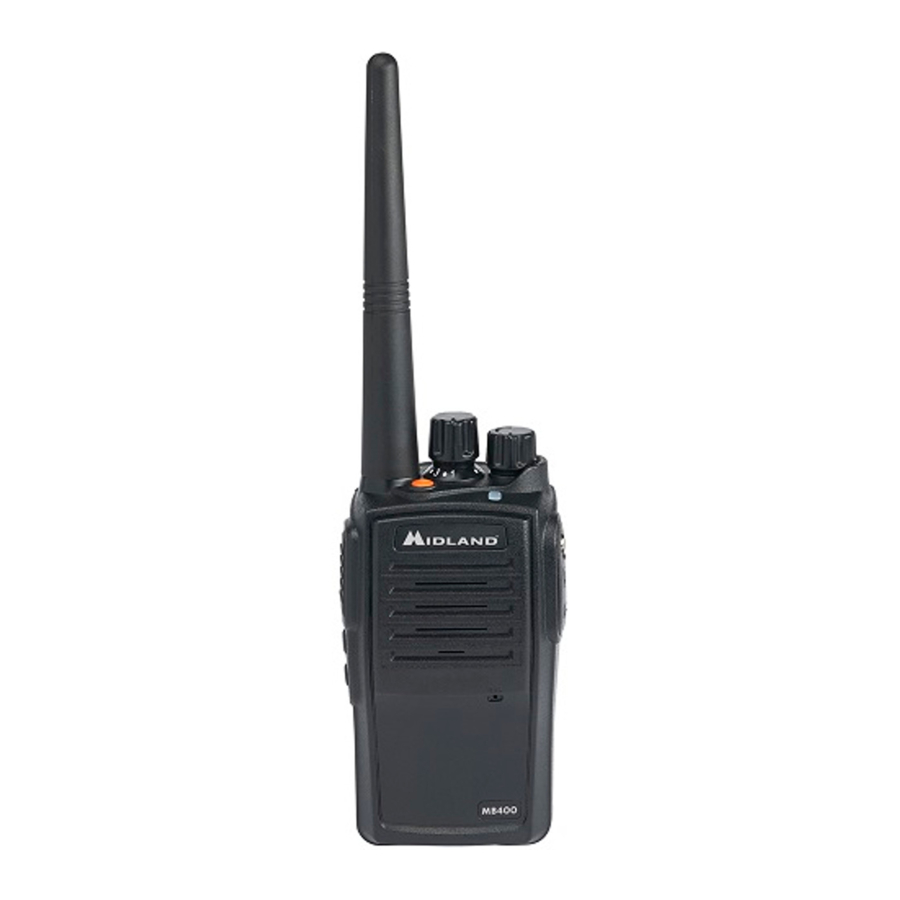
GETTING TO KNOW YOUR RADIO, QUICK START CONTROLS


- Antenna
Install the antenna per instructions below before operating the radio. - LED Indicator
The LED is Green when receiving signals.
Red when transmitting.
Flashing red when the battery is low. - Speaker
- Channel Selection
Rotate to the desired channel setting. - Emergency Call
Press to send an Emergency alert to other MB400's on the same channel frequency. - Power/Volume
Turn clockwise to turn the power on and increase the volume level. Turn counter-clockwise to decrease the volume level and turn the power off. - Microphone
- PTT (Push To Talk)
Press and hold to transmit voice communication. - Programmable Side Keys
Set function using the Programming Software. - Accessory Speaker/Mic Jack
- Rechargeable Battery Pack
INSTALLING THE ANTENNA
Align the antenna with the threaded connector located on the top of the radio.
Holding the antenna at the base, rotate the antenna clockwise until secure.


- Be careful not to over tighten to avoid damaging the antenna mount.
- Do not operate the radio without the antenna installed as it may cause damage to the radio.
INSTALLING THE BATTERY
Your radio operates with a Lithium-Ion battery. Care should be taken when installing or removing the battery as not to short circuit the battery contacts causing damage to the battery pack.
To install the battery:
With the back of the radio facing you, match the top of the battery pack to the corresponding groves on the radio. Push the battery into the bottom of the radio and lock into place using the battery latch.

To remove the battery:
Release the battery latch and slide the battery down and away from the radio.
INSTALLING THE BELT CLIP
With the back of the radio facing you, align the BELT CLIP with the screw holes on the radio. Attach the BELT CLIP with the Phillips-Head screws that came with the belt clip.
- Be careful not to over tighten screws to avoid damaging radio chassis.
INSTALLING EXTERNAL ACCESSORIES
Remove the accessory jack cover using a flat blade screwdriver or a coin. Save the cover and screw for re-assembly.

- The MB400 will no longer be IP67 waterproof when the accessory jack cover is removed.
- Insert the accessory plug into the speaker/ mic jack, making sure it is securely in place.
CHARGING THE BATTERY PACK
Your radio is equipped with a Lithium-Ion battery pack which can be recharged by inserting the radio or battery into the desktop charger (as described below). You should charge the battery pack when the Charge Battery Alert comes on, and remove the radio from the charger when the charging is finished.
To charge using the Desktop Charger:
- Plug the DC barrel plug on the adaptor cord into the connector on the back of the charging base.
- Plug the AC adaptor into a 120V AC wall outlet, making sure the AC outlet has power.
- The charger's LED's turns green when power is present.
- Make sure the battery contacts and charge terminals are clean and in good condition.
- Slide the radio with installed battery, or a spare battery without radio, into the charger being careful to align the slots on the battery with the tabs inside the charger base.
- The charger LED's will turn red and begin charging the battery.
- Charging time depends on the charge level of the battery.
- After charging is complete the LED will turn Green.
- Remove the radio from the charger.
NOTE: The charger stand can charge the radio with a battery, or a separate battery. You may charge one at a time, but not at the same time.
To charge using the MGC400 Multi Unit Charger accessory:
The (optional) Multi-Unit Charger (MUC) allows the drop-in charging of 6 radios or 6 batteries from a single AC outlet.
- Plug the barrel plug on the adaptor cord into the connector on the back of the charging base.
- Plug the AC adaptor into a 120V AC wall outlet. Make sure the AC outlet has power.
- The charger's LED's turns green when power is present.
- Make sure the battery contacts and charge terminals are clean and in good condition.
- Slide the radio with installed battery, or a spare battery without radio, into the charger being careful to align the slots on the battery with the tabs inside the charger opening.
- The charger LED's will turn red and begin charging the unit.
- Charging time depends on the charge level of the battery.
- After charging is complete the LED will turn Green.
It is recommended that the battery pack be charged with the radio turned off to insure it fully charges.
- Only use the Midland Lithium-Ion battery pack.
- Do not attempt to charge any battery packs other than the one indicated in the manual.
- This may cause leakage and damage to the radio or charger and void your warranty.
- For long term storage of the radio, turn the radio OFF and remove the batteries from the radio.
USE AND CARE
- Use only a soft, damp, cloth to clean the radio.
- Do not use alcohol or cleaning solutions to clean the radio.
- Do not immerse the radio in water with the accessory cover removed.
- Dry the radio with a dry lint-free cloth should it get wet.
- Turn off the radio and remove the batteries during long-term Storage
ABOUT RANGE
Your MB400 radio is designed to give you maximum range under optimum conditions.
| Industrial | Multi-Level |
| Inside Steel-Concrete Building | Inside a Multi-level Building |
| Up to 350,000 sq. ft. | Up to 30 floors |
Optimum Conditions are:
- Open warehouse floor plan or area.
- Open rural areas without obstructions.
- Flat areas where you can see the other person to ensure you get maximum range.
- You are using fully charged batteries - a low battery will cause low power conditions.
- Your radio is set to use its highest transmit power level.
OPERATING YOUR RADIO
POWER ON/OFF AND VOLUME
- Rotate the POWER/VOLUME knob clockwise to turn the radio on and increase the volume level.
- Rotate the control counter-clockwise to reduce the volume level and to turn the radio off.
- During Power On, the radio will announce the channel it is set to.
TRANSMITTING AND RECEIVING A CALL
For maximum clarity, hold the radio at least 1 inch (2.5 cm) from your mouth.
- Press and hold the PTT button and speak in a normal voice into the Microphone. The RX/TX LED will glow RED while transmitting.
- To receive a call, release the PTT button. The RX/TX LED will glow GREEN when your radio is receiving a transmission.
CHANNEL SELECTION
- Rotate the channel section knob to the desired setting.
- The radio will announce the channel numbers as you rotate the knob.
- Make sure you are using the same channel/frequencies as others in your communications group or you will not be able to hear or talk to them.
EMERGENCY CALL
You can send an Emergency Call alert tone to other MB400 radios that are on the same channel/frequency and privacy code.
- Press the Orange Emergency Call alert button on the top of the radio to activate the alert.
- A loud siren will be heard on your radio and all other MB400 radios on the same channel/frequency and privacy code.
- Press the Emergency Call button again to turn off the alert.
- The alert tone will only be received by MB400 radio's that are on the exact same channel/frequency and privacy code at time of activation.
- MB400's not on the same channel/frequency and privacy code, or other radios without the Emergency Call feature will not receive the Emergency Call alert tone.
PROGRAMMABLE SIDE KEYS
The two Programmable Side Keys can be customized by using the programming software to select which of the following functions you would like to have quick access to. The keys are dual function, pressing once for the priority function, and press and hold for 3+ seconds to select the secondary function.
- None
- Monitor on/off
Monitor is used to check for channel traffic before you transmit. - Scan on/off
The radio will rapidly scan through all available channels stopping briefly on a channel in use to hear the conversation. You may join the conversation by pressing your PTT button and using the radio normally. The radio will return to scan mode after 5 seconds of inactivity. - Priority Scan on/off
The radio will only scan the channels you have set as a Priority using the programming software. - Power Hi/Low selection
Select High power when range is important, or Low power to conserve battery life. - Talk Around on/off
Used when on a Repeater. Allows you to communicate directly with other radios without going through the repeater.
- Be sure to turn the VOX feature off on the radio if you are using a headset accessory with a separate VOX switch as it may cause improper operation.
PROGRAMMING SOFTWARE
Your MB400 radio is pre programmed with 16 commonly assigned frequencies, and you can program your authorized frequency or frequencies into any of the available 16 channels with the free software available on the Support page at the www.midlandusa.com website.
The MPC400 programing cable is required to program your radio. It is listed in the back of this manual and available on the www.midlandusa.com website.
The software will allow you to program the following functions of the radio.
- Frequency by Channel
- Privacy Code by Channel
- Bandwidth by Channel
- TX Power by Channel
- VOX Sensitivity Level
- Squelch Sensitivity Level
- Button Beeps on/off
- Voice Announcement on/off
- Time out Timer Duration
- Busy Channel Lockout
- Emergency Call on/off
- Battery Save Mode on/off
- Low Battery Warning on/off
- Set the Channel Scan list
- Set the Priority Scan list
CLONING
The programed settings from a MB400 radio can be directly transferred to another MB400 radio bypassing the need to individually program radios. The MCC400 cloning cable is required and is listed in the back of this manual and available on the www.midlandusa.com website.
- Connect the programmed (Host) radio to the radio to be programmed
(Clone) using the MCC400 Cloning cable. - Turn on the radio to be cloned.
- Press and hold Side Key 1 to turn on the Host radio.
- The LED will flash orange twice to confirm the Host radio is in clone mode and ready to transfer the data.
- Press the PTT of the Host radio to send the data to the clone radio.
- The LED on the Host radio will blink red, and the LED on the radio to be cloned will blink green during the data transfer.
- When the data transfer is complete, the cloned radio will automatically restart.
- You may clone another radio by disconnecting the cloned radio and connecting another radio to the Host and following the steps above.
- Or you may disconnect both radios and turn them off, and back on to return to the normal operation.
PRIVACY CODES
CTCSS (Continuous Tone Coded Squelch) and DCS (Digitally Coded Squelch) allow several users to share the same channel frequency without disturbing each other. With CTCSS or DCS enabled, the channel is muted to all incoming signals unless they carry the same CTCSS or DCS tone. When a transmission with the same tone is received, the channel un-mutes and the voice audio can be heard. When the transmission ends the channel becomes muted again. Transmissions that do not have the same tone will not be heard.
Your MB400 radio has 142 Privacy Codes, which can be used on any channel. The selected Privacy Code may be different for each channel, but must be the same for a channel on all radios you wish to talk to. Programming a new Privacy Code overwrites any previous code programmed.
Privacy Codes can be set using the FREE programming software that can be the www.midlandusa.com website.
- You will not be able to hear or talk to other radios that do not match your frequency and Privacy Code by channel and frequency.
TROUBLESHOOTING GUIDE
| Problem | Solution |
No Power |
|
Can't Receive Messages |
|
Charger Not Functioning |
|
For further assistance, contact the Midland Customer Service Team at (816) 241-8500. Most problems can be remedied over the phone without returning the radio for service.
SPECIFICATIONS
Channels: 16
Privacy Codes: 142
Operating Frequency: UHF Band, 450~470MHz
Power Source: 7.4VDC Li-ion Battery Pack
DEFAULT FREQUENCIES CHART
| CH No. | Freq. (MHz) | Code | CH No. | Freq. (MHz) | Code |
| 1 | 464.5500 | 1 | 9 | 464.5500 | 29 |
| 2 | 467.9250 | 1 | 10 | 467.9250 | 29 |
| 3 | 467.8500 | 1 | 11 | 467.8500 | 29 |
| 4 | 467.8750 | 1 | 12 | 467.8750 | 29 |
| 5 | 467.5500 | 6 | 13 | 467.5500 | - |
| 6 | 467.9250 | 6 | 14 | 467.9250 | - |
| 7 | 467.8500 | 6 | 15 | 467.8500 | - |
| 8 | 467.8750 | 6 | 16 | 467.8750 | - |
AVAILABLE FREQUENCIES CHART

CTCSS PRIVACY CODES CHART
| Code No. | Freq. (Hz) | Code No. | Freq. (Hz) |
| 1 | 67.0 | 20 | 131.8 |
| 2 | 71.9 | 21 | 136.5 |
| 3 | 74.4 | 22 | 141.3 |
| 4 | 77.0 | 23 | 146.2 |
| 5 | 79.7 | 24 | 151.4 |
| 6 | 82.5 | 25 | 156.7 |
| 7 | 85.4 | 26 | 162.2 |
| 8 | 88.5 | 27 | 167.9 |
| 9 | 91.5 | 28 | 173.8 |
| 10 | 94.8 | 29 | 179.9 |
| 11 | 97.4 | 30 | 186.2 |
| 12 | 100.0 | 31 | 192.4 |
| 13 | 103.5 | 32 | 203.5 |
| 14 | 107.2 | 33 | 210.7 |
| 15 | 110.9 | 34 | 218.1 |
| 16 | 114.8 | 35 | 225.7 |
| 17 | 118.8 | 36 | 233.6 |
| 18 | 123.0 | 37 | 241.8 |
| 19 | 127.3 | 38 | 250.3 |
DCS PRIVACY CODE CHART

ACCESSORIES
Accessories can be purchased from your local dealer or at www.midlandusa.com

We'd love to hear from you! Let us know what you think of your new Midland product at

or by visiting us at
midlandusa.com
Note: Features & Specifications are subject to change without notice. MIDLAND is not responsible for unintentional errors or omissions on its packaging.
Documents / Resources
References
Download manual
Here you can download full pdf version of manual, it may contain additional safety instructions, warranty information, FCC rules, etc.
Advertisement


Need help?
Do you have a question about the MB400 and is the answer not in the manual?
Questions and answers