Table of Contents
Advertisement
Quick Links
1.
ATI BIOS RAID Installation Guide ................................................................... 2
1.1
Introduction to RAID .............................................................................. 2
1.2
RAID Configurations Precautions ............................................................. 2
1.3
Create Disk Array ................................................................................. 3
2.
ATI Windows RAID Installation Guide .............................................................. 8
2.1
Components of WebPAM Installation Software ........................................... 8
2.2
Browser Support .................................................................................. 8
2.3
Installing WebPAM ............................................................................... 8
2.4
Log-in to WebPAM ............................................................................... 11
2.5
Create RAID in WebPAM ...................................................................... 12
ATI RAID Installation Guide
1
Advertisement
Table of Contents

Subscribe to Our Youtube Channel
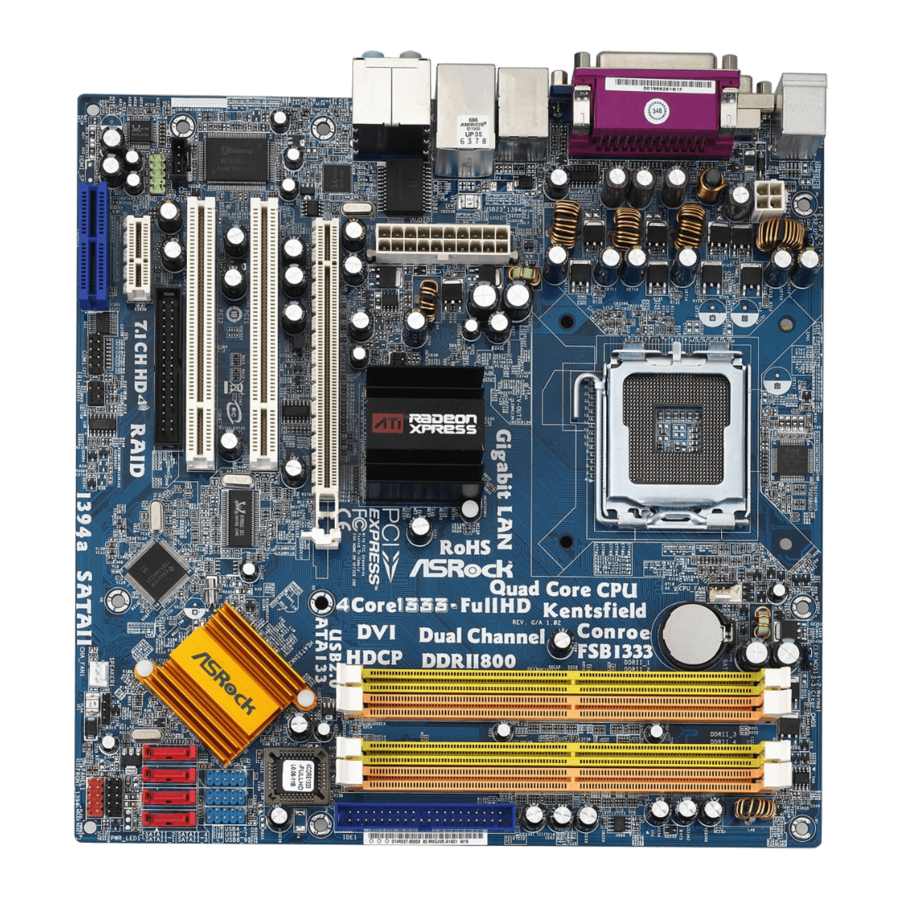
Summary of Contents for ASROCK 4CORE1333-FULLHD
-
Page 1: Table Of Contents
ATI RAID Installation Guide ATI BIOS RAID Installation Guide …………………………………………………………. 2 Introduction to RAID …………………………………………………………………… 2 RAID Configurations Precautions ……………………………………………………. 2 Create Disk Array ……………………………………………………………………… 3 ATI Windows RAID Installation Guide …………………………………………………….. 8 Components of WebPAM Installation Software ……………………………………. 8 Browser Support ………………………………………………………………………. -
Page 2: Ati Bios Raid Installation Guide
RAID 0 is called data striping that optimizes two identical hard disk drives to read and write data in parallel, interleaved stacks. It will improve data access and storage since it will double the data transfer rate of a single disk alone while the two hard disks perform the same work as a single drive but at a sustained data transfer rate. -
Page 3: Create Disk Array
Please backup your data first before you create RAID functions. In the process you create RAID, the system will ask if you want to “Clear Disk Data” or not. It is recommended to select “Yes”, and then your future data building will operate under a clean environment. - Page 4 Press <Ctrl+F> keys, then the FastBuild Utility Main Menu appears. Press 2 on the Main Menu screen to display the Define LD Menu.
- Page 5 RAID 0, RAID 1, and RAID 10. WARNING!! While you are allowed to use any available RAID level for your bootable logical drive, it is recommended to use RAID 1 for most applications. Press the arrow key to move to Disk Assignments. Press the spacebar to toggle between N and Y for each available drive.
- Page 6 After selecting the logical drive in Disk Assignments as the above-mentioned procedures, press <Ctrl-Y> to allocate a portion of the disk drives to the first logical drive. Then please follow the steps below. Enter the desired capacity (MB) for the first logical drive and press <Enter>. The Define LD Menu displays again.
- Page 7 Press the up and down arrow keys to select an available logical drive number and press <Enter>. Choose the RAID level and options for the second logical drive. Note that the disk drives in Channels 1 and 2 reflect smaller capacities because a portion of their capacity belongs to the first logical drive. In this example the disk drives in Channels 3 and 4 are not assigned to a logical drive.
-
Page 8: Ati Windows Raid Installation Guide
Internet Explorer 6.0, Mozilla Suite 1.7, Mozilla Firefox 1.0, or Netscape Navigator 7.1. If you do not have one of the above browsers, install the browser first and make it the default browser. Then install WebPAM. You must use one of the browsers listed above on your networked PC in order to access WebPAM over the network. - Page 9 8. Click on the “I accept the terms of the license agreement” option to proceed with installation when the License agreement screen appears. If you select the “I do not accept the terms of the license” option, the installation will quit.
- Page 10 SSL Security – Applies security to all connections involving the Internet or outside your company firewall. Security options are invisible to authorized users. ATI provides a default certificate for the server as well as for internal data communication. However, in some cases it is always better to install and verify your own certificate for the webserver.
-
Page 11: Log-In To Webpam
Regular connection: http://127.0.0.1:8080/ati or http://localhost:8080/ati Secure connection: https://127.0.0.1:8443/ati or https://localhost:8443/ati Please note that the IP address shown above applies to a log-in at the Host PC. When you log in over a network, enter the Host PC’s actual IP address or hostname. -
Page 12: Create Raid In Webpam
4. After you successfully log-in to WebPAM, you are allowed to click the button on the top such as “Language”, “Help”, or “Logout” for other requirement. 2.5 Create RAID in WebPAM After you log-in to WebPAM, you can click the button on the left. Click 127.0.01., ATI SB600 SATA Controller, and... - Page 13 Click Logical Drive View. Click the Create button to create RAID array. Then you can start to select RAID level. After selecting the RAID level that you wish, click Next for the next page. Here we take RAID 1 for example.
- Page 14 You can select drive group. Please select a free drive(s) for one logical drive that has free space. Click Next. Select drives. You can choose to use maximum capacity or key in the logical drive size in (GB). Then select the drives...
- Page 15 Assign a name for to the logical drive. The logical drive name that you assign is supposed to contain 1 to 32 characters. After that, please click Next. In the Final Settings page, please confirm your choices in the following list. Or you may make any changes here. If you...
- Page 16 Finally, in Logical Drive Overview page, you can see the RAID configuration you just made on your system, including Assigned Name, RAID Level, Status, Background Activity, and Capacity. In the future, if you plan to configure other RAID functions, you may click the Delete or Synchronization Schedule on the top to meet your RAID requirement.


Need help?
Do you have a question about the 4CORE1333-FULLHD and is the answer not in the manual?
Questions and answers