Advertisement
Quick Links
PRIOR TO INSTALLATION
• Check all components are in the carton.
CONTENTS OF PACKAGE - COMPLETE UNIT WITH VARIPITCH BASE
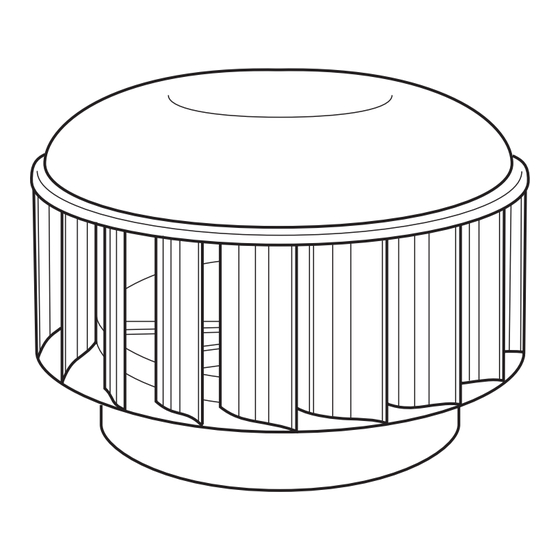
Turbine
METAL ROOF (CORRUGATED, KLIPLOCK, TRIM DECK, ETC) UNDER RIDGE INSTALLATION
Step 1
Select the appropriate position on the roof as referred to in (Fig 1), ensuring the ventilator
will not be sheltered from the wind. Place the base flashing under the ridge cap.
Note: When selecting the position of the vent, the means of weather proofing needs to be
taken into account, the most efficient means is to locate the flashing under the ridge cap.
Step 2
Ensure that the flashing covers the corrugations or ribs equally, then mark a circle using the
base as a template. Cut hole. Once the hole has been cut, turn up the corrugations or pans
and secure the flashing to the roof (for number of fasteners see Table 1). It is recommended
that an infill be used on the low side of the flashing. Coat all fasteners with silicone to ensure
they are weatherproof.
Step 3
When a Varipitch throat is being used. Sit the Varipitch on the flashing and rotate the top and
bottom halves until the top of the Varipitch is horizontal, it is recommended that a level be
used (Fig 2). Fix the Varipitch to the flashing (for number of fasteners see Table 1).
Step 4
Secure the two halves of the Varipitch by inserting self tapping screws or blind rivets into the
Varipitch clips. Run a bead of silicone around the inside of the Varipitch seam.
Note: Do NOT apply silicone to joint between flashing and Varipitch. This is a natural gutter to
release any trapped condensation.
Step 5
Fit the turbine to the Varipitch. Check that it is level and adjust by tilting if necessary (Fig 3).
Fasten the turbine to the top of the Varipitch (for number of fasteners see Table 1).
General Notes:
The design of the ventilator ensures that it will not leak in normal weather conditions. The
quality of the installation work is critical, care should be taken to eliminate the risk of leaks
through the flashing or fasteners.
Tab l e 1 - Rec om m en d ed Fas ten er Q ua n t i t i es
Unit Size
Head to
Varipitch to
(mm)
Varipitch
Flashing
100 & 150
4
300
4
400
4
Either: 10 gauge 16mm tek screws with neo or 5/32 blind rivets are recommended. When non sealed rivets are used apply silicone over the rivets to seal.
10 Stanton Road, Seven Hills NSW 2147
Telephone 1300 858 674
INSTALLATION INSTRUCTION
Hurricane Turbine Ventilator
Varipitch Section
Flashing to Roof
(Locate 4 close to
varipitch)
4
10
4
10
4
12
www.bradfordventilation.com.au
Flashing
Unit Size
Head to
Varipitch to
(mm)
Varipitch
Flashing
450 & 500
5
5
600 & 700
6
6
800 & 900
8
8
Global-Mark.com.au ®
Also:
Warranty
Installation Instructions
Ridge or apex
Best position for
weatherproofing
Inser t
screw into
Varipitch
clip
Infill
Run a
bead of
silicone
around
Varipitch
joint
(inside)
Ridge
or apex
Flashing to Roof
(Locate 4 close to
varipitch)
12
16
20
Fi g 1
Fi g 2
Fi g 3
Advertisement

Related Manuals for Bradford Hurricane


Summary of Contents for Bradford Hurricane
- Page 1 INSTALLATION INSTRUCTION Hurricane Turbine Ventilator PRIOR TO INSTALLATION • Check all components are in the carton. CONTENTS OF PACKAGE - COMPLETE UNIT WITH VARIPITCH BASE Also: Warranty Installation Instructions Turbine Varipitch Section Flashing METAL ROOF (CORRUGATED, KLIPLOCK, TRIM DECK, ETC) UNDER RIDGE INSTALLATION...
- Page 2 Hurricane Turbine Ventilator Additional Installation Guide for Hurricane BAL The Hurricane BAL is only suitable for installations on metal roofs. The quality of the installation work is critical, care should be taken to eliminate the risk of leaks through the flashing or fasteners.
Need help?
Do you have a question about the Hurricane and is the answer not in the manual?
Questions and answers