
Subscribe to Our Youtube Channel
Related Manuals for Makita SP6000JT


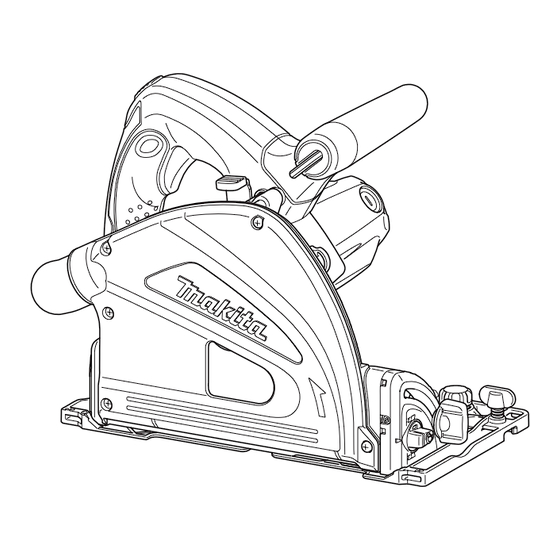
Summary of Contents for Makita SP6000JT
- Page 1 INSTRUCTION MANUAL Plunge Cut Circular Saw SP6000 DOUBLE INSULATION Read before use.
-
Page 2: Specifications
SPECIFICATIONS Model SP6000 Blade diameter 165 mm Max. cutting depth at 90° 56 mm at 45° 40 mm at 48° 38 mm No load speed (min 2,200 - 6,400 Overall length 341 mm Net weight 4.1 kg Safety class • Due to our continuing program of research and development, the specifications herein are subject to change without notice. -
Page 3: Ec Declaration Of Conformity
10. If the cord is damaged, have it replaced by the EC Declaration of Conformity manufacturer or his agent in order to avoid a safety hazard. For European countries only Personal safety The EC declaration of conformity is included as Annex A Stay alert, watch what you are doing and use to this instruction manual. -
Page 4: Circular Saw Safety Warnings
Power tool use and care Adjust the cutting depth to the thickness of the workpiece. Less than a full tooth of the blade Do not force the power tool. Use the correct teeth should be visible below the workpiece. power tool for your application. The correct power tool will do the job better and safer at the Never hold the workpiece in your hands or rate for which it was designed. - Page 5 When blade is binding, or when interrupting a cut for any reason, release the trigger and hold the saw motionless in the material until the blade comes to a complete stop. Never attempt to remove the saw from the work or pull the saw backward while the blade is in motion or kickback may occur.
-
Page 6: Functional Description
WARNING: DO NOT let comfort or familiarity with product (gained from repeated use) replace strict adherence to safety rules for the subject product. MISUSE or failure to follow the safety rules stated in this instruction manual may cause serious personal injury. FUNCTIONAL DESCRIPTION CAUTION:... -
Page 7: Bevel Cutting
Tilting to the right Quick stop button for 2 to 3 mm depth of cut when using guide rail (accessory) ► 1. Positive stopper Turn the positive stopper so that the arrow on it points one of two positions (vertical for 22.5°, horizontal for 45°). Loosen ►... -
Page 8: Switch Action
And then tilt the tool handle to the left while pushing Speed adjusting dial these two levers at the same time. Secure the base with the clamping screws. NOTE: • Returning the blade to the right angle makes the shifting lever return to 0° by itself. Sighting ►... - Page 9 ► 1. Hex wrench 2. Shaft lock up at the front of the tool. To install the blade, follow the removal procedure in • Use only the Makita wrench to install or remove reverse. BE SURE TO TIGHTEN THE HEX BOLT the blade. CLOCKWISE SECURELY.
-
Page 10: Operation
► 1. Vacuum cleaner 2. Dust port When you wish to perform clean cutting operation, connect a Makita vacuum cleaner to your tool. Connect a hose of the vacuum cleaner to the dust port as shown in the figure. OPERATION Section cutting (ordinary sawing) ►... -
Page 11: Maintenance
Hold the tool firmly with one hand on the front grip and Rip fence (guide rule) (Optional the other on the tool handle. Then push in the lock-off accessory) button and turn the tool on and wait until the blade attains full speed. -
Page 12: Replacing Carbon Brushes
CAUTION: • These accessories or attachments are recom- mended for use with your Makita tool specified in this manual. The use of any other accessories or attachments might present a risk of injury to persons. Only use accessory or attachment for ►... - Page 16 Makita Europe N.V. Jan-Baptist Vinkstraat 2, 3070 Kortenberg, Belgium Makita Corporation 3-11-8, Sumiyoshi-cho, Anjo, Aichi 446-8502 Japan 884683P228 www.makita.com 20200319...
Need help?
Do you have a question about the SP6000JT and is the answer not in the manual?
Questions and answers