Advertisement
Quick Links
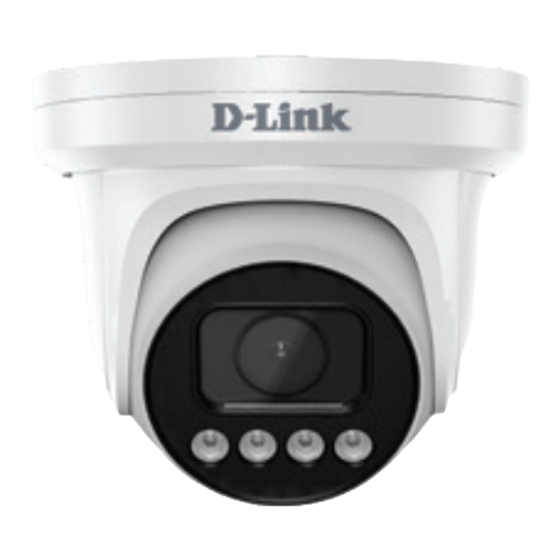
Getting Started Guide for
D-Link Vigilance Network Camera
PRODUCT QUICK INSTALLATION GUIDE
DCS-F4618EK / F4718E / F4818E
Advanced 8MP PoE Network Cameras
STEP 1.
Connect the camera to a PoE switch.
If you do not have a PoE switch, power the camera
with a 12V DC power supply (not included).
If you have a Network Video Recorder (NVR), connect
the camera to your NVR and follow the instructions
for your NVR.
STEP 2.
Log into your camera by typing its IP address into
a Web browser.
The camera's default setting is to obtain IP address
automatically (DHCP). If DHCP server is not present
the camera will use 192.168.0.120 address.
You can find out what IP address was assigned to
the camera by checking your router's DHCP status or
by running the Tool for Cameras and NVR software
(downloadable from D-Link Web site).
STEP 3.
The default username is "admin" and password is
"admin".
It is recommended to change the default password to
a strong password that includes lower and upper case
letters, numbers and special symbols.
Enter username:
Enter password:
STEP 4. (Optional)
Add your camera to D-Link CCTV app.
Add your camera to DCMS+ Surveillance
Software (free download):
https://files.dlink.com.au/Products/DCMS+/
Add your camera to your NVR.
Please follow your NVR's setup guide.
Factory Reset
If you forgot the camera password or need to revert
the camera to its factory settings:
When the camera is powered on, press the Reset
Button on the multi-head cable for 5 or more
seconds:
Reset Button
QUICK INSTALLATION GUIDE | DCS-F4618EK / F4718E / F4818E
Advertisement

Subscribe to Our Youtube Channel
Related Manuals for D-Link DCS-F4618EK


Summary of Contents for D-Link DCS-F4618EK
- Page 1 Tool for Cameras and NVR software (downloadable from D-Link Web site). Add your camera to DCMS+ Surveillance Software (free download): https://files.dlink.com.au/Products/DCMS+/ Add your camera to your NVR. Please follow your NVR’s setup guide. QUICK INSTALLATION GUIDE | DCS-F4618EK / F4718E / F4818E...
- Page 2 The replacement Software is provided only to the original licensee, and is subject to the terms and conditions D-Link International. of the license granted by D-Link. The warranty period shall extend for an additional ninety (90) days after any DWAUWARR0K0030 (AU Commercial Warranty Guide_v32)_90x130...
Need help?
Do you have a question about the DCS-F4618EK and is the answer not in the manual?
Questions and answers