Advertisement
Advertisement
Table of Contents

Subscribe to Our Youtube Channel
Related Manuals for TurboTronic TT-CF7


Summary of Contents for TurboTronic TT-CF7
- Page 1 INSTRUCTION MANUAL STICK VACUUM TT-CF7...
-
Page 2: Important Safeguards
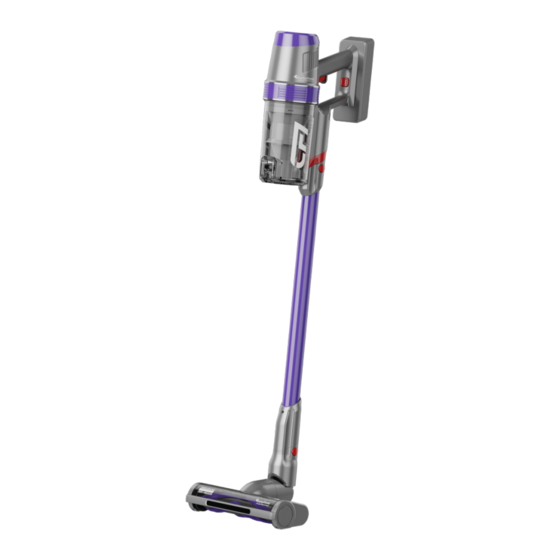
Transforms into a handheld vacuum cleaner allowing a greater use of cleaning options. TT-CF7 offers the power you need to keep your home clean. it cleans bare floors and deep cleans carpets. multi-floor cleaning performance, you can move from room to room, cleaning both hard floors and carpet. -
Page 3: Safety Instruction
shall not be made by children without supervision. l The appliance is only to be used with the power supply unit provided with the appliance. SAFETY INSTRUCTION l Make sure that your device and its accessories are in perfect condition before use. - Page 4 l Do not drop or pierce the battery. l The operating temperature of the product varies from 0°C to 40°C, do not use it in environments that exceed the maximum recommended temperature. Indicates to read and review instructions to understand operation and use of product.
-
Page 5: Detailed Description
DETAILED DESCRIPTION 1. On/Off button 8. Dust compartment unlocking button 2. Speed control button 9. Dust compartment 3. Motor 10. Dust compartment lid 4. Unlocking button 11. Battery indicator light 5. Vacuum cleaner tube 12. Battery 6. Brush unlocking button 13. - Page 6 ASEEMBLY 1. Place the filter into the dust compartment, turn the cone and align the notches on the cone with ridges of the dust compartment 2. Insert the filter into the cone, making sure to flatten it. 3. Screw the assembled dust compartment into the main body until a clicking sound is heard, indicating that screwing is complete.
- Page 7 Install accessories to the main-body Install the aluminum tube and floor brush, simply insert them into the holes on the front of the main-body until you hear a click, then installation is completed. OPERATING GUIDLINES Before the first use: 1 Remove all protective covers or materials 2 Check that all the parts are included and in good condition 3 Assemble the vacuum cleaner as explained above 4 Position the vacuum cleaner on the wall bracket, plug it in and let it charge...
-
Page 8: Cleaning And Maintenance
2 in 1 accessory l Insert the 2-in-1 accessory into the main unit and push the brush head backwards. This accessory is perfect for cleaning sofas, corners, stairs, keyboards, furniture, shelves, electrical appliances and narrow spaces. l Insert the 2-in-1 accessory into the vacuum cleaner tube and push the brush head back. -
Page 9: Disposal Of Old Electrical Appliances
PROVIDES THE WARRANTY ONLY TO OUR THIRD-PARTY SUPPLIERS. SINCE THIS PRODUCT IS NOT PURCHASED ® DIRECTLY FROM TURBOTRONIC BUT THROUGH ONE OF OUR THIRD- PARTY SUPPLIERS, ANY ISSUE AFTER THE PURCHASE, CUSTOMER SERVICE OR RECEIVING THE WARRANTY SHOULD BE ONLY / DIRECTLY... - Page 10 4. Consequential and incidental damages. ® 5. Defects caused by repair persons not authorized by TurboTronic . These defects include damages caused in the process of shipping, altering, or ®...
Need help?
Do you have a question about the TT-CF7 and is the answer not in the manual?
Questions and answers
Where on the cleaner can you plug in the wire to charge the nattery
You can plug in the wire to charge the TurboTronic TT-CF7 cleaner by positioning the vacuum cleaner on the wall bracket and then plugging it in.
This answer is automatically generated
@Valerie mott not nattery but battery