Advertisement
Quick Links
LEA CUIDADOSAMENTE ESTE INSTRUCTIVO ANTES DE HACER LA INSTALACION
Carefully read these instructions before installing
INSTRUCTIVO DE INSTALACION Y MANUAL DE OPERACION
installation and operation manual
6
L
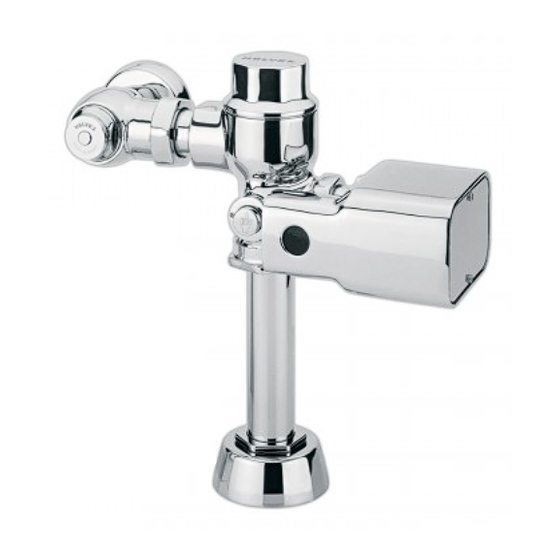
MOD.TF 110-32
TF 110-38
TF 117-38
FLUXOMETRO DE BATERÍAS
CON AUTO-FLUX PARA W.C.
Auto-Flux sensor flush valve
M.R.
Advertisement


Need help?
Do you have a question about the TF 110-32 and is the answer not in the manual?
Questions and answers