Yealink MeetingBoard 65 Quick Start Manual
Hide thumbs
Also See for MeetingBoard 65:
- Quick start manual (32 pages) ,
- Installation manual (13 pages)
Table of Contents

Related Manuals for Yealink MeetingBoard 65


Summary of Contents for Yealink MeetingBoard 65
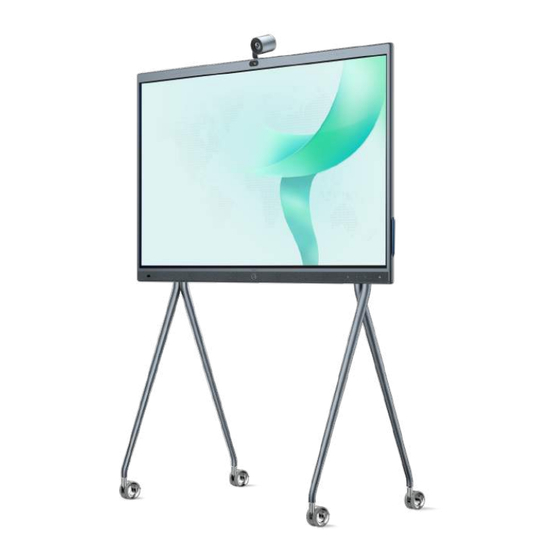
- Page 1 For more information For more information please scan please scan 65/86 MeetingBoard Guide& Video Guide& Video Floor-Mounted Quick Start Guide ( ) V1.1 Please read this guide before installation to avoid unnecessary personal injury and damage to the endpoint.
-
Page 2: Package Contents
Rubber cap X 6 Quick Start Guide (Floor-Mounted) Endpoint Installation Take and place all components gently to avoid damage. MeetingBoard 65 MeetingBoard 86 We recommend 2 people working together to mount MeetingBoard 65, 4 people working together to mount MeetingBoard 86. - Page 3 Lock the scroll wheels Install the floor stand beam on the back of the floor stand (M6×12mm) Rubber cap BA C K B A C K B A C K BAC K BAC K BAC K B ACK B ACK * Pay attention to the size of the positioning column, do not insert it ×...
- Page 4 Install Windows OPS (Optional) The endpoint has a built-in Android OS and supports installing OPS modules to use both Windows and Android OS. Windows OPS is optional. If you have not purchased, skip this step. When installing or uninstalling OPS, make sure that the end- point is powered off.
- Page 5 Raise the endpoint, mount the endpoint into the floor stand, and tighten the screws on both sides of the legs of the floor stand * We recommend 2 people working together to mount MeetingBoard Install 65, 4 people working together to mount MeetingBoard 86 ( MeetingBoard 86 can be carried by the handles on both sides).
-
Page 6: Hardware Component Instructions
Hardware Component Instructions Microphone/LED Indicator strip Camera Lens Microphone/LED Indicator strip USB cable HDMI (USB Type cable B to Type A *Need (Bottom) Connect Yealink cable) to bring Accessories *Need to bring your Return to Home Switch Sig- Speaker NFC* (UVC、VCM、VCH,... -
Page 7: Led Status
Power on 1. Insert the end of the power cable into the power port of the endpoint. 2. Insert the power cord plug into the outlet. 3. Turn the rocker switch button on the right rear of the endpoint to "I" to turn on the endpoint.
Need help?
Do you have a question about the MeetingBoard 65 and is the answer not in the manual?
Questions and answers