Stealth Cam STC-PXV26 - Scouting Camera Manual
- Instruction manual (34 pages)
Advertisement
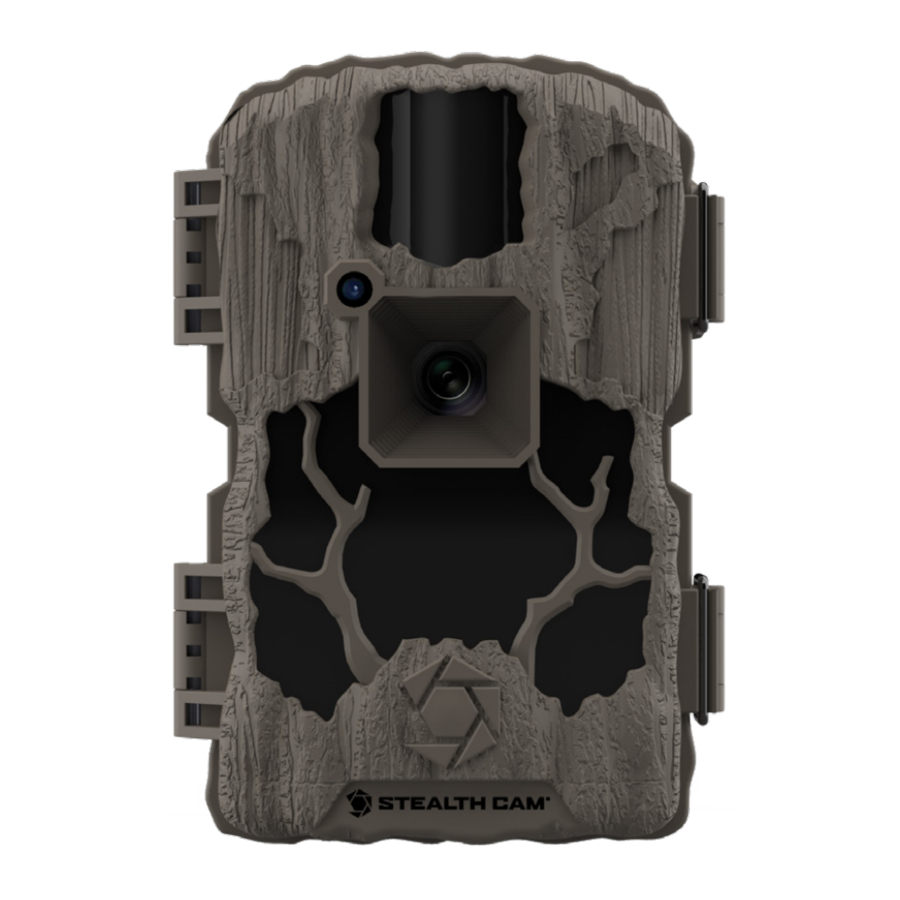
About Your Camera
 | 80 Foot Detection and Flash Range See farther with long-distance PIR sensor and LEDs. |
 | 0.4 Second Trigger Speed Never miss a shot with lightning fast 0.4 second trigger speed. |
 | Intuitive Menu Newly designed inuitive menu alllows changing settings with incredible ease. |
 | Burst Rapid-Fire Mode Rapid-fire Burst Mode, multiple exposures per triggering. |
 | 18 IR LEDs Perfectly illuminate your nighttime photos with 18 IR LED lights. |
Quick Setup Guide
 Insert Batteries and SD Card
Install 8 AA batteries and a class 10 SD card into camera.
 Mount Camera
Mount the camera at the desired location using the strap mount, Python Lock cable, Articulating Ball Joint Mount, or other desired mounting mechanism. Position the camera so that it does not face East or West directly as the rising and setting of the sun can cause false positive triggers.
 Activate Camera
Camera comes with our most popular settings as default, or customize your configuration and place in desired vantage point to start capturing photos of game.
Camera Overview


Camera Setup
![]() Battery Installation
Battery Installation
Battery pane is located on right side of unit, insert 8 AA batteries into camera, being careful to match the orientation marked on your camera. After batteries are inserted, power on camera to begin normal use.
 SD Card Installation
SD card slot is located on the left side of the camera. Insert SD card with the label facing you. Only minimal resistance should be felt as card is inserted and a click when the card is fully inserted.

Camera Configuration
To access camera configuration, press the Menu button on your camera. When you are finished adjusting camera settings, press Menu once again to return the camera to an active state.

The settings on your camera are broken down into two sections Camera Settings and Advanced Setup. Use the directional arrows to highlight the section you wish to edit, and press Enter to enter into the menu. Settings available in each section detailed ahead.
The Camera Setup & Advaned Settings sections in your camera allows you to customize every setting to fit your exact needs. To begin, press the Menu button on the camera.
Once inside the settings menu, use the Up and Down arrows to scroll through the different settings. To change a setting that is highlighted, press the Enter key and the options for the setting will be displayed. At this point use the Up and Down arrows to change the setting. When finished press the Enter button to save the change or press Menu to cancel change.
When you are finished configuring your camera's settings, press the Menu button to return your camera to an active state.
Camera Setup
- MODE: This setting dictates how your camera will operate.
OPTIONS: PIR Photo | PIR Video | Time Lapse - PHOTO RESOLUTION: This setting will determine the quality of each image. A higher quality will result in better photos and take more memory space.
OPTIONS: 4 MP | 8 MP | 12 MP | 26 MP Note: This setting is only applicable in photo mode. Photo settings will apply in Time Lapse Mode - PHOTO BURST: This setting determines how many photos are taken each time the camera is activated.
OPTIONS: 1 photo – 6 photos
Note: This setting is only applicable in photo mode. - PIR DELAY: This setting is used to determine how long the camera will wait before reinitializing the PIR sensor after taking a photo.
OPTIONS: 5 sec | 10 sec | 15 sec | 30 sec | 60 sec - VIDEO RESOLUTION: This setting will determine the quality of each video. A higher quality will result in better videos and take more memory space.
OPTIONS: 640 x 360 | 1280 x 720 Note: This setting is only applicable in video mode. - OPERATIONAL HOURS: This feature allows you to designate a time for the camera to be active.
OPTIONS:
Always On: Camera is always on
SCHEDULED: Selecting this will allow you to enter a time range for the camera to be active and operational. Camera will not take photos outside of defined time range.
START TIME (HH:MM): Start time for camera to be active
END TIME (HH:MM): Time at which you want the camera to no longer be active - VIDEO LENGTH: This setting is used to determine the length of time, in seconds, of a video recording
OPTIONS: 5 sec | 10 sec | 15 sec | 20 sec | 25 sec | 30 sec
Note: This setting is only applicable in video mode. - TIME LAPSE (TL) DELAY: This setting will adjust the length of time between each photo taken during the time lapse.
OPTIONS: 00 min 05 sec - 59 min 59 sec - TL START: This setting is used to determine the start time of the time lapse.
- TL STOP: This setting is used to determine the end time of the time lapse.
Advanced Settings
- SET DATE: This setting is used by the camera to display the correct date on the Info Bar of the image.
- SET TIME: This setting is used by the camera to display the correct time on the Info Bar of the image.
- TIME ZONE This setting allows you to set your camera to different time zones.
OPTIONS: Eastern | Central | Mountain | Pacific | Alaskan | Hawaiian - TIME FORMAT: This setting is used by the camera to change the display format for the time in the Info Bar of the image.
OPTIONS: 12 hr | 24 hr
NOTE: If 24 hour format is selected, previous SET TIME will be adjusted and AM/PM will be removed. - CAMERA NAME: This setting will allow you to customize the name of your camera.
- TEMPERATURE UNIT: This setting is used to change temperature format on Info Bar.
OPTIONS: Farhenheit | Celsius - INFORMATION BAR: This setting is used to tell the camera whether the Info Bar should be displayed at the bottom of images or video.
OPTIONS: On | Off - SW UPGRADE: This option will allow you to update your camera software if update files are present on SD card. If files are not present, setting simply shows current software version.
OPTIONS: Yes | No - FACTORY RESET: This option will reset the camera to its factory defaults. This will erase any camera setup present.
OPTIONS: Yes | No - FORMAT MEMORY CARD: This setting is used to format the SD memory card installed. Formatting your SD card will ERASE ALL DATA PRESENT. To format card, change setting to Yes and press Enter.
NOTE: After card is formatted it is impossible to restore data that was present on card. - LANGUAGE: This feature allows you to select display language for the menu.
Viewing and Deleting Images
Your camera has a built in Photo/Video player mode, to access, simply press the ![]() button.
button.
Use the Left and Right arrows to navigate through your various camera files.
If your file is a video, the Enter button will function as Play/Pause.
To delete a file, press the Menu button.
Delete Current File: Selecting delete on this option will permanently delete the file currently displayed on screen.
Delete All Files: Selecting delete on this option will permanently delete all files on the SD card.
To return camera to an active state, press the ![]() button once again.
button once again.
Frequently Asked Questions
Q: Will I lose my images and settings if the batteries die?
A: You will lose your settings but not your images. The images are stored on your external SD memory card so your images will be intact only on your card.
Q: Why is my camera taking pictures with nothing in front of it?
A: This camera is powered by motion activation. This can cause objects, like a tree branch or moving water, within the camera frame to cause the camera to take a photo.
Q: Is there a warranty that comes with my camera or an extended warranty I can purchase?
A: Your Stealth Cam Camera comes with a Limited 1-year warranty. Please contact support at 1.877.269.8490 for more information.
Can I mix batteries together?
A: No, you should never mix batteries. After your camera batteries die, always install brand new batteries in your camera.
Can I use rechargeable batteries in the camera?
A: Rechargeable batteries can be used but will cause battery percentage to be reported incorrectly.
What is the flashing green LED?
A: The green LED functions to test the frame of your camera. This test LED will be active for 30 seconds after unit is turned on. When motion is detected in front of camera, the LED will shine green.
Camera Care
![]() Operating Conditions
Operating Conditions
This camera is designed to function in 14°F – 104°F (-10°C - 40°C) 20%-85% relative humidity, non-condensing.
 Product Care
- When not in use, store camera in a cool, dust-free, environment.
- Handle camera with care.
- Camera is weather resistant only. Do not fully submerge camera in water or other liquid. Doing so will void camera warranty.
- Only use same type of batteries to power camera. Do not mix old and new batteries.
- Do not touch camera lens directly. Clean only with soft lens cloth.
- Use damp cloth to clean. DO NOT submerge camera.
- Remove batteries when camera is not in use for an extended time.
- Do not open camera housing to access internal parts. Doing so could damage camera and void warranty.
 Notice
Camera is an active electronic device. Attempting to service internal parts may expose you to dangerous voltages and other risks.
Notice
To ensure the product is being utilized to its full potential, we recommend checking our website for new product updates. If your camera is having an issue, please check our website to determine you are using the latest firmware or software version.
Contact Us
TECHNICAL SUPPORT EMAIL:
stealthcam@gsmorg.com Please allow 48 hours for email response.
GSM, LLC
P.O. Box 535189
Grand Prairie, TX 75053-9504 CUSTOMER SERVICE
CONTACT & HOURS
Toll Free: 877-269-8490
CALL CENTER HOURS
Mon – Fri / 8 AM – 5 PM (CST)
WEBSITE www.stealthcam.com
Documents / Resources
References
Download manual
Here you can download full pdf version of manual, it may contain additional safety instructions, warranty information, FCC rules, etc.
Advertisement


Need help?
Do you have a question about the STC-PXV26 and is the answer not in the manual?
Questions and answers