Table of Contents
Advertisement
Quick Links
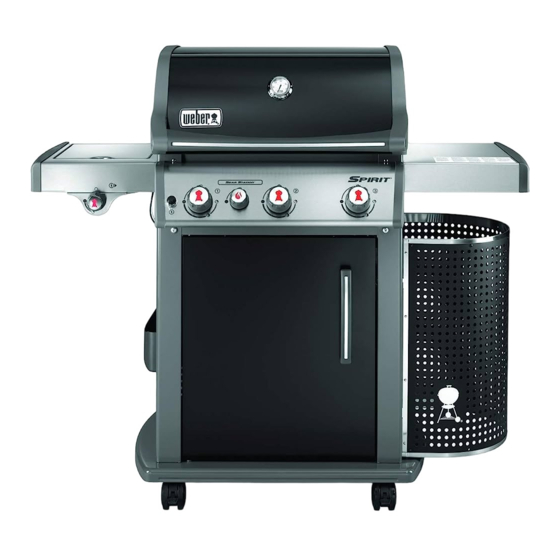
E-210
PREMIUM · E-310
™
S-210
PREMIUM · S-310
™
Thank you for
purchasing a
Weber
grill.
®
Take a few minutes
and protect it by
registering your
product online at
www.weber.com.
845CN-0003
0845
OWNER'S GUIDE
PREMIUM · E-320
™
PREMIUM · S-320
™
YOU MUST READ THIS OWNER'S GUIDE BEFORE
OPERATING YOUR GAS GRILL.
If you smell gas:
1) Shut off gas to the appliance.
2) Extinguish any open flames.
3) Open lid.
4) If odour continues, keep away from the appliance and
immediately call your gas supplier or your fire service.
Leaking gas may cause a fire or explosion which can cause
serious bodily injury, death, or damage to property.
1) Do not store or use petrol or other flammable liquids or
vapours in the vicinity of this or any other appliance.
2) A gas supply cylinder not connected for use shall not be
stored in the vicinity of this or any other appliance.
m WARNING: Carefully follow
all leak-check procedures
in this Owner's Guide prior
to grill operation. Do this
even if the grill was dealer-
assembled.
m WARNING: Do not ignite
this appliance without
first reading the BURNER
IGNITION sections of this
Owner's Guide.
PREMIUM · E-330
™
PREMIUM · S-330
™
m DANGER
m WARNING
OUTDOOR USE ONLY.
NOTICE TO INSTALLER: These
instructions must be left with
the owner, who should keep
them for future use.
PREMIUM
™
PREMIUM
™
58723
EN - INTERNATIONAL ENGLISH
06/01/15
LPG
Advertisement
Table of Contents


Need help?
Do you have a question about the SPIRIT E-330 PREMIUM and is the answer not in the manual?
Questions and answers