Advertisement
SPECIFICATION
| Product Name | Whole House Water Filter |
| Model | FH10/FH20 |
| Suitable Filter Cartridge Size | FH10: 10 x 4 5 Inch FH20: 20 x 4.5 Inch |
| Inlet / Outlet | 1" NPT Brass Port |
| Working Pressure | 15-145 PSI |
| Water Temp | 41-100°F |
| Ambient Temp | 39-104°F |
| Applicable Water Quality | Municipal Tap Water |
PARTS LIST
| Accessory | Quantity |
| Screws | 8 |
| Wall Bracket | 1 |
| Filter Bowl Wrench | 1 |
| Seal ring | 2 |
| Filter housing | 1 |
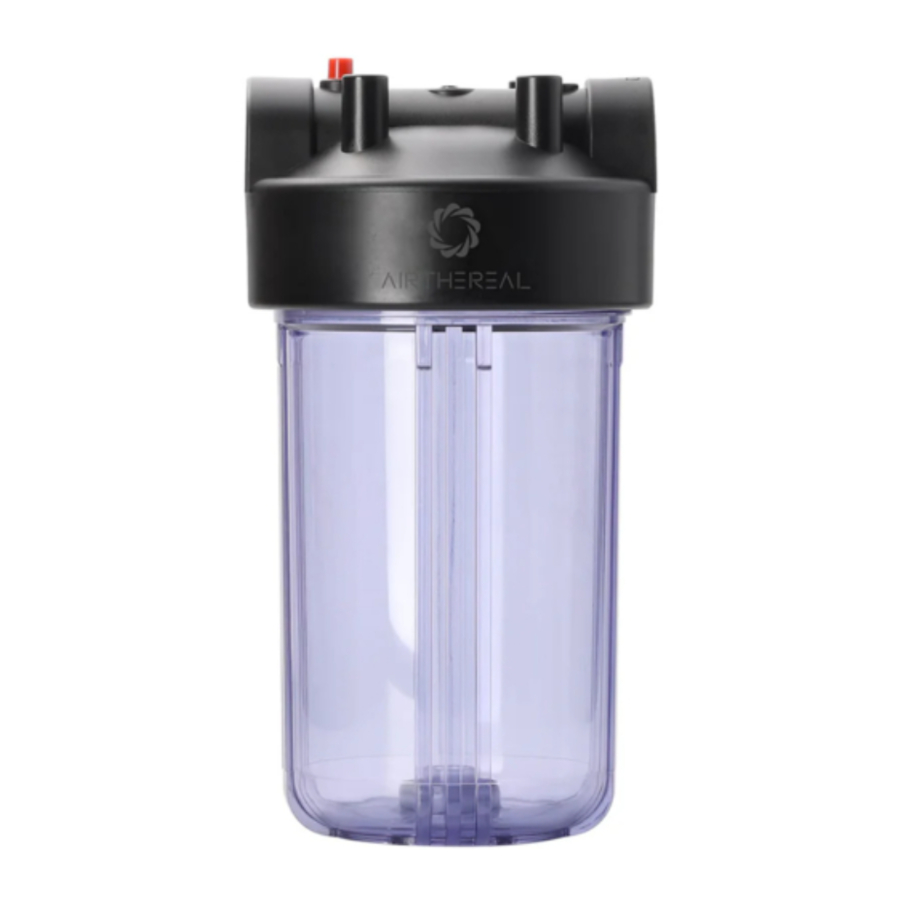
COMPONENTS

INSTALLATION

Before installation
- Choose a place away from direct sunlight and freezing. The product should be installed after the main water supply enters the home. Leave at least 2 inches above the ground to take down the bottle and change the filter
- Check your existing pipe size and type. The water filter inlet and outlet threads are 1" NPT Brass Port
Install the product
- Turn off the water supply (A) and open the nearest faucet to drain pipes before installation Apply about 6" of Teflon tape (B) in a clockwise direction to pipe threads of each adapter.
![]()
Allow 2" clearance below the housing to enable cartridge changes.
Push-Fit x 1" Male NPT Adapter (not included, you should purchase the adapter according to the actual size of the water pipe.)
![]()
- Install the bracket with 4 screws to the top of the filter head.

- Install push fittings to the inlet and outlet and tighten it with a wrench. DO NOT OVER-TIGHTEN
![]()
- Measure length (shown as X on diagram) Mark the section of pipe to be removed Using a pipe cutter or hacksaw, cut and remove the marked section of pipe. File or sand sharp edges on the remaining pipe

- Slip the brass compression nut and ferrule onto each end of the pipe
![]()
- Align filter assembly with ends of pipe, making certain the cap opening marked "
![]() " is facing the direction that water flows. Using two adjustable wrenches, hold the innlet fitting securely with one wrench and tighten nut with second wrench. Repeat process for outlet fitting
" is facing the direction that water flows. Using two adjustable wrenches, hold the innlet fitting securely with one wrench and tighten nut with second wrench. Repeat process for outlet fitting
![]()
- Install the filter, confirm the seal ring is installed

- After the housing isconnected to the plumbing, secure the bracket to the wall using a fixing method suitable to your installation requirement.
Note:
It's essential the housing is secured by the bracket and not just the pipes in order to support the housing operation's weight when full of water and to hold the filter head tightly when using the filter bowl wrench for replacing filters.
![]()
- Slowly turn on the main water supply to filter and depress the red pressure-relief button on the cap to release trapped air. Check for waterleaks. Open the nearest faucet and flush filter for 10 minutes. Wait one hour, then flush again for 10 minutes.
![]()


 " is facing the direction that water flows. Using two adjustable wrenches, hold the innlet fitting securely with one wrench and tighten nut with second wrench. Repeat process for outlet fitting


If water pipes are used to ground electrical systems, appliances or phones, be certain to install a jumper wire over the water filter as shown below
Check for leaks
- Slowly open the main water supply and press the red pressure relief valve to release trapped air until water starts to come out. Check whether faucets can discharge water normally.
- Check whether the connection points of the product are leaking or seeping slowly. If there is water leakage, check whether the connection is tightened. The recommended observation time is 5 minutes
- Make sure there are no leaks, rinse the product with tap water for more than 10-30 minutes before first use
FILTER REPLACEMENT
We recommend changing the filter every 3-6 month.
-
- Turn off the main water inlet valve and open the nearest faucet until the flow stops.
![]()
- Press the pressure relief valve to relieve pressure and use the wrench to unscrew the filter bottle to replace filter.
Be cautious when removing the bottle as it can be very heavy when full of water.

- Turn off the main water inlet valve and open the nearest faucet until the flow stops.
-
- Take out the used filter and throw it away. Remove seal ring, wipe it clean, and set aside. Wipe out the bottom of the filter bottle and bowl with nonabrasive sponge or cloth.
- Rinse it thoroughly. Insert the seal ring back into the groove and smooth into place with finger. Insert new filter in the bottom of filter bottle, making sure it is sitting upright (not tilted).
![]()
- Screw the bottle onto the filter head by hand then use the wrench to tighten it. DO NOT OVER-TIGHTEN
![]()
- Turn on the water supply slowly to fill the product with water. Press the pressure-relief button to release trapped air until water starts to flow. Check for leaks


MAINTENANCE
- Regularly press the pressure-relief button to drain the sediment and rinse the filter assembly.
- Do not use strong volatile solvents such as soap, detergent, thinner, gasoline and alcohol to clean the product, otherwise it may cause cracks, scratches and discoloration.
TROUBLESHOOTING
| Problems | Possible Reason | Solution |
No water comes out | There is no water supply | Wait until water comes |
| The main water supply valve is closed | Open the main water supply valve | |
The water discharge is small | The water supply valve is not fully open | Fully open the water supply valve |
| The filter is blocked | Replace the filter | |
There is leakage on inlet/outlet connections | The connection is loosely connected | Tighten the nuts on the inlet/outlet port with a wrench. Do not over tighten |
| The seal ring is broken | Replace with a new ring | |
| The seal ring is not put in place | Clean the ring and the groove and place it back. Tighten the filter bottle with the wrench accessory |
SAFETY INSTRUCTIONS
IMPORTANT SAFE GUARDS: To avoid the risk of serious injury when using your whole house water filter basic safety precautions must be followed, including but not limited to the following.
- Please check whether the product is damaged after unpacking and whether the accessories are complete.
- This product is intended for use in municipal tap water supply filtration.
- Please avoid installing the product in areas with extreme temperatures, as this can lead to damage caused by excessively high or low ambient temperatures.
- Avoid damage to the machine, such as collision, freezing, overheating, chemical contact, hammering, etc.
- Do not place the product in direct sunlight.
- When cleaning the internal filter, do not use corrosive cleaners to prevent damage to the filter.
- Please do not modify the product yourself to prevent water leakage and damage to the machine.
- Please do not use other accessories that are not approved by the manufacturer. If it causes machine failure, the warranty will be void
- If you are traveling for a long time or stop using it for a long time, please turn off the water supply. The next time you start using it, you must rinse it before normal use
LIMITED WARRANTY
How to request warranty services?
To obtain the benefit of this warranty, please email support@airthereal.com.
Our customer service team will address your issue as soon as possible!
Always here to help you
www.airthereal.com

Cancer and Reproductive Harm
www.p65warnings.ca.gov
Produced for: West Ryder Technology LLC
2330 Paseo Del Prado STE C304
Las Vegas, NV 89102
Documents / Resources
References
![www.airthereal.com]() Airthereal - Ozone Generators, Air Purifiers, Water Heaters, Composter
Airthereal - Ozone Generators, Air Purifiers, Water Heaters, Composter![www.p65warnings.ca.gov]() http://www.p65warnings.ca.gov
http://www.p65warnings.ca.gov

Download manual
Here you can download full pdf version of manual, it may contain additional safety instructions, warranty information, FCC rules, etc.
Advertisement


Need help?
Do you have a question about the FH10 and is the answer not in the manual?
Questions and answers