
Related Manuals for Lorex Wired Pro A Series


Summary of Contents for Lorex Wired Pro A Series
- Page 1 Wired Pro A Series Quick Start Guide (EN) Guide de démarrage rapide (FR) Guía configuración rápida (ES) LNE45DDB LNE45DDW pro.lorex.com...
-
Page 2: En - Safety Precautions
REGULATED power supply is REQUIRED (not included). Use of a non-regulated, non-conforming power supply can damage this product and voids the warranty. Disclaimers • Use the camera only with compatible Lorex recorders. For a full list, visit lorex.com/compatibility. • Not intended for submersion in water. Installation in a sheltered location recommended. •... -
Page 3: Clauses De Non-Responsabilité
Clauses de non-responsabilité • Ne pas utiliser la caméra qu’avec des enregistreurs Lorex compatibles. Pour accéder à la liste complète, veuillez consulter : lorex.com/compatibility. • Ne pas immerger l’appareil dans l’eau. Installation recommandée dans un emplacement couvert. -
Page 4: Descargo De Responsabilidad
• La grabación de audio y/o video sin consentimiento es ilegal en ciertas jurisdicciones. Lorex Corporation no asume responsabilidad alguna por el uso de sus productos de modos que no cumplan con las leyes locales. - Page 5 What’s Included • Ce qui est inclu • Qué está incluido Note: Based on 1 camera / Basé sur 1 caméra / Basado en 1 cámara Mounting Bracket 4MP IP PoE Wired Turret Camera Mounting Template Support de montage Caméra IP filaire de type tourelle PoE 4 MP Gabarit de montage Soporte de montaje Cámara de torreta con cable IP PoE 4 MP...
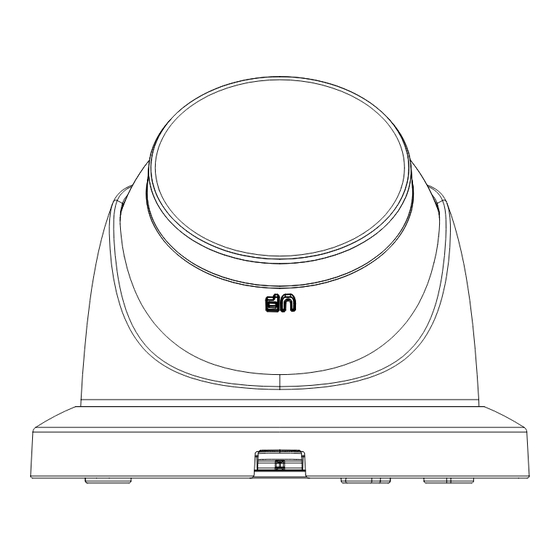
- Page 6 Overview • Aperçu • Descripción general 12V DC Power Connector Microphone Connecteur d’alimentation Microphone 12 V c.c. Micrófono Conector eléctrico de 12 Adjustment Screw V CC Vis de réglage Ethernet Connector Tornillo de ajuste Connecteur Ethernet Cable Notch Conector Ethernet Encoche du câble Release Tab Ranura para cables...
- Page 7 NVR Connection • NVR Connection • NVR Connection Before installing, ensure the camera is ready to capture footage by connecting it to the NVR’s PoE port with the Ethernet cable. Avant l’installation, assurez-vous que la caméra est prête à capturer des images en la connectant au port PoE du NVR à...
- Page 8 EN - Camera Placement Tips • Consider what you want to monitor and find the best area for coverage. • Place the camera close to the area of interest. • Avoid placing the camera directly in front of obstructions like trees, bricks, rain gutters, or reflective surfaces.
- Page 9 FR - Conseils pour l’installation de la caméra • Réfléchissez à ce que vous voulez surveiller et trouvez la meilleure zone de couverture. • Placez la caméra à proximité de la zone d’intérêt. • Évitez de placer la caméra directement devant des obstacles tels que des arbres, des briques, des gouttières ou des surfaces réfléchissantes.
- Page 10 EN - Camera Installation Warning! Ensure the mounting surface supports 3.18 lbs/1.4 kg, 3× the camera’s weight. Use the mounting template to mark and drill holes for screws and the camera’s cable. Note: To route cables along a wall, use the camera’s cable notch.
- Page 11 Guide the camera’s cable through the surface opening or cable notch. Connect one end of the Ethernet cable into the camera’s Ethernet connector and the other end into the NVR’s PoE port. Secure the weather-resistant cap by twisting it onto the camera’s Ethernet connector. If exposed to rain, seal it with silicone or electrical tape.
- Page 12 Attach the camera to the bracket by aligning the tabs with the slots. Ensure the “PUSH” tab on the bracket sticks out from the camera’s release slot. Slide the camera forward until it securely “clicks” into place. Note: To detach the camera from the bracket, PUSH grip the camera firmly and push the “PUSH”...
- Page 13 FR - Installation de la caméra Avertissement! Assurez-vous que la surface de montage peut supporter 1,4 kg (3,18 lb), soit 3 fois le poids de la caméra. Utilisez le gabarit de montage pour marquer et percer les trous pour les vis et le câble de la caméra.
- Page 14 ES - Instalación de la cámara Warning! Ensure the mounting surface supports 0.8 lb/0.36 kg, 3× the camera’s weight. Utilice la plantilla de montaje para marcar y perforar los orificios para los tornillos y el cable de la cámara. Nota: Para pasar cables a lo largo de una pared, utilice la ranura para cables de la cámara. Retire la pieza delineada alrededor de la ranura con unos alicates.
- Page 15 Can I use a PoE switch to connect the camera to the NVR? Yes, you can connect the camera to the NVR by connecting it to a PoE switch, available at lorex.com. How do I access the camera’s footage from my phone? To view the camera’s footage from your phone, use the compatible NVR app.
- Page 16 événements de détection en définissant les options de ‘Trigger’ (déclenchement). Pour des instructions détaillées, consultez le manuel du NVR sur help.lorex.com et recherchez le numéro de modèle du NVR.
- Page 17 ¿Puedo usar un conmutador PoE para conectar la cámara al NVR? Sí, puede conectar la cámara al NVR a través de un conmutador PoE, disponible en lorex.com. ¿Cómo accedo a las imágenes de la cámara desde mi teléfono? Para ver las imágenes de la cámara desde su teléfono, use la aplicación del NVR compatible.
- Page 18 For additional support, scan the QR code or visit: Pour obtenir une assistance connexe, balayer le code QR ou consulter le site : Para obtener asistencia relacionada, escanee el código QR o visite: help.lorex.com/LNE45DD-series Register Your Product • Enregistrez votre produit • Registre su producto See our full Terms of Service and Limited Hardware Warranty Policy at: Veuillez lire nos Termes de Service et notre Politique de Garantie Matérielle Limitée sur le site:...
- Page 20 Copyright © 2024 Lorex Technology Inc. As our products are subject to continuous improvement, Lorex reserves the right to modify product design, specifications and prices, without notice and without incurring any obligation. E&OE. All rights reserved. Wired Pro A Series...
Need help?
Do you have a question about the Wired Pro A Series and is the answer not in the manual?
Questions and answers