
Related Manuals for SetonixSynth Sands of Time


Summary of Contents for SetonixSynth Sands of Time
- Page 1 Sands of Time Filtered Noise Source - Assembly Instructions for Eurorack Copyright 2024 SetonixSynth. All rights reserved.
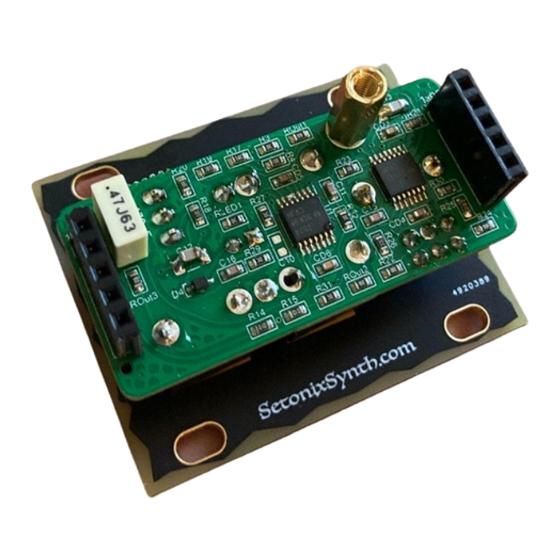
- Page 2 Hello and thank you for building the Sands of Time DIY kit. We hope you will find its sound and vibe useful and fun! Bill of Materials: 1x Panel + 2x SMT populated PCB 1x Through Hole LED 1x 10-Pin 2.54mm Power Header (or 2x 5-pin Single Row headers)
- Page 3 Rear of Panel PCB. Note the position of the 470nF cap and 11mm spacer. 4. Prep your pin headers: insert two 1x5 pin headers into two 1x5 pin sockets and press them together. 5. Place the two pin header assemblies from step 4 into the footprints on each side of the Panel PCB.
- Page 4 Properly aligned PCB sandwich. Note the spacer and screw hole line up and the transistor is not yet soldered! 8. Unscrew the M3 screw on the main PCB and pull the sandwich apart. The headers should all be soldered and straight, ready to be re-attached later. 9.
- Page 5 2N3904 transistors to find a suitable one. 20. Once you have tested, calibrated, and fully soldered your Sands of Time module, it’s time for final assembly. Tighten all the front panel nuts as much as you can and put the knob on the Filter Freq.
Need help?
Do you have a question about the Sands of Time and is the answer not in the manual?
Questions and answers