Advertisement
Quick Links
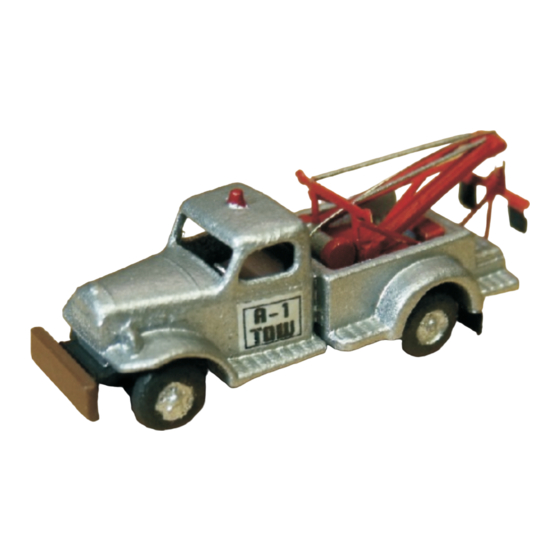
Assembly Instructions For Z-Scale
Power Wagon Tow Truck
www.eaelec.com
Made in Canada
The Dodge Power Wagon was mechanically derived
from the WC series of 3/4 ton military trucks.
Introduced in 1946 as the first post-war civilian
production 4x4 truck; it featured an enclosed all-
weather cab, an 8-foot cargo box, 126 inch wheelbase
and a 230 cubic-inch flathead inline-six engine. This kit
is the tow truck version of the Power Wagon.
A PDF version of this document can be downloaded
from:
http://www.eaelec.com/ea_trains/zgauge_civ.htm
3D printed parts Included in the kit:
A. chassis
B. cab/tow bed
Also included:
1 photo-etched (PE) set
1 decal sheet
2 pieces of fine wire
Required to complete the kit:
Paint - see painting guide
Glue - CA and white canopy glue
Tools - X-acto knife with sharp #11 blade,
#400 and 600 sandpaper, flush cutters,
pliers, tweezers and photo-etch shears
Photo-Etch Tools
WARNING: CHOKING HAZARD
Keep out of reach of small children!
Note that these ARE NOT TOYS, AND
ARE NOT INTENDED FOR USE BY
CHILDREN UNDER AGE OF 14. These
products are model railroad equipment
and accessories intended for use by
adults.
3D Printed Parts in the Kit
Mud
Photo-Etched (PE) Set
Flaps
Steering
Wheels
Lifting
Frame
The 3D printing process requires a supporting frame during
printing, see below. The printed part is cut from the frame
using flush cutters and this sometimes leaves small bumps on
the part. Use a knife with a sharp new blade to cut away the
bumps. A flat jeweler's file is also useful for removing bumps.
For bumps on the cab body, sanding is recommended.
Page 1
A
B
Boom
Support
Boom
Decal Sheet
Advertisement

Related Manuals for Eaelec Z-Scale Power Wagon Tow Truck


Summary of Contents for Eaelec Z-Scale Power Wagon Tow Truck
- Page 1 3D Printed Parts in the Kit www.eaelec.com Made in Canada The Dodge Power Wagon was mechanically derived from the WC series of 3/4 ton military trucks. Introduced in 1946 as the first post-war civilian production 4x4 truck;...
- Page 2 Apply a small drop of white glue to round off the back of each light. Step 4: bend the narrow end of the boom down as shown on left Rear-facing Spotlights Apply Glue here www.eaelec.com Page 2...
- Page 3 I use a pin vise and a #70 bit. Apply a tiny drop of CA Silver glue to the wire on the engine compartment side. When glue is dry, snip off any excess wire in the engine compartment. Insert into hole www.eaelec.com Page 3...
- Page 4 Bring wire through hole and bend Glue Here upwards Now bend down the 2 boom support cables and glue to the Glue cab/bed to chassis, model is finished. top of the boom using CA glue. Glue here Support cables www.eaelec.com Page 4...
Need help?
Do you have a question about the Z-Scale Power Wagon Tow Truck and is the answer not in the manual?
Questions and answers