Advertisement
Package Contents

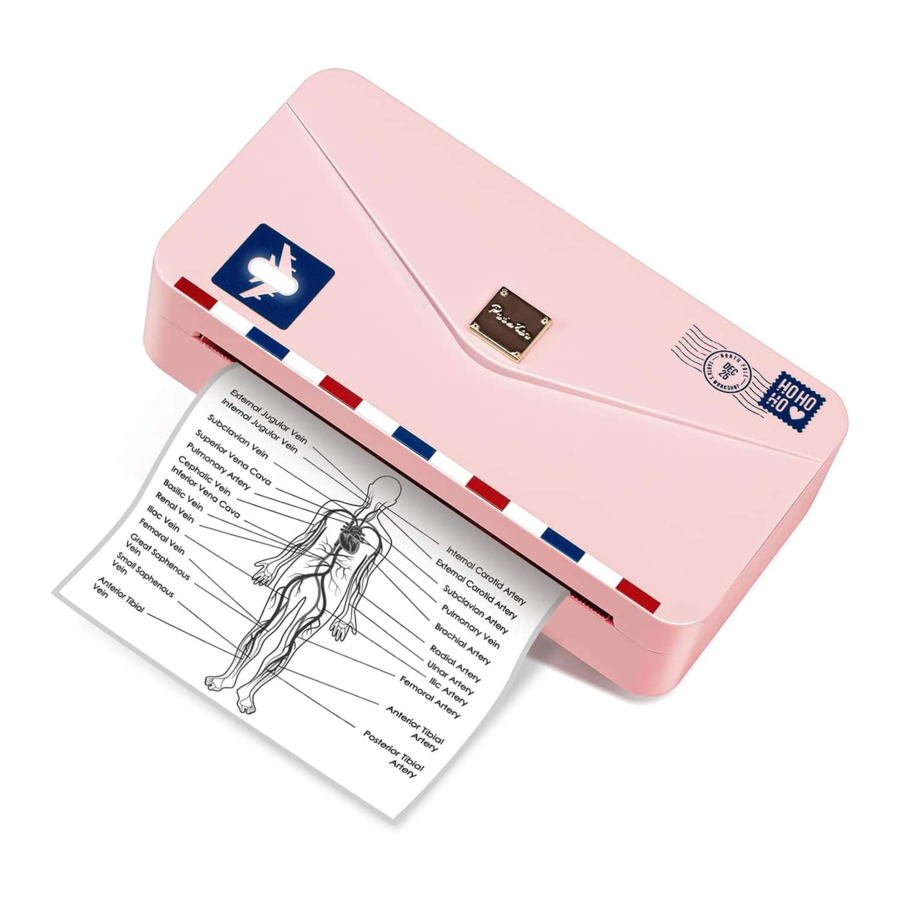
Printer Components

Indicator Light Guide
| Power indicator status description | Lighting form | power on/printing normally/charging completed |
| Slow flashing | Charging | |
| Quick flashing | Insuffcient battery / out of paper / overheating | |
| Off | Shut down/charge completed |
Note

Before using, please read this manual carefully and keep it properly for future reference.
- Please use a 5V
![]() 2A adapter to charge the printer. You may use a phone adapter to charge the printer.
2A adapter to charge the printer. You may use a phone adapter to charge the printer. - Connect the USB cable to a power adapter to charge the printer. When charging, gently insert or remove the power cord to prevent damaging the terminals.
- Please remove the power cable after charging.
- To prevent any dangerous situations, please do not use or charge the printer in environments that are too hot, too wet, or contain a lot of smoke and dust. Do not use them in bathrooms, saunas, open flame, etc.
- Charging inappropriately might damage the printer head.
- Do not touch the printer head as it might burn.
- The paper cutter blade is very sharp. Please be careful when handling it.
- If the printer malfunctions, gently poke the reset hole to restart the printer.
 2A adapter to charge the printer. You may use a phone adapter to charge the printer.
Battery Warnings and Instructions
- Do not disassemble, crush, break, or toss the batteries into fire.
- Please do not reuse when the battery is swollen.
- Please do not use if the battery is exposed to water and high temperature.
- Using the wrong battery may cause an explosion. Please dispose of used batteries according to the Instruction Manual.
- If the user wishes to use an adapter, please purchase and use adapters that have CCC certificates or fulfill relevant safety standards.
How to Download the App
Mobile Download

Please search for "Phomemo" on your device' s app market and download the software.


Install Thermal Paper
- Open the top cover and take out printing paper

- Remove the adjuster on the right sider
![]()
- Load the printing paper
![]()
- Install the adjuster on the right side
![]()
- Put the printing paper into the paper compartment of the machine and close the top cover


 Tips: How to distinguish the front and back of printing paper
- Take out a printing paper and use your nails to scratch the paper firmly, and then install with the color side up;
- Please make sure that the smooth surfaceis facing up and aligned with the printing port.
- Our product can print labels of different sizes. Please adjust the leveron the right in accordance with the width of the label.
Install APP
Method 1:
Turn on your phone' s Bluetooth and open your Phomeno App. Press the button on the top right of your Phomeno App home page and select M03AS from the list.

Method 2:
Double-press the printer' s power button to print a QR code. Open your Phomeno App and press the button on the top right of your Phomeno App home page. On the selection page, press scan and scan the QR code to connect to the printer.

NOTE: Android system needs to enable positioning and allow app to obtain relevant permissions.
After-sales services
Whatsapp : +8613928088284 / +8615338193665
Skype: Phomemo Team Jessie / Phomemo Team Helen
Tel: +1 855 957 5321(US only)
Office Hours: Monday to Friday from 9 a.m. to 5 p.m. EST
support@phomemo.com
www.phomemo.com
 : Please search for "Phomemo" to find more guides on how to operatethe printer.
Official Thermal paper Type
- Waterproof, oilproof, PVC thermal paper: Does not contain Bisphenol-A. Scratch-resistant. Can retain the printed image for 7-10 years.
- Color thermal paper: Does not contain Bisphenol-A. Includes colors such as yellow, pink, blue, etc. Can retain the printed image for up to 5 years.
- Self-adhesive thermal paper: Doesnot contain Bisphenol-A. The thermal paper has an adhesive side that can stick to objects. Can retain the printed image for up to 10 years.
- Semi-transparent thermal paper: Does not contain Bisphenol-A. Waterproof, oilproof, and scratch-resistant. Excellent retention of the printed image for up to 15 years.
* The above mentioned are official Phomemo thermal papers.
* We are not responsible for any damage caused to the printer if unofficial thermal papers are used.
Basic Functions
Print images
Steps:
- Choose the "Print Images" function in the Phomemo App
- Add the photos you wish to print.
- Adjust the setting of the image in the workspace.
- Choose the printing intensity.
- Press the "print" button on the lower right corner to print.
Graphic Function
The Graphics library contains various materials drawn by artists. You can modify and personalize the materials using the following steps.
Step1: Select the "Graphic" function in the Phomemo App.
Step 2: Select any object to enter the edit screen.
Step3: You can create personalized edits by adding text, table, image, stickers, QR codes on the edit screen. Any content edited is previewed on the edit screen.
| Function | Description |
| Text | Selecting "Text" will insert atext box for editing. You can edit the content's font, alignment, etc. |
| Table | Selecting "Table" will insert a table for editing. |
| Image | Selecting "Image" will insert an image for editing or printing. |
| Emoji | Selecting "Emoji" will insert an Emoji for editing or printing. |
| QR code | Selecting "QRCode" will bring you to a screen where you can insert any text or numbers to generate a QR Code. |
Step 4: Press the  button on the upper right corner to print.
Printing Windows Application Files
Select the "print Web" function in the Phomemo App and enter the URL to access the webpage. Press the "Print" button to print the content of the webpage.
Frequently Asked Questions
| Common problems and solutions | ||
| Problem | Reason | Solution |
| Only half the paper is printed |
| Reinstall the paper holder according to the paper adapter. |
| Reinstall the paper holder according to the paper adapter. | |
| The printer cannot charge properly |
| Connect the printer. You can check the remaining power of the printer at the Bluetooth connection indicator in the upper right corner. |
| Use a 5V 2A charger, Under normal circumstances, the printer will befully charged in 2-5 hours. 2A charger, Under normal circumstances, the printer will befully charged in 2-5 hours. | |
| Do not leave the printer uncharged for more than 3 months or so. The battery power might run out completely and fail to activate or charge. | |
| Cannot connect to the Printer' s Bluetooth |
| Activate your phone' s Bluetooth. (Bluetooth function doesnot activateautomatically. You have to activateit manually) |
| The printer is not turned On, Turn on the printer. | |
| Press the Power Button of the printer twice to print the QR Code. Scan the QR Code to connect to the printer. | ||
| Disconnect your printer from other existing phones. You may only connect the printer to one phone at a time. | |
| You cannot connect to the printer while connected to your Bluetooth earphones. Disconnect from all other devices before connecting to the printer. | ||
| Android devices need to turn on their location. | |
| Unable to print |
| The paper is installed the other way round. The printing surface should be installed facing up. |
| Restart your phone. | |
| The paper is stuck, pull out some paper. | |
| There's no power. Chargefor half an hour. | |
| Reinstall the paper. The paper is not pulled to the output slot. Pull a segment of paper out of the paper output slot. | ||
| Paper jammed in the printer |
| Remove the paper holder, manually pull the paper roll tight, and reinstall the paper holder. Or use the paper roll directly. |
| Open the printer' s paper compartment and use rubbing alcohol to clean the interior of the printer. | |
| App shows that the printer has run out of paper |
| Reinstall the paper. The paper is not extended toward the paper output slot. |
| The sensor has malfunctioned. Use rubbing alcohol to clean the sensor. | |
| Uninstall and reinstall the App | |
| Missing prints |
| Reinstall the paper holder according to the paper adapter. |
| Take out the paper and cut off the deformed area. Reinstall and continue to print. | |
| Close the printer' s cover properly using your palm. | |
| No power. Charge before printing. | |
| Set the printing intensity to the highest. | ||
| The paper will expire even if placed inside the machine when exposed to humidity and the air for a long time. | |
| Store unused paper in a sealed bag or container. | ||
| The text on the paper is faint | Improper storage | Thermal paper should not be glued together. |
| Record your edits before you print. After printing, avoid using permanent markers or rollerball pens on the paper. | ||
| Environmental temperature, humidity, alcohol, sanitizers, sweat, or hand soap can cause the text to fade. | ||
| Store the printing papers away from sunlight in a dry environment. | ||
| After printing, do not store the paper with the printing surface touching another printing surface or plastic surface. | ||
| Please choose self-adhesive thermal paper. Some alkaline-based adhesive will cause the print to fade faster. | ||
Documents / Resources
References
Download manual
Here you can download full pdf version of manual, it may contain additional safety instructions, warranty information, FCC rules, etc.
Advertisement


Need help?
Do you have a question about the M04AS and is the answer not in the manual?
Questions and answers