
Related Manuals for A.M.I. IST1010


Summary of Contents for A.M.I. IST1010
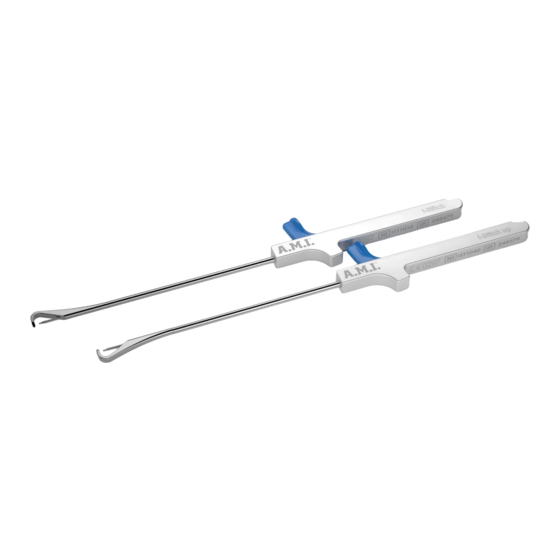
- Page 1 Application Manual IST1010 / IST1040 Available i-Stitch loading units: IST1021, IST1051, IST1011, IST1031 Feldkirch, July 2021...
- Page 2 i-Stitch, i-Stitch up and i-Stitch loading unit...
- Page 3 Secure suture • Take the i-Stitch loading unit. • Gently pull the suture backwards, so that the blunt suture tip is positioned directly at the end of the cannulated needle. • Secure the suture with the suture clamp.
- Page 4 Insert i-Stitch loading unit • Insert the i-Stitch loading unit into the i-Stitch guiding slot. • Make sure that the loading unit fits correctly in the guiding slot. • Insert the loading unit to approx. 1 cm before the end of the guiding slot (stop position), you will feel a slight resistance.
- Page 5 Place index finger • Place your index finger at the desired target position. • Guide the blunt instrument tip along your index finger to the desired position. • Depth markings on the tip serve as a guide to determine insertion depth of the tip.
- Page 6 Push tip into ligament • Push the tip of the instrument into the sacrospinous ligament using your index finger (the reference marking indicates the correct position). • Attention: press the index finger on the tip until you remove the entire i-Stitch instrument.
- Page 7 Push loading unit forward • Push the loading unit forward with your thumb to release the instrument. • An audible click can be heard. • The blunt suture tip penetrates the tissue and passes through. • The blunt suture tip is secured in the i- Stitch‘s tip.
- Page 8 Release suture from suture clamp • Before removing the loading unit, release the suture from the suture clamp. It will no longer be secured. • Withdraw the loading unit completely from the i-Stitch/i- Stitch up.
- Page 9 Lift up tip • Remove your index finger from the tip of the i-Stitch instrument. • Lift the tip of the instrument slightly and remove the instrument. • The suture will remain firmly in place.
- Page 10 Remove i-Stitch or i-Stitch up • Remove the i-Stitch or i-Stitch up instrument. Grasp the two endings of the suture. • Make sure that the suture is tight and correctly attached.
- Page 11 Thank you for your attention! Please have a look at our animation. i-Stitch animated video Feldkirch, July 2021...
Need help?
Do you have a question about the IST1010 and is the answer not in the manual?
Questions and answers