Table of Contents
Advertisement
Quick Links
Advertisement
Table of Contents

Related Manuals for Yongnuo YN-622N


Summary of Contents for Yongnuo YN-622N
- Page 1 User Manual 用户手册...
-
Page 2: Table Of Contents
CONTENTS Conventions used in the manual ..1 General Description ... . . 2 Supported Functions List ... 3 Compatibility List . -
Page 3: Conventions Used In The Manual
Conventions used in the manual Read this user manual while also referring to your camera's & flash's user manual before using in order to correct use this product. The functions described in this user manual are all under the conditions that: all transceivers are set in the same channel, power of all equipments are on, enabled the flash firing. -
Page 4: General Description
General Description Thank you for purchase the products of Yongnuo firstly. Y N - 6 2 2 N i - T T L w i re l e s s t r a n s c e i v e r i s a h i g h Ÿ... -
Page 5: Supported Functions List
Support flash zooming (auto) Ÿ Built-in AF assist beam emitter (AF Lamp) Ÿ Settings saved automatically Ÿ Compatible with YongNuo/ Nikon series flashes Ÿ Support PC port triggering strobe flashes Ÿ PC port support front/rear curtain sync and high- Ÿ... -
Page 6: Compatibility List
Compatible camera list : Nikon D70/D70S/D80/D90 D200/D300/D300S/D600/D700/D800 D3000series/D5000series/D7000series Compatible i-TTL flash list : YongNuo YN465N/YN467N/YN-468N(II)YN565N/YN568N Nikon SB-400/SB-600/SB-700/SB-800/SB-900/SB-910 List of that the master unit using master control mode on the transmitter is supported (refer to p15): SB-700/SB-900/SB-910/SU-800 ※... -
Page 7: Name Of Parts
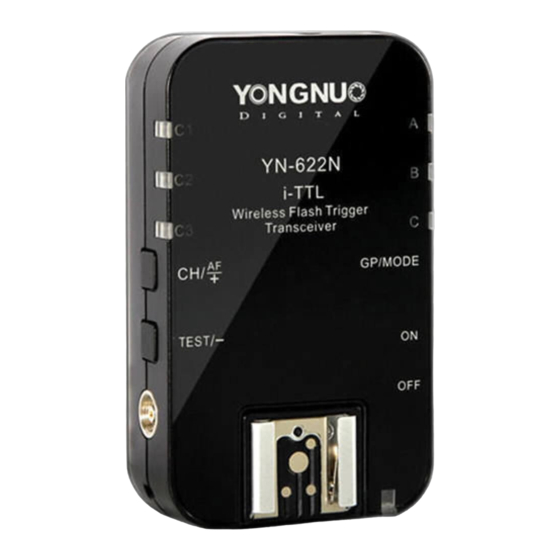
Name of Parts ※The protective film can be torn out. A Channel indicator PC port B Group indicator AF assist beam emitter C Channel /AF lamp setting button K Locking ring D Group /Mode setting button L Mounting foot E Test button M locking pin F State indicator N Eyelet... -
Page 8: Preparation Before Use
Preparation Before Use 1. Installing the Batteries Open the cover and install two AA batteries (excluded)according to the marks , rechargeable batteries o f 1 . 2 V c a n b e u s e d . S t a t u s indicator will blinks in red when the batter y is low, replace the batter y. - Page 9 Preparation Before Use 3.Install Flash on the Hot Shoe of the Receiver 1. Install the transceiver on the mini stand or other fixing equipment (excluded). 2. Loosen the locking ring of the flash. 3. Slip the mounting foot of the flash into the receiver.
-
Page 10: Setting
Setting 1. Power Switch Power on when the power switch slides to [ON], power off when the power switch slides to [OFF]. 2. Channel Setting Short press the[ ] button and the channel indicator will keep lighting for several seconds to indicate the current channel, at this time shortly press the button again to change channel, and there are totally 7 channels. - Page 11 Setting 4.Transmitter group setting Method 1: 1).Half press the camera button to enter into the transmitting state. 2).Short press the [GP/MODE] button i n t h e t r a n s m i t s t a t e , s e t t h e t r a n s m i t t i n g g r o u p , t h e n t h e indicator light will display the groups involved in flash.
- Page 12 Setting 6.Set the flash parameter of each group on the transmitter (remote control mode) i-TLL transmitting state: increase/decrease the flash Ÿ exposure compensation(FEC), supporting the FEC set between -3 to +3 with 1/3 or 1 step. Manual transmitting state: increase/decrease the flash Ÿ...
- Page 13 Setting Manual Flash Output Control(remote control mode) YN-622N provides a general way of manual control Ÿ of the flash output . For the same manual flash output values of 622N, even using different GN of the flash, the output is the same (in case not exceed the effective range of the flash).
- Page 14 Setting 7.Flash Shutter Sync: Refer to the camera’s setting. Supports front-curtain Ÿ sync, rear-cur tain sync and high speed synchronous (HSS/Auto FP*). *Using high-speed synchronization need to set the flash sync speed of the camera to AUTO FP *The maximum high-speed synchronization speed is 1/8000s or 1/4000s (depends on the camera).
-
Page 15: Flash Awaking /Testing Flash
Flash awaking and testing flash When half press the shutter button of the camera, Ÿ the hot-shoe flash will be awaken. In standby state, pressing the [TEST/-] button of the Ÿ transceiver will awake the flash. When loosening the button, the flash of the group having been selected will fire a test flash. -
Page 16: Usage
Usage 2 Transceiver kit packages Ÿ C o m p o s e m u l t i p l e Ÿ Use 1 off-camera flash or 1 off- groups through additional camera flash + 1 on-top flash. purchase transceiver. 1.Remote Control Mode: REMOTE MASTER Set the flash(receiver) to i-... - Page 17 Usage 3.Master Control Mode& On-top flash. 1.Power on of the on-top flash: First turn on the on- top flash, then turn on the transmitter. 2.The on-top flash use non master control model: Flash modes, exposure compensation (flash output), Ÿ zoom or other parameters set directly on the flash, not affected by the transmitter settings.
- Page 18 Usage 4.PC Port Triggering (Support Super Sync *) Caution! Do not connect to the PC port any flash requiring trigger voltage more than 300V, or the transceiver may be damaged. Purchase corresponding PC flash sync cord according to Ÿ the different ports of the flashes needs . 1.
- Page 19 Usage 5. The single contact camera/flash: Manually setting the flash output 1).Transmitting group setting: According to the transmitter group setting method 2(P9). 2).Flash mode setting (on the flash):Set to manual flash mode, use the transmitter's main flash trigger contact; but it does not support high synchronous s p e e d o r o t h e r T T L f u n c t i o n ( t h e m a x i m u m synchronous speed is 1/250s or less).
-
Page 20: Troubleshooting
Troubleshooting 1. Fail to power on or automatic shutdown: ● The batter y is loaded inversely or exhausted; it will power off automatically when the batter y is going to be exhausted in case of being over discharged. ▲ Install the batter y according to the correct direction the batter y compartment indicates and ensure the batter y is full and restart the power (refer to page 6). -
Page 21: Specifications
Specifications System type: Digital FSK 2.4GHz wireless transceiver Distance: 100M Channel: 7 Flash mode: i-TTL, Manual flash Sync mode: front-curtain sync, rear-curtain sync, Hi- speed sync(Auto FP) Groups: 3Groups (A/B/C) Sync speed: 1/8000s* Input: Hot-shoe Output: Hoe shoe, PC port Compatible type of flash: Hot-shoe flash, Strobe flash Batter y: AAX2 (support 1.2 V rechargeable batter y) Stand-by time: 60h...
Need help?
Do you have a question about the YN-622N and is the answer not in the manual?
Questions and answers