Advertisement
Quick Links
Please visit our website for the most current instructions, assembly tips, to report damage
or request parts. www.walkeredison.com
Copyright © 2018, by Walker Edison Furniture Co., LLC, All rights reserved.
Copyright © 2018, by Walker Edison Furniture Co., LLC, All rights reserved.
Item: KOAD1D
Assembly Instructions
Revised
08/23
-V-1
P.1
Advertisement

Related Manuals for Walker Edison KOAD1D


Summary of Contents for Walker Edison KOAD1D
- Page 1 Please visit our website for the most current instructions, assembly tips, to report damage or request parts. www.walkeredison.com Revised 08/23 -V-1 Copyright © 2018, by Walker Edison Furniture Co., LLC, All rights reserved. Copyright © 2018, by Walker Edison Furniture Co., LLC, All rights reserved.
-
Page 2: General Assembly Guidelines
General Assembly Guidelines and hammer Copyright © 2018, by Walker Edison Furniture Co., LLC, All rights reserved. -
Page 3: Parts List
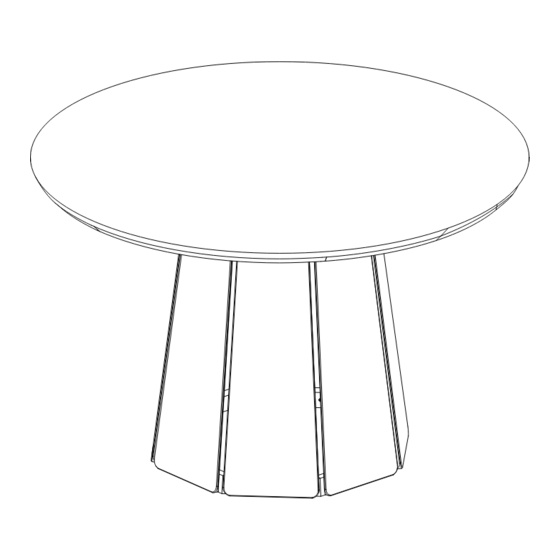
Parts List 01 pc Table top Rail 01 pcs Octagonal panel 02 pc 06 pcs Base panel Base panel with cutout 02 pcs Mounted rail 04 pcs... -
Page 4: Hardware List
Hardware List ø8*25mm 40 pcs Wooden dowel Wooden dowel ø3,5*35mm 32 pcs Screw ø1/4"*40mm Screw 09 pcs ø7"*50mm Screw 04 pcs Hex Key 01 pcs 12mm 05 pcs Washer 04 pcs Adesive Felt Hammer recommended Philips head screwdriver required for assembly (not included) for assembly (not included) The hardware quantities listed above are required for proper assembly. - Page 5 Step 1 Insert wood dowel (A) into part 3 and 6. ø8*25mm Step 2 Fix parts 6 to each other 04 E with the screw (D) using a hex key (E). Hex key ø7*50mm...
- Page 6 Step 3 The UP label should be facing up as shown in step. Fix the cut-out panels 5 to the mounted rails 6 with the screws (B), using a Philips Screwdriver. ø3,5*35mm Step 4 The UP label should be facing up as shown in step.
- Page 7 Step 5 Fix the rails 2 on the table top 1 with the screws (C) and washer (F), using a hex key (E). ø1/4*40mm Washer Hex key Step 6 Before attaching remove the adhesive protection. Fix the pre-assembled base to the table top 1 with the screws (C), using a hex key (E) and attach the adhesive felt (G) in part 6.
- Page 8 Step 7 Fix the base panels 4 on the octagonal panels 5 and on the mounted rails with the screws (B), ø3,5*35mm using a Philips Screwdriver. Step 8 Distributed weight.