
Subscribe to Our Youtube Channel
Related Manuals for Zenith H13E01L


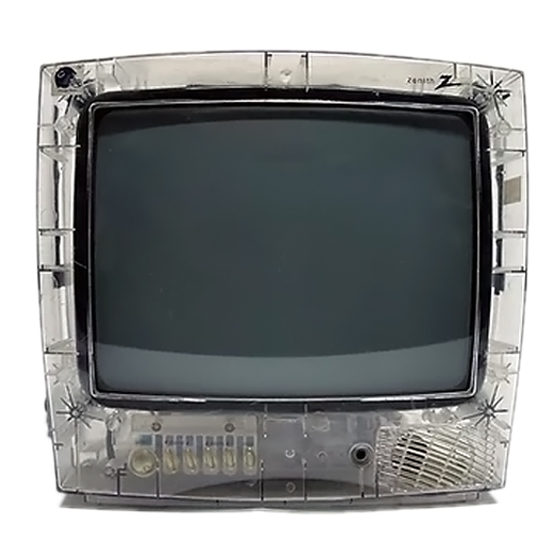
Summary of Contents for Zenith H13E01L
- Page 1 Operating Guide / Warranty Model Numbers / H13E05LG, H13E01L, H13E02B, H13E02X / Direct View TVs Copyright 2001, Zenith Electronics Corporation...
-
Page 2: Regulatory Information
Zenith Electronics Corporation, 2000 Millbrook Dr., Lincolnshire, IL 60069, USA Phone: 1-847-391-7000. CAUTION: Do not attempt to modify this product in any way without written authorization from Zenith Electronics Corporation. Unauthorized modification could void the user's authority to operate this product. -
Page 3: Table Of Contents
Your TV's Front Panel Your TV's Back Panel Your Remote Control Installing your remote control batteries Notes Chapter 2: Connecting an Antenna or Cable to Your TV Connecting an Antenna Connecting a Cable System Connecting Other Pieces of Equipment Safety Note... -
Page 4: Important Safeguards
S A F E T Y IMPORTANT SAFETY INSTRUCTIONS Important safeguards for you and your new product Your product has been manufactured and tested with your safety in mind. However, improper use can result in potential electrical shock or fire hazards. To avoid defeating the safeguards that have been built into your new product, please read and observe the following safety points when installing and using your new product, and save them for future reference. - Page 5 14 Outdoor Antenna Grounding If an outside antenna or cable system is connected to the product, be sure the antenna or cable system is grounded so as to provide some protection against voltage surges and built-up static charges. Article 810 of the National Electrical Code (U.S.A.), ANSI/ NFPA 70 provides information with regard to proper grounding of the mast and supporting structure,...
-
Page 6: Chapter 1: Overview Of Your Equipment
Use this button to turn your TV on and off. W CHV Use these buttons to change channels on your TV, or to select items in the menu system. 3 C C VOLB B Use these buttons to change your TV's volume, to activate selections in the menu system, or to change audio and video settings. -
Page 7: Your Tv's Back Panel
Use this terminal to attach an antenna or cable system to your TV. 2 VIDEO IN This terminal allows the TV to receive a video signal from another component, such as a VCR. 3 AUDIO IN This terminal allows the TV to receive an audio signal from another component, such as a VCR. -
Page 8: Your Remote Control
Your Remote Controls R-43A01 1. POWER Use this button to turn your TV on or off. 2. MUTE Use to turn the TV's sound on and off. Use these buttons to change channels on your TV, or select items in the menu system. -
Page 9: Installing Your Remote Control Batteries
Remove and replace weak batteries. Weak batteries can leak and damage your controller. Dispose of batteries properly; never throw them into a fire. Point your remote at the receiver on the center of the front of the TV. Make sure the receiver is not blocked. -
Page 10: Chapter 2: Connecting An Antenna Or Cable To Your Tv
Connecting an Antenna or Cable to Your TV Your TV will provide you with the best performance if you connect it to an external antenna or cable system. Follow the directions shown below to make this connection. Please note that you will normally only have to make one of the connections shown below, not all of them. -
Page 11: Connecting A Cable System
(available at your local electronics store). Press or screw the coaxial lead onto the combiner; place the twin leads underneath the screws on the combiner and tighten the screws. Press the cable from combiner onto the antenna terminal on the back of your TV. If your antenna system has two sets of twin 300-ohm leads at your local electronics store). -
Page 12: Connecting Other Pieces Of Equipment
When the A/B switch is in the A position, you need to change channels on the converter box (and your TV should be tuned to channel 3 or 4); when the A/B switch is in the B position you can change channels on the TV. -
Page 13: Chapter 3: Operating Your Tv
Once you have connected your TV to an antenna or cable system, plugged the TV in, and put batter- ies in the remote, you are ready to use the TV. The first thing you should do is program your TV so it memorizes all of available channels. -
Page 14: Changing Channels
The number buttons (0-9) will take you to any channel, even if it has not been memorized. To change to a channel, enter its number; the TV will tune to the new channel when you enter the second digit of the channel. -
Page 15: Changing The Tv's Channel Memory
Changing the TV's Channel Memory Your TV's memory determines the channels that are available using the VCHW buttons. You can add channels to this memory or remove them from memory. If a channel is removed from memory, you can tune to it with the number buttons, but you cannot tune to it with the VCHW buttons. -
Page 16: Changing The Tv's Input
To do this, you will need to switch from the ‘TV’ input to the ‘Line’ Input, as follows. 1 With the TV on, press the MENU button twice, then “Set-Up” menu will appear. -
Page 17: Adjusting Video Settings
4 Use the CVOLB buttons to adjust the video setting to the level you prefer. 5 Use the VCHW buttons to select another video setting to adjust. 6 When you are finished, press the MENU button to return to normal TV viewing. Video... -
Page 18: Returning To The Factory Settings
CVOL button; if the picture is too dark, press the VOL B button. Sharpness controls how the TV displays edges of objects on-screen. If the TV shows multiple verti- cal lines at the edges of an object, press the CVOL button; if the vertical edges of on-screen objects are fuzzy, press the VOLB button. -
Page 19: Chapter 4: Using Timer Functions
Your TV can be set up to turn on automatically by setting a wake-up time. Note : After the TV is turned on by the wake-up timer if no button is pressed within 15 minutes, the TV turns off. If any button is pressed, the TV will remain on. -
Page 20: Setting The Off Time
Time can be set quickly by holding down either CVOLB button to change the time setting. 4 After the Off Time has been set, use the VCHW buttons to select another option from the TIME menu or press the MENU button to remove the menu and return to normal TV viewing. Time... -
Page 21: Setting The Sleep Timer
This button steps through the available sleep times (see step 3), one-by-one. To cancel the Sleep timer, turn the TV off, or set the sleep time to “0” using one of the methods described above. Time... -
Page 22: Chapter 5 : Additional Features
Select Adjust Captioning Follow the instructions below to set up your TV to display Captions or Text, (if available on the pro- gram) To set your TV to display captions or text. 1 With the TV turned on, keep pressing MENU until the SPECIAL menu appears. -
Page 23: Cc On Mute
If the “Power Restore” option is set to On, the TV will turn back on after power is restored if a power failure occurs. If it is set to Off, the TV will not turn back on after power is restored if a power failure occurs. 1 With the TV turned on, keep pressing MENU until “Special” menu appears. -
Page 24: Parental Control Settings
Parental Control Settings This feature allows parents to control or restrict programming content which can appear on the TV, for children or more sensitive viewers. 1 With the TV on, keep pressing MENU until the SPECIAL menu appears. 2 Use the VCHW buttons to select the “Parental Control” feature. -
Page 25: Description Of Parental Control Settings
3. “No Rating” option toggles between “Unblock” and “Block”. This option can be used to restrict (or block from appearing on the TV screen) programs that have not been rated. Use VOL buttons to change the settings. -
Page 26: Chapter 6 : Troubleshooting
Your Zenith television is designed to give you trouble-free performance for many years. If you have a problem with your TV, try the solutions listed below. If the suggestions listed below do not solve your problem, contact your Zenith dealer or an autho- rized Zenith service center. -
Page 27: Warranty
SCREEN SIZE 21" AND SMALLER DIRECT-VIEW TV LIMITED WARRANTY-USA Zenith will repair or replace your product, at Zenith's option, if it proves to be defective in material or workmanship under normal use, during the warranty period listed below from the date of original consumer purchase. - Page 28 206-3770...
Need help?
Do you have a question about the H13E01L and is the answer not in the manual?
Questions and answers