Table of Contents
Advertisement
Quick Links
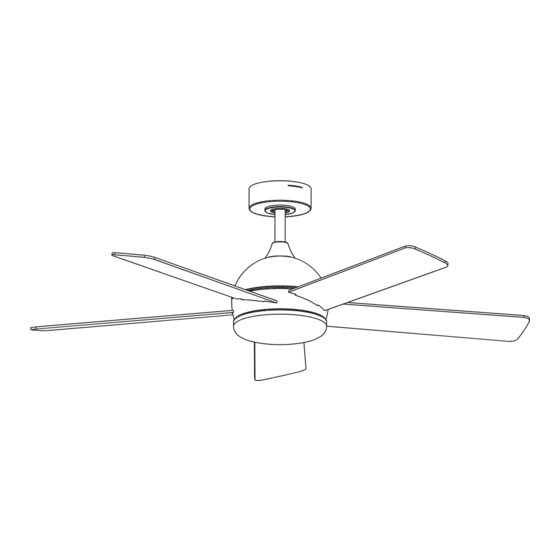
52IN CEILING FAN with
Light and Remote
Quick User Guide
Model ID: OL17001202
We appreciate the trust and confidence you have placed in OREiN through the purchase of Ceiling
Fan. We strive to continually create quality products designed to enhance your home. Visit us
online to see our full line of products available for your home improvement needs.
Thank you for choosing OREiN.
1
Advertisement
Table of Contents

Related Manuals for OREIN OL17001202


Summary of Contents for OREIN OL17001202
- Page 1 Quick User Guide Model ID: OL17001202 We appreciate the trust and confidence you have placed in OREiN through the purchase of Ceiling Fan. We strive to continually create quality products designed to enhance your home. Visit us online to see our full line of products available for your home improvement needs.
-
Page 3: Safety Information
A certain amount of "wobble" is normal and should not be considered a defect. Servicing performed by unauthorized persons shall render the warranty invalid. There is no other express warranty. OREiN hereby disclaims any and all warranties, including but not limited to those of merchantability and fitness for a particular purpose to the extent permitted by law. -
Page 4: Specifications
Pre-Installation SPECIFICATIONS Gross Size Speed Volts Amps Watts Cu. Ft. Weight Weight 0.06 1700 0.08 2300 0.12 3100 52 in. 14.77bs 20.06lbs 1.993 0.17 3700 (6.7kg) (9.1 kg) 0.27 4600 5500 NOTE These are approximate measures. They do not include the amps and wattage used by the light kit. TOOLS REQUIRED Phillips Flat blade... - Page 5 Pre-Installation (continued) Part Description Quantity Part Description Quantity Mounting bracket LED module Canopy Plastic shade Canopy cover Blade Hanger ball (preassembled) Remote control receiver Remote control Do wnrod (preassembled) Remote holder plate Coupling cover Fan-motor assembly Extension wire light housing...
-
Page 6: Mounting Options
Outlet Box If you have an angled or vaulted ceiling , make sure ceiling angle Mounting is less than 18°. WARNING OREiN Ceiling Fan do not work with any Outlet Box dimmable switches, please use a single switch. Hanger Bar... - Page 7 Assembly - Hanging the Fan Install the mounting bracket to the Attaching the downrod to the fan outlet box motor assembly Loosen the two fan motor assembly coupling set WARNING: screws (QQ) from the fan motor assembly(G)coupling personal injury, mount to outlet box marked"Acceptable for fan support of 35 Ibs.
- Page 8 Assembly - Hanging the Fan (continued) Attaching the coupling cover, and Hanging the fan motor assembly canopy to the downrod to the mounting bracket Slip the coupling cover (F), canopy cover (C) and Lift the fan motor assembly (G) into position, and canopy (B) onto the downrod (E).
- Page 9 Assembly - Hanging the Fan (continued) This side up Making the electrical connections WARNING: To avoid possible electrical shock, ensure the electricity is turned off at the circuit breaker or main fuse box before wiring Figur WARNING: Check to see that all connections are tight,including the ground,and that no bare wire is visible at the wire nuts,except for the ground wire.
- Page 10 Assembly - Hanging the Fan (continued) Securing the canopy to the mounting Install the blades bracket Remove all blade screws (GG) from the rotary Loosen two mounting bracket screws (RR) away plate (SS) of fan-motor assembly (G). from the mounting bracket (A) leaving about 3/4in. Insert the blades (K) into holes of the rotary plate (SS) spacing.
- Page 11 Assembly - Hanging the Fan (continued) Install the light housing Install the LED module Remove 3pcs pre-installed screws from the inside Remove one screw from the connecting plate of the light housing pan (H). Figure 12. (P) of fan-motor assembly (G). And loosen the Connect the male connector from the LED module (I) to remaining 2 screws, leaving about 3/4in.
- Page 12 Assembly - Hanging the Fan (continued) Install the Plastic shade Mount the remote control cradle Rotate the Plastic shade (J) clockwise until it is Using the remote bracket (N) as a guide, mark the two secure.Figure 15. holes locations. Drill the two holes at the marked locations and install two anchors (II) in each of the marked locations.
-
Page 13: Remote Operation
Remote Operation Remote control Your fan is equipped with a remote control to operate the speed and lights of your new ceiling fan. Warm weather - (Forward) A downward airflow creates a cooling effect. This allows you to set your air conditioner on a warmer setting without affecting your comfort. Cool weather - (Reverse) An upward airflow moves warm air off of the ceiling. - Page 14 Remote Operation Icon Button Name Action Notes Short press to turn the Fan and light All ON/OFF on/off Short press to turn the fan on/off Fan ON/OFF Long press for 5 seconds to reset fandefault setting Short press to turn The brightness and light on/off CCT will be same as...
-
Page 15: Care And Cleaning
Care and Cleaning WARNING: Make sure the power is off before cleaning your fan. Because of the fan’s natural movement, some connections may become loose. Check the support connections, brackets, and blade attachments twice a year. Make sure they are secure. It is not necessary to remove the fan from the ceiling. Clean your fan periodically to help maintain its new appearance over the years.
Need help?
Do you have a question about the OL17001202 and is the answer not in the manual?
Questions and answers