Advertisement
Quick Links
Advertisement

Summary of Contents for OREIN CF2010B
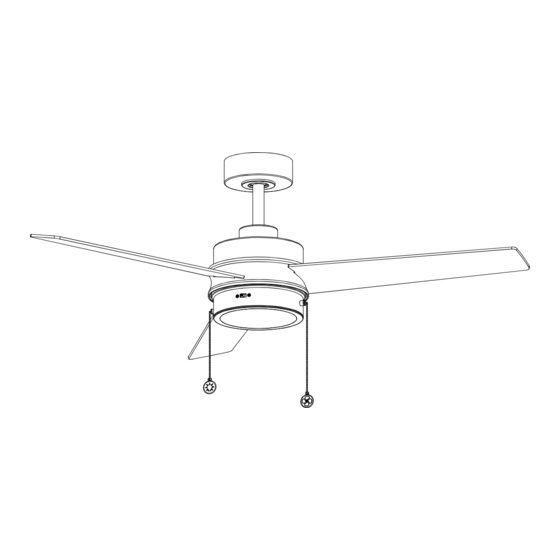
- Page 1 Model #CF2010B, CF2010N USE AND CARE GUIDE 52in INDOOR CEILING FAN THANK YOU Thank you for choosing Orein! We hope you will continue to choose Orein in the future. Visit us online at www.iorein.com to see our full line of lighting products.
-
Page 2: Table Of Contents
Table of Contents Table of Contents ..............2 Assembly................7 Safety Information ............... 2 Troubleshooting..............13 Warranty ................3 Care and Cleaning............. 13 Pre-Installation ..............4 Installation................6 WARNING: To reduce the risk of personal injury, do not bend the blade brackets (also referred to as 1. -
Page 3: Safety Information
A certain amount of "wobble" is normal and should not be considered a defect. Servicing performed by unauthorized persons shall render the warranty invalid. There is no other express warranty. Orein hereby disclaims any and all warranties, including but not limited to those of merchantability and tness for a particular purpose to the extent permitted by law. -
Page 4: Pre-Installation
Pre-Installation SPECIFICATIONS Gross Size Speed Voltage Amps Watts Cu. Ft. Weight Weight 1800 13.89bs 19.62lbs 52 in. 1.94 3000 (6.3kg) (8.9kg) 4500 NOTE These are approximate measures. They do not include the amps and wattage used by the light kit. TOOLS REQUIRED 5003280 Phillips... - Page 5 Pre-Installation (continued) Part Description Quantity Mounting bracket Canopy Canopy cover Downrod assembly Yoke cover Fan motor assembly Lightkit Pan Shade Blade...
-
Page 6: Installation
Installation MOUNTING OPTIONS WARNING: NOTE: You may need a longer downrod to maintain proper blade clearance when installing on a steep, sloped personal injury, mount to outlet box marked “acceptable for fan support of 35 lbs. (15.9 Kg) or less” using the ceiling. - Page 7 Assembly - Hanging the Fan Turn off Electrical Power Assembling Fan Blades □ □ Place canopy (B) on the table,and put the motor assembly (F) Turn OFF the electrical power at the main fuse or circuit upside down on the canopy (B). breaker.
-
Page 8: Assembly
Assembly - Hanging the Fan (continued) Passing Downrod through Canopy Attaching the Light Pan and Yoke Cover □ □ Remove the three set screws (N) from inside the motor Remove the downrod clip (LL) and downrod pin (KK) from the assembly (F). - Page 9 Assembly - Hanging the Fan (continued) Installing Motor Assembly to Mounting Installing Downrod Assembly to Motor Assembly Bracket □ □ Insert the downrod assembly (D) onto the yoke (J). Align the Carefully lift the downrod assembly (D) and motor assembly (F), holes on the yoke (J) without the screws, with the holes on and align the slot on the downrod ball (K) with the tab of the downrod (D) and replace the downrod pin (KK) and downrod...
- Page 10 Assembly - Hanging the Fan (continued) Assembling Canopy to Mounting Making the Electrical Connections Bracket □ □ Follow the steps below to complete the electrical wiring for the Push the canopy (B) up to the mounting bracket (A). Insert the fan to the power supply.
- Page 11 Assembly - Hanging the Fan (continued) Attaching Decorative Lampshade Turn on Power □ □ Align the lampshade (H) snaps with the raised points in the Turn on power to fan at breaker box and the wall switch. □ Assembly is complete. lightkit pan (G) and push the decorative lampshade (H) to t into the lightkit pan (G).
- Page 12 Operation NOTE: Wait for the fan to stop before reversing the direction of the blade rotation. Warm weather Turn on the power and check the operation of the fan. The pull chain controls the fan speeds as follows: 1 pull - High, 2 pulls - Medium, 3 pulls - Low, 4 pulls - off The appropriate speed settings for warm or cool weather depends on factors such as the room size, ceiling height, and number of fans.
-
Page 13: Troubleshooting
Troubleshooting Problem Solution The fan will not start. 1.Check main and branch circuit fuses or circuit breakers. 2.Check power supply wire connections to fan. CAUTION: Make sure main power is turned off. 3.Make sure forward/reverse switch pushed completely left or right. Fan will not operate when switch is in the middle. 4.Make sure that the wall switch is turned ON. - Page 14 FCC compliance information is listed as below: Responsible party: Leedarson America, Inc. Responsible party address: 300 Technology Court SE Suite 100, Smyrna, GA 30082 Telephone number: (678) 293-8382...


Need help?
Do you have a question about the CF2010B and is the answer not in the manual?
Questions and answers