Table of Contents
Advertisement
Quick Links
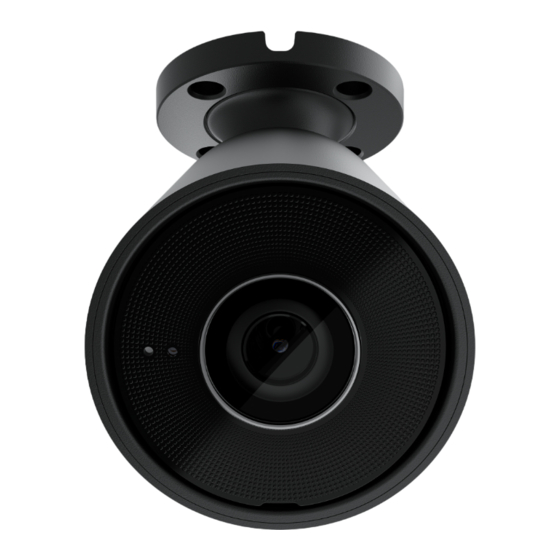
BulletCam is an IP camera with smart infrared (IR) backlight and an object
recognition function. The user can view archived and live videos in the Ajax
apps. To store the captured data, install a microSD card or connect the camera
to NVR with an installed hard disk.
The device is compatible with all
ocBridge Plus
The camera connects to the network via Ethernet, using the appropriate
connector. A hub is only required for adding BulletCam to the Ajax system.
The camera is available in several versions:
BulletCam (5 Mp/2.8 mm);
BulletCam (5 Mp/4 mm);
BulletCam user manual
Updated October 25, 2023
hubs
, and
uartBridge
is not supported.
. Connection to
radio signal range extenders
,
Advertisement
Table of Contents

Related Manuals for AJAX BulletCam


Summary of Contents for AJAX BulletCam
- Page 1 BulletCam user manual Updated October 25, 2023 BulletCam is an IP camera with smart infrared (IR) backlight and an object recognition function. The user can view archived and live videos in the Ajax apps. To store the captured data, install a microSD card or connect the camera to NVR with an installed hard disk.
-
Page 2: Functional Elements
BulletCam (8 Mp/2.8 mm); BulletCam (8 Mp/4 mm). Buy BulletCam Camera versions with other enclosures are also available. All Ajax cameras are available here. Functional elements 1. Swivel mounting bracket. 2. Protective cover. 3. Screw for xing camera position. 4. Slot for microSD card. -
Page 3: Operating Principle
10. Cable channel for routing the cable connector from the camera. 11. Cable connector. 12. QR code with the device ID. Used to add BulletCam to an Ajax system. 13. Holes for attaching the camera to the surface. Operating principle BulletCam is an IP camera that uses arti cial intelligence (AI) for object recognition. -
Page 4: Video Wall
Ajax app when the security detector is triggered. Video scenarios The Ajax system offers the capability to use IP cameras for alarm veri cation. Video scenarios enable the substantiation of alarm triggers with corresponding video from cameras installed at the facility. -
Page 5: Selecting The Installation Site
Learn more Selecting the installation site When choosing the optimal location to install BulletCam, consider the camera’s viewing angle and any potential obstacles that might obstruct its view. Consider the placement recommendations when designing the security system project for your object. The security system should be designed and installed by professionals. - Page 6 3. Loosen the screw on the swivel mounting bracket with the bundled hexagon key (Ø 2 mm) and rotate the bracket if you need to change the cable channel position. Tighten the screw back. 4. Route the cable through the cable channel and secure the swivel mounting bracket to the surface using the bundled screws.
-
Page 7: Adding To The System
1 A. 8. Turn on the power supply of the camera. The LED indicator on the cable connector lights up green, indicating a successful connection to Ajax Cloud. Adding to the system Before adding a device 1. - Page 8 You can nd out about the states of the camera in Ajax apps: 1. Select a hub in the Ajax app. 2. Go to the Devices tab. 3. Select BulletCam from the list of devices. If BulletCam is connected to the video recorder, select NVR and then click Cameras.
- Page 9 Parameter Value The camera connection status to the internet via Ethernet: Online — the camera is connected to the network. Normal state. Connection O ine — the camera is not connected to the network. Please check your wired internet connection. Clicking the icon displays the network parameters.
- Page 10 OK — the memory card is communicating with the camera. Normal state. Not installed — the memory card is not installed in the camera. Requires formatting — the memory card formatting is recommended. If the memory card contains data, it will be permanently deleted.
- Page 11 To change camera settings, in an Ajax app: 1. Go to the Devices tab. 2. Select BulletCam from the list. If BulletCam is connected to the video recorder, select NVR and click Cameras. 3. Go to Settings by clicking on the gear icon 4.
- Page 12 Selection of the camera virtual room. Room The room name is displayed in SMS text and noti cations in the events feed. When this option is enabled, the camera will switch to the armed mode whenever the system is set to Night Mode. Arm in Night Mode Learn more Selection of the storage device where the...
- Page 13 Animal; Vehicle. The setting also allows the user to specify the duration of the movement and select the armed mode that triggers the noti cations. Camera settings When the Motion Detection toggle is enabled, the camera detects motion using its built-in software.
-
Page 14: Motion Settings
Allows the user to describe a problem and send Report a Problem a report. User Guide Opens the camera user manual. Unpair from NVR Unpairs BulletCam from NVR. Unpairs BulletCam from the hub and all NVR Delete Device where it’s added. Motion settings... -
Page 15: Maintenance
Lights up green. connected to the internet. Malfunction When a BulletCam malfunction is detected, the Ajax app displays a malfunction counter on the device icon. All malfunctions are indicated in the camera States Fields with malfunctions will be highlighted in red. -
Page 16: Technical Speci Cations
Warranty for the Limited Liability Company “Ajax Systems Manufacturing” products is valid for 2 years after the date of purchase. If you encounter any issues with the device’s functionality, we recommend contacting Ajax Technical Support rst. In most cases, technical issues can be resolved remotely. Warranty obligations... - Page 17 Subscribe to the newsletter about safe life. No spam Email Subscribe...
Need help?
Do you have a question about the BulletCam and is the answer not in the manual?
Questions and answers