
Related Manuals for ASL INTERCOM MPX10

Summary of Contents for ASL INTERCOM MPX10
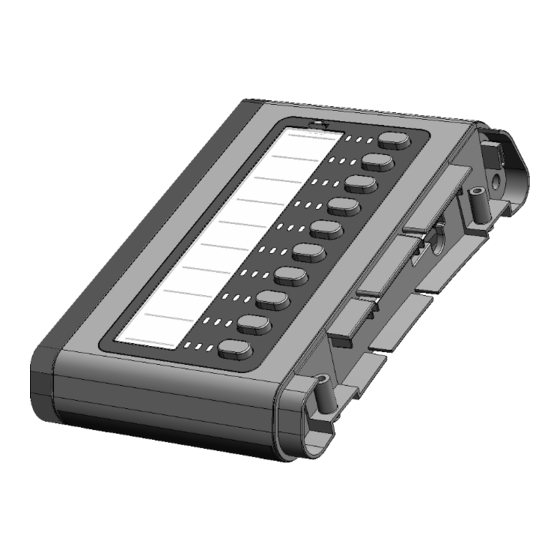
- Page 1 MPX10 MPS 10-Button Expansion Module Adding MPX10 Expansion Module(s) to an MPS01 to Create an MPS10, MPS20, etc. Assembly Instructions ASL Document Ref.: U-0664-0522.doc Issue: 03 complete, approved - Date: 19/10/17 Part Number: M0664_83...
- Page 2 MPX10 – Adding MPX10 Expansion Module(s) Assembly Instructions Contents Introduction ..............................3 Protective Measures and Handling ......................3 Assembly Instructions ..........................4 Additional User Documentation: MPS-Series Installation Guide (ASL Document Ref: U-0664-0174) Additional reference information is available from the ASL’s website at www.asl-control.co.uk Copyright ©...
- Page 3 It does not provide installation information or instructions. Please refer to the Installation Guide for the MPS-Series microphones (ASL U-0664-0174) for installation instructions. Once fitted with one or more MPX10 modules, the MPS01 becomes an MPS10, MPS20, MPS30, MPS40 or MPS50, as described below.
- Page 4 MPX10 – Adding MPX10 Expansion Module(s) Assembly Instructions Assembly Instructions MPX10 kit: Short Ribbon Cable (1x) M6 Socket Cap Screws (2x) M6 Nuts (2x) Front Link M6 Washers (4x) Bridge (1x) Joining Trim Rear Link Extrusion (1x) Bridge (1x) MPX10 Case (1x) Rubber Feet (4x) 4.0x16 Polymate...
- Page 5 MPX10 – Adding MPX10 Expansion Module(s) Assembly Instructions Process Details of Process Take an assembled A0664000 MPS01 microphone. If the gooseneck microphone sub-assembly (A0664004) is fitted then it must be removed before proceeding any further using the 2.5mm AF hex driver supplied with the MPS01.
- Page 6 PCB without pulling on it. Put the screws to one side for re-use later. Take the joining trim extrusion from the MPX10 kit and fit it over the MPS01 case’s right-hand joining webs. U-0664-0522.doc – Issue: 03 complete, approved...
- Page 7 Take the two M6x25 socket cap screws, two M6 full nuts and four M6 plain washers from the MPX10 kit and use these fasteners to join the MPX10 case to the MPS01 case as shown below (other components omitted for clarity).
- Page 8 MPX10 – Adding MPX10 Expansion Module(s) Assembly Instructions Process Details of Process Re-fit the right-hand end piece to the right-hand side of the MPX10 case using the two 4.0x16 polymate pantorx 30 screws and washers removed in Step 1. Use a T-20 driver to tighten the screws.
- Page 9 Details of Process Take the MPX10 case bottom half and fit it to the MPX10 case top half. Use two 4.0x16 polymate pantorx 30 screws from the MPX10 kit to secure the right-hand side as shown. Use a T-20 driver to tighten the screws.
- Page 10 Secure the link bridges and the bottom half of the MPS01 case using the remaining two 4.0x16 polymate pantorx 30 screws from the MPX10 kit, four 4.0x16 polymate pantorx 30 screws that were removed in Step 2 and two washers that were removed in Step 2.
- Page 11 Confirm that all LEDs on the MPX10 are turned on during the test. Fitting Multiple MPX10 Expansion Modules to Create an MPS20, MPS30, etc… To create larger microphone units, repeat steps 3, 4, 5, 7, 8 and 10, adding MPX10 modules to the right of the previous ones.
- Page 12 Service and Warranty Name and Address of Authorised Distributor: This product carries a full warranty. For full details of warranty and service agreements, please contact the Authorised Distributor who supplied the product to you. Exclusions The warranty does NOT cover: Customer misuse, including incorrect installation.
Need help?
Do you have a question about the MPX10 and is the answer not in the manual?
Questions and answers