Table of Contents
Advertisement
Quick Links
Contents
Safety Precautions ................................................. 2
Features ................................................................. 3
Accessories ............................................................ 3
Connections............................................................ 4
Power On-Off .......................................................... 6
Overview of the Remote Control ............................ 7
First Time Installation ............................................ 8
Using Main Menu.................................................. 10
E-Manual ...............................................................11
Settings Menu Content ......................................... 12
Channel List.......................................................... 15
Electronic Programme Guide ............................... 15
Media Browser...................................................... 16
USB Recording .................................................... 16
Configuring Parental Settings ............................... 18
Software Update ................................................... 18
Standby Notifications ............................................ 18
Channel Navigation .............................................. 18
Connectivity .......................................................... 19
Networked Standby Mode .................................... 21
Connectivity Troubleshooting ............................... 21
Using Audio Video Sharing Network Service........ 22
Apps ..................................................................... 22
Internet Browser ................................................... 22
HBBTV System..................................................... 23
Displaying Teletext ................................................ 24
Conditional Access ............................................... 24
Trademark Acknowledgment ................................ 24
Disposal Information ............................................. 25
Specifications ....................................................... 25
Trouble Shooting .................................................. 27
English - 1 -
Advertisement
Table of Contents
Troubleshooting

Related Manuals for Ferguson Ariva 9000 4K CI plus


Summary of Contents for Ferguson Ariva 9000 4K CI plus
-
Page 1: Table Of Contents
Contents Safety Precautions ..........2 Features ..............3 Accessories ............3 Connections............4 Power On-Off ............6 Overview of the Remote Control ......7 First Time Installation ..........8 Using Main Menu..........10 E-Manual ...............11 Settings Menu Content ......... 12 Channel List............ -
Page 2: Safety Precautions
• Take care to provide a good air circulation. Place the Safety Precautions Features apparatus in a location with adequate ventilation to prevent heat build-up in the apparatus. Power Source • DVB Teletext • If any solid object or liquid falls into the cabinet, •... -
Page 3: Connections
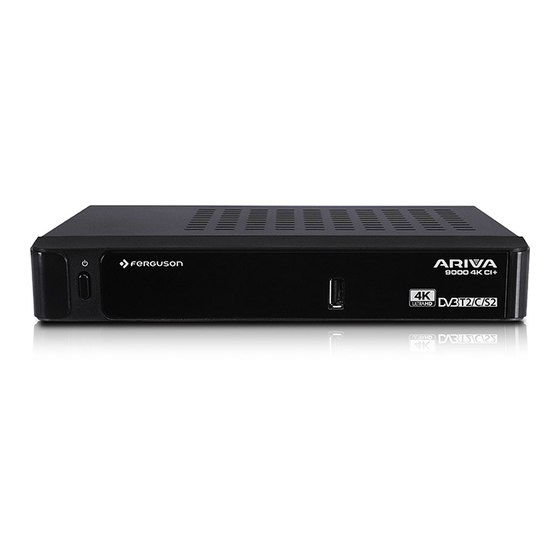
Connections Connection to the TV Front View 1. Standby / On 2. Programme -/+ 3. Standby LED & IR Receiver 4. USB Input: To connect USB storage devices for media playback and recording functions HDMI Connection (recommended): For HD video and audio output you can use the HDMI socket if your TV Back View has an HDMI input. -
Page 4: Power On-Off
11. Text: Displays teletext (where available), press USB Connection Power Connection Overview of the Remote Control again to superimpose the teletext over a normal broadcast picture (mix) IMPORTANT ! IMPORTANT: This set-top box is designed to 12. Subtitles: Turns subtitles on and off (where operate on 12V DC. -
Page 5: First Time Installation
After the settings are completed, highlight Next and Automatic channel scan and press OK to start the While the search continues a message may appear, First Time Installation press OK to continue. automatic search. These options can be preselected asking whether you want to sort channels according depending on the language and country selections to the LCN (*). -
Page 6: Using Main Menu
Signal” may be displayed if the antenna settings are You can access the Channels menu using this You can reset your customisations on the Home menu not configured properly. option. Refer to the Channel List section for more to defaults using this option (availability depends on information. -
Page 7: Settings Menu Content
Settings Menu Content Manual Channel This feature can be used for direct broadcast entry. Scan Devices Menu Content Searches for the linked channels in the broadcast system. D. Aerial: Searches for aerial Nertwork Channel network channels. D. Cable: Searches for cable network channels. Satellite: Searches Virtual Remote Enable or disable the virtual remote feature. -
Page 8: Channel List
Use the directional buttons to navigate through the [SL] Sign Channel List If this option is enabled and if any electronic programme guide event has “Sign Language” programme guide. Use the Back/Return button to Language access service, these events will be highlighted with another colour. use the tab options on the upper side of the screen. -
Page 9: Media Browser
Then highlight the Delete Timer on Event option and It is recommended to use USB hard disk drives for You can not switch to a different broadcast or view the press OK again. The timer will be cancelled. recording HD programmes. media browser and main menu during the timeshifting Loop/Shuffle Mode Operation Record / Delete Rec. -
Page 10: Configuring Parental Settings
to enter the PIN (*). After you enter the PIN, a Software upgrade search via user interface pressed an information banner will be displayed on confirmation message will be displayed. Select Yes the screen. On the channel info banner following On the main menu select Settings>System and then and press OK to start formatting the USB storage informations will be available:... -
Page 11: Networked Standby Mode
DNS settings of the box. Highlight the desired one and The location where the transmission is most effective on the screen once the devices have paired. Select program executed on a remote device connected to press Left or Right button to change the setting from differs depending on the usage environment. -
Page 12: Using Audio Video Sharing Network Service
authenticated each time when you connect to the If a problem occurs with the network, switch your box of the page. History, Tabs and Bookmarks options electronic programme guide, interactive advertising, Internet. This is a precaution against unauthorised off at the wall socket and back on again. Trick mode and the browser bar which contains previous/next personalisation, voting, games, social networking and access. -
Page 13: Displaying Teletext
starts. You will not be able to access related settings Trademark Acknowledgment Disposal Information Specifications during a playback. Go to the Settings>System>Ac- cessibility>Audio Description menu and adjust Dolby, Dolby Vision, Dolby Atmos, and the double-D [European Union] General according to your need. symbol are registered trademarks of Dolby Power supply for set-top box : 12V DC - 100-240 These symbols indicate that the electrical and... -
Page 14: Trouble Shooting
Supports 8-bit/10-bit colour depth Trouble Shooting Country Restriction Supports resolution up to 4096x2160@60fps If used outside of its own premises, gen- Audio: Trouble Possible Reasons What To Do eral authorisation is required. Public use Italy is subject to general authorisation by the MPEG-1, MPEG-2 (Layer I/II), MP3, AC-3 (Dolby Adaptor cable is not Check if the adaptor cable is plugged...
Need help?
Do you have a question about the Ariva 9000 4K CI plus and is the answer not in the manual?
Questions and answers