Table of Contents
Advertisement
Available languages
Available languages
Quick Links
Quick Setup Guide - First Steps
Before Starting
Mount the camera at the desired position in accordance with country-specific and local regulations.
Connect the power supply and establish all needed cable connections.
The user manual, example videos, and documentation will be also found on the internal memory of the
EYE-14. Just connect a computer to the USB port and a pop-up explorer message will inform you about a
new local drive. The files are provided in common formats such as PDF, JPG and AVI.
Power Key
The EYE-14 will fully power up after connecting the power supply.
Additionally, the EYE-14 can be switched ON and OFF by pressing the POWER key quickly.
Pressing the POWER key for more than 4 seconds activates the XGA output resolution at
60Hz.
Basic Menu Settings
When the EYE-14 is switched on the first time, the Quick Setup Guide will be started automatically on-
screen (visible on HDMI and RGB output). Use the arrow keys to navigate through the menu.
Language
Select the desired language for the on-screen menu.
Ethernet Settings
Setup the network interface according your infrastructure.
Time Settings
Set time and date.
Audio
Select the desired audio inputs and outputs.
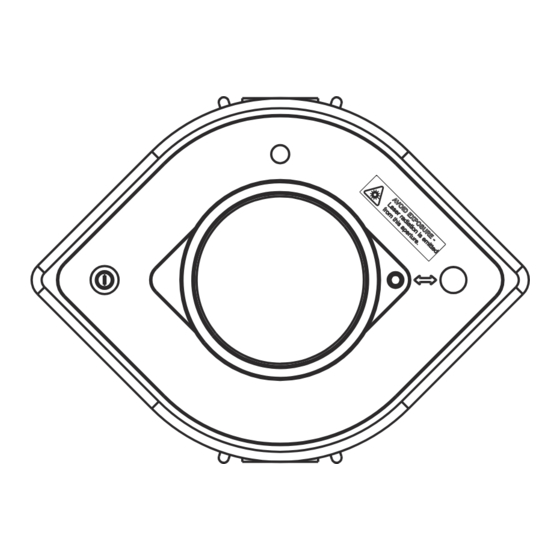
Lasermarker
The Center Lasermarker has to be adjusted to the working level (Allen key 2.5mm necessary).
Consult the user manual.
Feature Pack
The EYE-14 offers the possibility to upgrade using an optional Feature Pack which adds additional
functionality. This upgrade will be activated by loading a valid Feature Pack code.
Depending on your order, the Feature Pack license code will be delivered together with the unit.
The Feature Pack is not pre-installed and user activation is required!
Consult the user manual to get the Feature Pack activated.
Manuals, Firmware, Apps, Software, Dimension Drawings,... @
Printed in Austria - August 2022
www.wolfvision.com
www.wolfvision.com
/SUPPORT
Advertisement
Table of Contents

Subscribe to Our Youtube Channel
Related Manuals for WolfVision EYE-14


Summary of Contents for WolfVision EYE-14
- Page 1 The user manual, example videos, and documentation will be also found on the internal memory of the EYE-14. Just connect a computer to the USB port and a pop-up explorer message will inform you about a new local drive. The files are provided in common formats such as PDF, JPG and AVI.
- Page 2 Bedienungsanleitung, Beispielvideos und Dokumentation befinden sich auch im Gerätespeicher der EYE-14. Verbinden Sie einen Computer mit der USB Schnittstelle und der Dateimanager informiert Sie über ein neues Laufwerk. Die Unterlagen werden in einem üblichen Dateiformat, wie PDF, JPG oder AVI zur Verfügung gestellt.
Need help?
Do you have a question about the EYE-14 and is the answer not in the manual?
Questions and answers