RAEDIAN Neo Installation Manual
Ev charger
Hide thumbs
Also See for Neo:
- User manual (9 pages) ,
- Installation manual (15 pages) ,
- Quick manual (12 pages)
Advertisement
Quick Links
Advertisement

Subscribe to Our Youtube Channel
Related Manuals for RAEDIAN Neo


Summary of Contents for RAEDIAN Neo
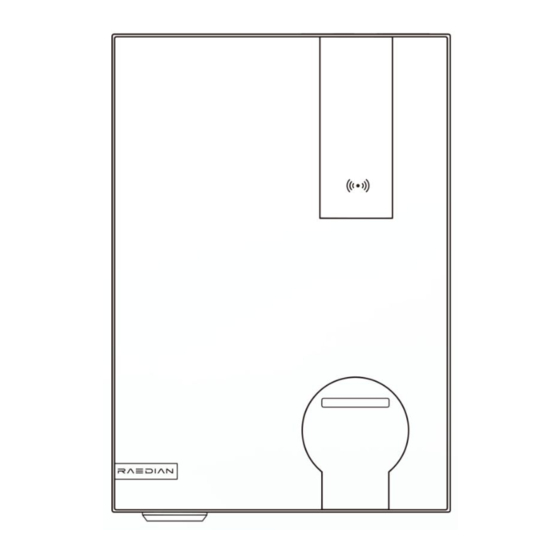
- Page 1 INSTALLATION MANUAL...
-
Page 2: Safety Notice
Safety Notice It's crucial to familiarize with this manual and abide by all safety precautions outlined, including those indicated by safety markings on the equipment. General safety first While this manual provides helpful guidance, it's not exhaustive. Always prioritize general safety requirements, design, production, and established safety standards when operating the charger. - Page 3 Extreme weather warning Extreme weather conditions, like heavy rain, snow, or scorching heat, can compromise the charger's functionality. Avoid using it in such circumstances. EV manual matters Before charging your specific electric vehicle with this product, always consult its manual for any additional safety instructions or compatibility detail.
-
Page 4: Specification
1. Product overview 2. Accessories 3. Specification... -
Page 5: Installation Planning
Feature and Function Socket Cable Charging mode AC Mode 3 Charging connector Type 2 socket Type 2 with cable AC power output 7/22KW 7/11/22KW Mounting options Wall mounted or pedestal with wiring backplate OLED screen, LED stripes Load management Via APP, CT Clamp, RS-485 Communication Interface Wi-Fi, BLE, 4G (optional), CT Clamp, RS-485... - Page 6 The installer needs to evaluate the available electrical capacity at the installation site to ensure that it can handle the installation of an EV charger. Protection limit is based on max. 80% of the fuse rating, which can be set in the RAEDIAN APP. Rated Power...
-
Page 7: Installation Instructions
Suggested Installation Tools Power drill Hex wrench Cable stripper Hammer Multimeter Tape measure Marker Screwdriver 5. Installation instructions 5.1 Positioning Ensure that the installation surface is solid enough to hold the charger. It is recommended that the wall have a bearing capacity of at least 100 kg. Place the backplate on the wall, keep it horizontal, and use a marker/pencil to ... - Page 8 5.2 Mounting recommended depth and diameter, Insertion depth: 50 mm; φ8mm. Use an electric drill to open four holes in the wall at the marked positions, the Insert four plastic anchors into four openness. Mount the backplate and fit the ...
- Page 9 Single phase wiring Three phase wiring 5.4 Push-in and fasten Push the device in and you will hear a sound of “clip”. Use two security screws to tighten the device. Use two security labels to stick on the two screws at the top and bottom. ...
- Page 10 5.5.1 Single phase with 1 CT wiring for Home Balance * To use home balance function, the charger should connect to your mobile phone and set Home Balance via RAEDIAN APP. 5.5.2 Three phase with 3 CTs wiring for Home Balance...
- Page 11 5.5.3 Single phase with 2 CTs wiring for Home Balance and Solar Only 5.5.4 Three phase with 3 CTs wiring for Home Balance and Solar Only (single phase)
- Page 12 5.5.5 Three phase with 3 CTs wiring for Home Balance and Solar Only (three phase)
- Page 13 6. Installation Acceptance Inspection 6.1 OLED Display Power on the charger. OLED Display and LED light stripes will be automatically on. Booting After the booting, the OLED Display will show READY.
- Page 14 Charging in progress Fault state 6.3 EV Charging test Plug in the cable into EV socket inlet or EV simulator, charging will start immediately. RAEDIAN User APP download For further APP use, please scan QR code and follow RAEDIAN video channel.
Need help?
Do you have a question about the Neo and is the answer not in the manual?
Questions and answers