Nexigo Aurora Pro Quick Start Manual
4k tri-color ust laser projector
Hide thumbs
Also See for Aurora Pro:
- Quick start manual ,
- User manual (52 pages) ,
- Quick start manual (10 pages)

Related Manuals for Nexigo Aurora Pro


Summary of Contents for Nexigo Aurora Pro
- Page 1 Quick Start Guide 4K Tri-Color UST Laser Projector Scan the QR code or visit our link to download the latest manual or watch the installation video. nexigo.com/pages/projectors-support...
-
Page 2: Contact Information
CONTACT INFORMATION Website: www.nexigo.com Manufacturer: Nexight INC E-mail: cs@nexigo.com Tel: +1(458) 215-6088 Address: 11075 SW 11th St, Beaverton, OR, 97005, US TURN ON THE PROJECTOR 1. Place the projector horizontally on a flat surface to prevent it from tilting. 2. Plug the projector into a power outlet. - Page 3 3. Put batteries in the remote. 4. Press the power button. Press the power button.
- Page 4 5. Pair the remote with the projector. 7.87 inches ±15° When holding the remote control, it must within 15 degrees of the infrared sensor work properly. Please ensure that you point the remote toward the projector and that the remote is within 7.87 inches of the projector.
- Page 5 7. Connect to a network. 8. Choose your preferred installation method.
-
Page 6: Image Adjustment
IMAGE ADJUSTMENT 1: ADJUST THE IMAGE... - Page 7 2: KEYSTONE CORRECTION AND FOCUS Navigate to Settings > Display > Keystone Correction Focus to enter the correction mode. Keystone Correction Focus...
- Page 8 PROJECTOR DISTANCE & SIZE Image SD Projection Distance (ft) Projection Height (ft) 80" 0.33 0.98 0.49 1.06 90" 0.65 1.14 100" 0.81 1.22 110" 0.96 1.31 120" 1.20 1.43 135" 1.44 1.55 150"...
- Page 9 Please be aware that the data has been manually tested, which may result in an error of approximately one inch. Furthermore, the projection size and distance may differ depending on the device. It is recommended to make adjustments according to the actual situation. HOW TO TURN OFF THE PROJECTOR Press the power button.
-
Page 10: Connectors And Ports
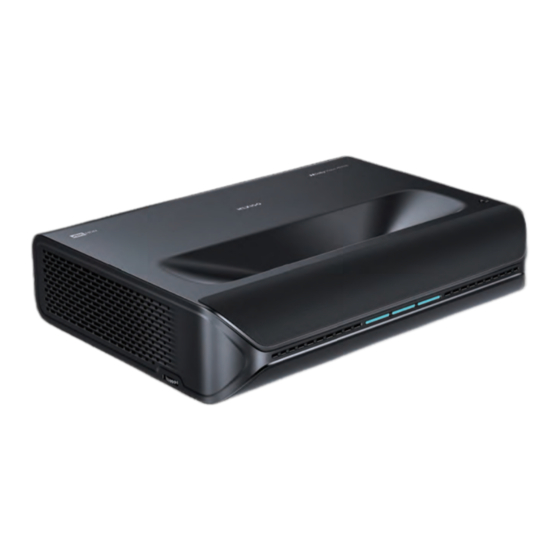
CONNECTORS AND PORTS 1: HDMI 1 (Support eARC) / HDMI 2 / HDMI 3 To connect items like: cable boxes, DVD players, digital media players (Roku, Fire TV, etc.), and computers. 2: USB 1 / USB 2 / USB 3 To connect items like mobile hard drives and USB flash drives. - Page 11 NOTE Do not touch the heat dissipation vent. Do not place any objects that may be blocking the air vents within 20 inches of the projector’s air vents. Ensure that it is placed in an open area with ventilation, away from any objects that may be a fire hazard. Exhaust Inlet At least...
- Page 12 Get in touch with FREE online services. facebook.com/letsnexigo...
Need help?
Do you have a question about the Aurora Pro and is the answer not in the manual?
Questions and answers