Advertisement
Quick Links
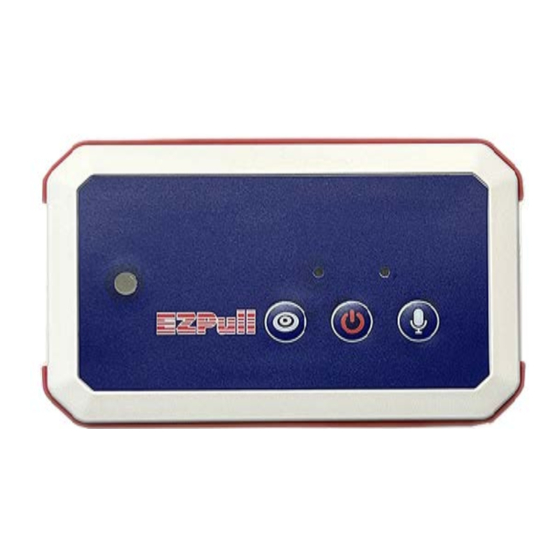
EZPull Trap remote Model TVR-WP145 is a voice activated,
wireless clay target release system for Trap.
EZPull Trap has special setup and pairing modes intended only
for the Gun Club's administrator. In order to prevent accidental
access to setup modes, the unit needs to power up and detect
one of the keys is pressed. This is done by opening the battery
compartment, removing one of the batteries, pressing and
holding a key and then replacing the battery.
Notice: Model TVR-WP145 is highly water resistant. To prevent
water from entering the battery compartment, before opening
the battery door's screw, make sure the unit is completely dry!
Orientation during setup
E
Z
P
u
l
l
T
r
a
p
M
o
d
e
l
E
Z
P
u
l
l
T
r
a
p
M
o
d
e
l
T
V
R
-
W
P
1
4
5
S
e
t
u
p
T
V
R
-
W
P
1
4
5
S
e
t
u
p
Warning: Always stand clear of the trap machine!
1. Using Setup Modes: Setup modes provides access to
parameters that determine the operation of the device. Each
setup mode is determined by the key held pressed when the
unit powers up:
- Radio code: Press the "Target" [ ] key.
- Voice sensitivity: Press the "Microphone" []) key.
- Pairing Mode: Press the "ON/OFF" [ ] key.
1.1. Enter Setup Mode: Remove the battery door. Remove
one battery. Press and hold the key for the desired
setup mode and replace the battery while looking at the
LEDs on the front. When both lights flash, release the
key. The lights will alternate slowly indicating the unit is
in Setup mode. While setting up, hold the device
horizontally as shown in the picture.
1.2. Exit Setup Mode: When in Setup mode, simultaneously
press and hold the "Target" [ ] and "Microphone" []
keys. Both lights will turn on steady. Release the keys.
Unit will go to power down mode. Press the "ON/OFF"
[ ] key to turn ON.
1.3. Access Setup Adjustment: Simultaneously pressing and
holding the [ ] key in combination with another key,
will result in both lights flashing rapidly. Keep holding
the keys until both lights are turned off. Then release
the keys. The setup parameter's current numeric value
will be indicated by the LEDs.
1.4. Understanding the numbering indicators:
1.4.1. Each parameter can be set to numbers in the
range 1 to a maximum value specific to the
parameter but never more than 16.
1.4.2. The left LED indicates the "tens" digit.
1.4.3. The right LED blinks the number of times
corresponding to the "ones" digit.
G
u
i
d
e
G
u
i
d
e
Advertisement

Related Manuals for EZPull TVR-WP145


Summary of Contents for EZPull TVR-WP145
- Page 1 EZPull Trap remote Model TVR-WP145 is a voice activated, Warning: Always stand clear of the trap machine! wireless clay target release system for Trap. EZPull Trap has special setup and pairing modes intended only 1. Using Setup Modes: Setup modes provides access to for the Gun Club’s administrator.
- Page 2 TargetManager. same trap field. Set the same code on all the EZPull remote units on the Trap 3.2.3. Set to 2-3 in very noisy environment including field to match the Puller’s remote and Base Station or gunshots echoes from nearby fields.
- Page 3 4.7. Following a successful pairing, the remote unit should be in sleep mode (no lights). If lights are still flashing, 5. Paring the TVR-WP145 with The TargetManager card reader: remove one battery, press any key and replace the Check the radio code on the TargetManager and follow battery.
Need help?
Do you have a question about the TVR-WP145 and is the answer not in the manual?
Questions and answers