Table of Contents
Advertisement
Quick Links
E
E
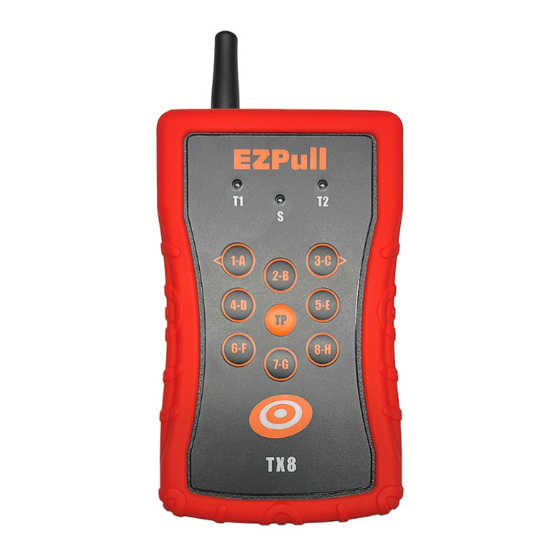
EZPull TX-8C/VR is a wireless, voice release,
clay target controller for up to eight trap
machines. The TX-8C/VR can be used in Super-
Sporting, FITASC, and 5-Stand. The TX-8C/VR has
a special setup mode providing access to
parameters that determine the operation of the
device.
Warning: Always stand clear of any traps that may be
activated by EZPull controllers.
1. Enter Main Setup Mode: Open the battery door
on the back of the device. Remove one
battery. Press and hold the Orange On/Off
button on the top panel. While holding the
On/Off button, replace the battery in the
compartment. Once the battery is back in
place, release the On/Off button. The "S" LED
on the front panel should be blinking indicating
the device is in the main Setup Mode waiting
for parameter selection.
2. Exit Main Setup Mode: Press and release the
Orange On/Off button on the top panel. The
TX-8C/VR will be in the OFF state. Press the
On/Off button again to start using the
TX-8C/VR.
3. Selecting a Setup Parameter for Adjustment:
Press and release the target key associated
with the required setup parameter. The "T1"
and "T2" LEDs will blink indicating the current
numeric value of the selected setup parameter
(see section 4 below).
Table 1: Available Setup parameters:
Key #
Parameter
4-D
Field Address
2-B
Station Address
5-E
8-H
7-G
Following Pair Delay (*)
6-F
Solo Delay (*)
(*) Not available on TargetManager Pro version remotes
See Setup example on the last page of this
document
V_1.1 05/2022
Z
P
u
l
l
T
X
-
8
Z
P
u
l
l
T
X
-
8
Value range
1-14
1-16
1-5
1-5
1-4
1-4
C
/
V
R
S
e
t
u
C
/
V
R
S
e
t
u
Understanding the Numbering Indicators:
3.1. Each parameter can be set within a
range of numbers from 1, to a maximum
value specific to each parameter (see
Table 1).
3.2. The "T1" LED indicates the "tens" digit.
3.3. The "T2" LED blinks the number of times
corresponding to the "ones" digit.
3.4. Examples:
Number 03: T1 light is off; T2 light
blinks 3 times.
Number 14: T1 light is on; T2 light
blinks 4 times.
p
G
u
i
d
e
p
G
u
i
d
e
Page 1
Advertisement
Table of Contents

Subscribe to Our Youtube Channel
Related Manuals for EZPull TX-8C/VR


Summary of Contents for EZPull TX-8C/VR
- Page 1 2. Exit Main Setup Mode: Press and release the Orange On/Off button on the top panel. The TX-8C/VR will be in the OFF state. Press the On/Off button again to start using the TX-8C/VR. 3. Selecting a Setup Parameter for Adjustment: Press and release the target key associated with the required setup parameter.
- Page 2 Field/RCAD: The Field number is a common above section 7.2). In manual mode with Solo radio address for all the EZPull systems on the Delay, FPD is the delay for the second report same course (area). On a TX-8C/VR_Pro, this target (see TX-8C/VR User Guide).
- Page 3 5. Save: Press and hold the TP key. The “S” LED will flash rapidly. Keep holding the TP 6. Turn TX-8C/VR On: Press and release the key until the “S” LED is turned off. The “S” Orange On/Off button on the top panel.
Need help?
Do you have a question about the TX-8C/VR and is the answer not in the manual?
Questions and answers