Table of Contents
Advertisement
Quick Links
Advertisement
Table of Contents

Related Manuals for Grundig M 3000 BT


Summary of Contents for Grundig M 3000 BT
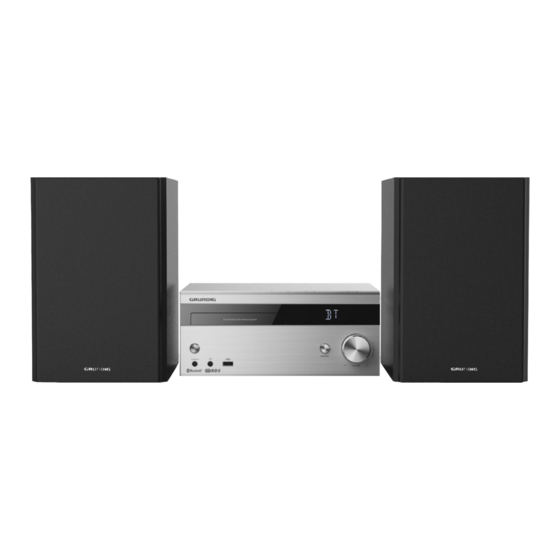
- Page 1 MICRO HIFI SYSTEM M 3000 BT...
- Page 3 PANEL --------------------------------------------------------------------------------------------------------------------- AUXIN SOURCE FMANTENNA SPEAKEROUTPUT +R–+L– 3...
-
Page 4: Remote Control
REMOTECONTROL ------------------------------------------------------------------------------- STANDBY SLEEP OPEN/CLOSE INTRO SOURCE INFO FASTREWIND/ FASTFORWARD/ PREVIOUS PREVIOUS PLAY/ PAUSE STOP/AUTO 10-/TUN- TUNE 10+/TUN+ FOLD- PROG FOLD+ VOLUME+ VOLUME- CLOCK MUTE/ALARM 4... -
Page 5: Set-Up And Safety
SETUPANDSAFETY ----------------------------------------------------------------------------- Please note the following instructions: Attention should be drawn to the environmen- tal aspects of battery disposal. The hi-fi system is designed for the playback of audio signals. All other uses are expressly DO NOT INGEST THE BATTERY, CHEMI- prohibited. - Page 6 SETUPANDSAFETY ----------------------------------------------------------------------------- Note: Do not connect any other equipment while the device is switched on. Also switch off the other equipment before connecting it. Only plug the device into the mains socket after you have connected the external de- vices. Make sure the mains plug is freely accessible.
-
Page 7: Thehi-Fisystemcontrols
OVERVIEW - --------------------------------------------------------------------------------------------------------------------------------- Thehi-fisystemcontrols Thebackofthedevice SPEAKER See the figure on page 3. Terminals for connecting the OUTPUT(6�) loudspeaker cables. Thefrontofthedevice +R–+L– R = right channel, L = left channel. CD compartment. FMANTENNA Antenna socket for the the aux- Opens and closes the CD com- iliary antenna or the roof anten- partment. -
Page 8: The Remote Control
OVERVIEW - --------------------------------------------------------------------------------------------------------------------------------- Theremotecontrol In tuner mode: press and hold down to start the reverse or Switches the hi-fi system to standby forwards frequency search; mode and from standby mode to press briefly to change the frequen- the last input source selected. cy backwards or forwards in steps. -
Page 9: Connection And Preparation
CONNECTIONANDPREPARATION --------------------------------------- Connectingtheloudspeakers Connectingexternaldevices Insert the wires of the loudspeaker cable into Note: the »SPEAKEROUTPUT(6�)RL« fasteners Switch the hi-fi system off before you connect on the hi-fi system. external devices. Notes: Use standard audio cables to connect the Observe the left and right channels (L = left audio outputs of the external device to the channel, R = right channel). - Page 10 CONNECTIONANDPREPARATION --------------------------------------- Connectingthepowercord Activating the battery in the re- motecontrol Notes: Check that the mains voltage on the type Pull off the film from the battery. plate (on the bottom of the hi-fi system) cor- Changingtheremotecontrolbat- responds to your local mains supply. If this is tery not the case, contact your specialist dealer.
- Page 11 SETTINGS - -------------------------------------------------------------------------------------------------------------------------------------- Automatic station search for FM radiostations After connecting the hi-fi system to the mains power for the first time, you can start the auto- matic station search. Switch on the hi-fi system by pressing » «on the device or »...
-
Page 12: General Functions
GENERALFUNCTIONS --------------------------------------------------------------------------------------- Switchingonandoff Automaticswitch-off The only way to disconnect the hi-fi system from The device switches off automatically after 15 the mains supply is to pull out the plug. minutes in standby mode if: – the device is in the stop position; Switch on the hi-fi by pressing »... -
Page 13: Usingcds
EXTERNALDATAMEDIAMODE - ------------------------------------------------------ UsingCDs Operation with an MP3 player orUSBmemorystick The device is suitable for music CDs displaying the The » « socket is not compatible with logo shown here (CD- USB hubs and cannot be connected directly DA) and for CD-Rs and to a PC. -
Page 14: Stopping Playback
EXTERNALDATAMEDIAMODE - ------------------------------------------------------ ConnectinganMP3playeroraUSB Resumingplayback memorystick Pause playback by selecting another input source or press » «. Switch the device to standby mode by pressing – If you select the data medium again, play- » «. back continues from the point at which it Connect the USB interface of the MP3 player stopped. -
Page 15: Bluetooth Mode
When the Bluetooth auxiliary device leaves Your M 3000 BT can be connected to any com- and then moves back into signal range of mercially available Bluetooth-compatible de- the M 3000 BT, the auxiliary device logs on vices that comply with the A2DP standard. -
Page 16: Package Information
You can find the CE declaration of conformity for equipment (WEEE). the device in the form of a pdf file on the Grundig This product has been manufactured Homepage www.grundig.com/downloads/doc. with high quality parts and materials... -
Page 17: Dimensions And Weight
INFORMATION - ----------------------------------------------------------------------------------------------------------------- MP3/WMA Folderandtrack: Max. 256 folders and 999 tracks per CD Filesystem/foldermanagement: ISO 9660 Level 1 compatible USB USB 2.0 for FAT 32/16 format Dimensionsandweight Device dimensions: W x H x L 220 x 95 x 265 mm Device weight: 1.53 kg Loudspeaker dimensions: W x H x L 155 x 256 x 153 mm...
Need help?
Do you have a question about the M 3000 BT and is the answer not in the manual?
Questions and answers