Table of Contents
Advertisement
Available languages
Available languages
Quick Links
Advertisement
Table of Contents

Summary of Contents for eTIGER ES-CAM2A
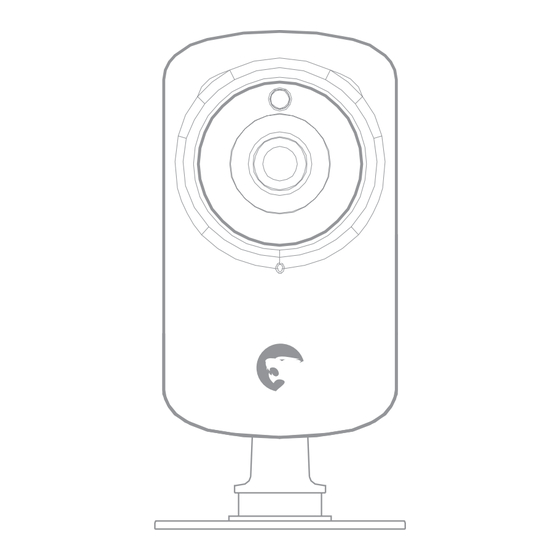
- Page 1 ES-CAM2A IP Camera www.etiger.com...
-
Page 2: Box Content
Android and iOS apps select the network “ES-CAM2A XXXX” (the last 4 figures represent the last 4 figures of the MAC Before using the ES-CAM2A, download the ID at the back of iSecurity+ on the App Store or Google your camera). Play. -
Page 3: Configuration Of The Camera
Configuration of the camera Connection of the camera to the Internet Android Android Select “Continue” Select the Wi-Fi and follow the network to which instructions of the your camera will be installation assistant. connected. Android Android Preview of the Enter the password camera of the Wi-Fi network selected and press... - Page 4 Connection to iSecurity+ Creation of the profile of your camera Android Android Choose a name and a description for your camera and press “Continue”. Note Create an iSecurity+ The registration of account by filling in your camera on the the fields. iSecurity+ server will only take a few seconds.
- Page 5 Configuration of iSecurity+ Android Name Picture frequency Quit and restart iSecurity+. Rename your camera Up to 25fps You can use your Share Quality Android or iOS Share your camera with your friends 1~ 5 (5 being the highest quality) smartphone / tablet using your web browser (your contacts to access your camera must have been added to Seedonk...
-
Page 6: Installation
Initialization Orange: Connected to the of the configuration local network To install the ES-CAM2A on a wall, unscrew the base of the camera and remove mode the metal plate. Orange (blinking): Fasten the mounting bracket to the wall with the screws and anchors included in... -
Page 7: Specifications
Reset Warnings Reset ATTENTION button Unplug the AC adaptor and make sure the Wi-Fi RISK OF ELECTRIC switch is on “OFF”. Use a pin to reset your camera; the SHOCK reset button is indicated on the opposite drawing. DO NOT OPEN CAUTION TO REDUCE THE RISK OF ELECTRIC SHOCK,DO NOT REMOVE COVER (OR BACK). -
Page 8: Brancher La Caméra
Brancher la caméra hazardous substances. Connectez l’adaptateur secteur à votre ES-CAM2A, puis branchez-le à une prise In compliance with European laws. électrique. This product was designed and manufactured in compliance with Directive Activer le Wi-Fi sur la caméra... -
Page 9: Configuration De La Caméra
Connecter votre smartphone à la caméra Configuration de la caméra Android Android Dans les paramètres Wi-Fi de votre smartphone, choisissez le réseau “ES-CAM2A XXXX” (les 4 Appuyez sur derniers chiffres “Continuer” et suivez correspondent aux les instructions 4 derniers chiffres de l’Assistant du numéro MAC... - Page 10 Connexion de la caméra à Internet Connexion à iSecurity+ Android Android Choisissez le réseau Créez un compte Wi-Fi auquel sera iSecurity+. Pour ce connectée votre faire, remplissez les caméra. champs requis. Android Android Entrez le mot de passe du point d’accès Wi-Fi Entrez les nom puis appuyez sur...
-
Page 11: Finalisation De L'installation
Création du profil de la caméra Android Quittez et relancez l’application sur votre appareil mobile pour Android Attribuez un nom vous reconnecter. et une description à votre caméra. Vous pouvez utiliser Appuyez sur votre smartphone ou “Continuer” pour votre tablette iOS ou passer à... - Page 12 Configuration de iSecurity+ Accéder à la caméra via un ordinateur Fréquence d’image Pour renommer votre caméra Jusqu’à 25fps Partage Qualité Partage de la caméra avec vos amis par 1~ 5 (5 étant le plus élevé) le navigateur web (vos contacts doivent avoir été...
-
Page 13: Spécifications
Remise à zéro 2.5 mm Bouton de Débranchez l’alimentation et placez réinitialisation l’interrupteur de connexion Wi-Fi sur “OFF”. Munissez-vous d’une épingle pour réinitialiser la caméra. Le bouton de réinitialisation est indiqué sur le schéma ci-contre. Spécifications Capteur d’image : 1/3 ‘’ CMOS Résolution du capteur : 1600x1200 CMOS Résolution vidéo jusqu’à... -
Page 14: Pour Plus D'informations
Avertissements Ce matériel génère, utilise et est susceptible d’émettre de l’énergie à des fréquences radio. À ce titre, s’il n’est pas installé ou utilisé conformément aux instructions, il est susceptible de perturber les communications radio. Cependant, il n’est nullement garanti que de telles perturbations ne se produisent pas dans ATTENTION une installation donnée. - Page 15 ETIGER EUROPE Rue de la Loi, 25, 7100 La Louvière, Belgium service@etiger.com...


Need help?
Do you have a question about the ES-CAM2A and is the answer not in the manual?
Questions and answers