
Related Manuals for ManoMano FG-DI/DA/IY/CG/BC-PU-19-653-WAY


Summary of Contents for ManoMano FG-DI/DA/IY/CG/BC-PU-19-653-WAY
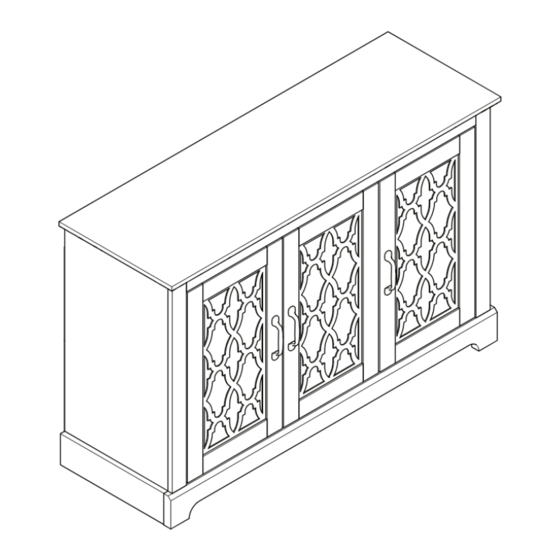
- Page 1 ASSEMBLY INSTRUCTIONS / INSTRUCTIONS D'ASSEMBLAGE / INSTRUCTIVO DE ARMADO The image may differ depending on model FG-DI/DA/IY/CG/BC-PU-19-653-WAY FG-DI/EG/IY/CG/BC-PU-19-654-WAY FG-IY/BC-PU-19-654-KO-WAY Update 15 Feb 2023...
- Page 2 NOTES ON ASSEMBLY / NOTES POUR L’ASSEMBLAGE / NOTAS SOBRE EL ENSAMBLE • To ensure ease of assembly read all instructions before assembly and follow step by step illustrations. • Keep instructions for future use. • Adult assembly required. 2 person required. •...
- Page 3 WARNING AVERTISSEMENT / ADVERTENCIA Please use your furniture correctly and safely. Improper use can cause safety hazards, or damage to your furniture or household items. Serious or fatal crushing injuries can occur from furniture tip-over. To help prevent tip-over: • Place heaviest items in the lowest drawers. •...
- Page 4 MINIFIX CAM & MINIFIX BOLT CAMÉRA MINIFIX & BOULON MINIFIX CÁMARA MINIFIX & PERNO MINIFIX MINIFIX BOLT BOULON MINIFIX PERNO MINIFIX NO GAP PAS D'ÉCART NINGÚN ESPACIO MINIFIX CAM CAMÉRA MINIFIX CÁMARA MINIFIX...
- Page 5 SPECIAL TIPS FOR DOOR ALIGNMENT CONSEJOS ESPECIALES PARA LA ALINEACIÓN DE PUERTAS CONSEILS SPÉCIAUX POUR L'ALIGNEMENT DES PORTES A. Lateral adjustment (Moving door left-right) by screw adjusting Ajuste lateral (Puerta móvil de izquierda a derecha) mediante tornillo de ajuste Réglage latéral (porte mobile gauche-droite) par réglage à vis ●...
- Page 6 The image may differ depending on model...
- Page 7 HARDWARE QUINCAILLERIE / HERRAJE Screw M4 x 45mm Unita M6.3 x 40mm Minifix Bolt EU 24 5 units 2 units 23 units Screw x 3/4” Screw M4 x 19mm Screw #10 x 1/2” 8 units 6 units 24 + 2 units Screw M3.5 x 15mm Nail Pin 3/4”...
- Page 8 FURNITURE TIPPING RESTRAINT SEGURO CONTRA VOLCADO DE MUEBLES DISPOSITIF D É É CURIT É POUR MEUBLES Mounting L Bracket Washer M6 x 16mm (AA) (BB) 2 units 2 units Screw #10 x 16mm Screw M4 x 38mm (CC) (DD) 2 units 2 units TOOLS NOT INCLUDED OUTILS PAS INCLUS / HERRAMIENTAS NO INCLUIDAS...
- Page 9 STEP 1 G x 2 K x 2 STEP 2 G x 2 I x 3...
- Page 10 STEP 3 C x 6 STEP 4 I x 1...
- Page 11 STEP 5 J x 2 STEP 6 L x 2 D x 4...
- Page 12 STEP 7 I x 2 STEP 8 J x 3...
- Page 13 STEP 9 I x 1 STEP 10 J x 1...
- Page 14 STEP 11 C x 6 STEP 12 I x 1...
- Page 15 STEP 13 J x 2 STEP 14 L x 2 D x 4...
- Page 16 STEP 15 I x 3 STEP 16 J x 4...
- Page 17 STEP 17 G x 1 K x 1 STEP 18 I x 1...
- Page 18 STEP 19 B x 2 G x 1 STEP 20 C x 5 G x 2 K x 2...
- Page 19 STEP 21 I x 4 STEP 22 J x 5...
- Page 20 STEP 23 G x 2 STEP 24 I x 4...
- Page 21 STEP 25 C x 6 A x 5 STEP 26 I x 8...
- Page 22 STEP 27 J x 6 STEP 28 G x 4 H x 18...
- Page 23 FURNITURE TIPPING RESTRAINT SEGURO CONTRA VOLCADO DE MUEBLES DISPOSITIF D É É CURIT É POUR MEUBLES STEP 29 Locate a wall stud: Position Mark: - Use the Pencil to mark the positioning - Move the furniture unit to its final hole on a wall stud position to the wall - Locate a wall stud behind the furniture...
- Page 24 AA x 2 BB x 2 CC x 2 DD x 2 Screw the safety bracket to the wall stud: Move the furniture to the wall stud - Move the furniture to the wall stud and - Screw the safety bracket (AA) to the wall stud with Screw...
- Page 25 STEP 30 P x 8 STEP 31 Q x 2...
- Page 26 STEP 32 N x 4 F x 8 STEP 33 F x 8 A.Lateral adjustment B.Vertical adjustment via C.Front-to-Back by slacking by screw adjusting slot in the mounting plate the hinge arm mounting screw...
- Page 27 STEP 34 M x 2 E x 4 The image may differ depending on model STEP 35 O x 2 F x 4...
- Page 28 STEP 36 F x 4 A.Lateral adjustment B.Vertical adjustment via C.Front-to-Back by slacking by screw adjusting slot in the mounting plate the hinge arm mounting screw STEP 37 M x 1 E x 2...
- Page 29 MAXIMUM LOADS CHARGES MAXIMALES / CARGA MAXIMA 6.6 lbs 13 lbs 3 kg 6 kg 51 lbs 23 kg 6.6 lbs 3 kg 13 lbs 6 kg This unit has been designed to support the maximum loads shown. Exceeding these load limits could cause sagging, instability, product collapse, and/or serious injury.
Need help?
Do you have a question about the FG-DI/DA/IY/CG/BC-PU-19-653-WAY and is the answer not in the manual?
Questions and answers