Table of Contents
Advertisement
Quick Links
Advertisement
Table of Contents

Related Manuals for Pyle PDWM3100


Summary of Contents for Pyle PDWM3100
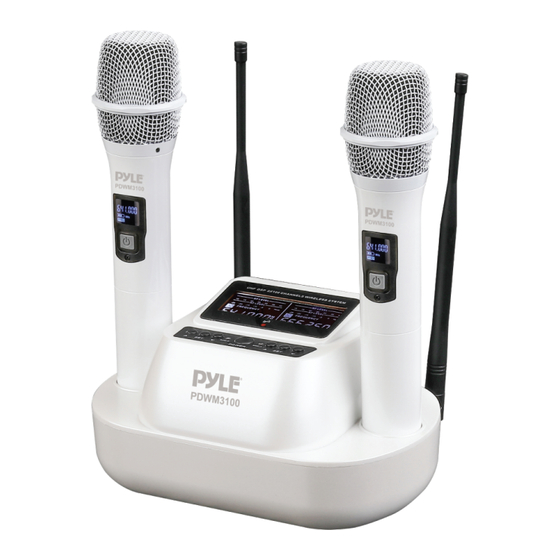
- Page 2 Please read this manual carefully before operating your PDWM3100 UHF Wireless Microphone System and retain it for future reference. FEATURES: • UHF 2×100 Channel Receiver • Digital Signal Processor • High- delity Cartridge Module • Infrared Carrier-frequency Synchronization • Unique ID Address •...
- Page 3 TRANSMITTER SPECS: • Transmitter Power: 3-8mW • Modulation Method: FM • Sampling Ratio: 48KHz • Delay Time of Audio Transmission: <3ms • Battery Voltage: AA1.5V×2 • Frequency Response: 30 ~ 20 KHz RECEIVER SPECS: • Power Supply: AC100~240V/ 50/60Hz, DC12v •...
-
Page 4: Hand Held Transmitter
WAYS TO IMPROVE YOUR UHF WIRELESS MICROPHONE SYSTEM PERFORMANCE • Aim the transmitter to the receiver to achieve a “direct visual contact” between devices, without any interposed obstacle. • Avoid placing the receiver near metal objects/surfaces or close to digital equipment (CD players, computers, etc.). -
Page 5: Replace The Battery
3. REPLACE THE BATTERY Two polar battery life is about 8 hours, but it may vary according to the usage conditions. When the battery power displays as empty and ashing, you should replace the batteries at once. 2. RECEIVER FUNCTION CONTROLS AND FUNCTIONS FRONT PANEL: 1. -
Page 6: Lcd Panel
LCD PANEL: After turning ON the “POWER”, LCD screen will display the following: 8. RADIO FREQUENCY LEVEL: Strength indicator of radio signal. 9. AUDIO FREQUENCY LEVEL: Strength indicator of incoming audio signal. 10. MUTE: Indicates if microphone is powered o . 11. -
Page 7: Operation
OPERATION HOW TO SELECT FREQUENCIES/CHANNELS FOR THE RECEIVER The 2-in-1 Base Module comes with two handheld microphones and each microphone is preset with 5O frequency channels. The frequency can be selected either automatically or manualy. 1. AUTOMATIC FREQUENCY/CHANNEL SELECT Press and hold “DOWN “ until “ “... - Page 8 BODY PACK TRANSMITTER SETTING 3. HOW TO MATCH RECEIVER'S FREQUENCY WITH MICROPHONE STEP 1: Turn ON the microphone, point the microphone infrared port (IR) directly at the receiver's IR PORT. NOTE: Please make sure that the other handheld microphone is powered o when adjusting the frequency on one microphone.
-
Page 9: Troubleshooting
TROUBLESHOOTING PROBLEM STATUS SOLUTIONS Turn on the transmitter power. Con rm that the + / - marks on the battery The transmitter match with the head joint of the transmitter. LCD display o Insert a new battery. Con rm whether a head of the AC power adapter is plugged into the power outlet and whether the other end is inserted into Receiver LCD...
Need help?
Do you have a question about the PDWM3100 and is the answer not in the manual?
Questions and answers