Woods 50007 - Indoor 24-Hour Digital Timer 2-C Manual
- Instruction manual (2 pages) ,
- Instructions (2 pages) ,
- User manual
Advertisement
Charge the Battery
Plug the timer into wall outlet for 10 minutes to charge internal battery.
Note: You can then unplug the timer from the wall outlet and comfortably hold it in your hand to program the timer.
Clear the Memory
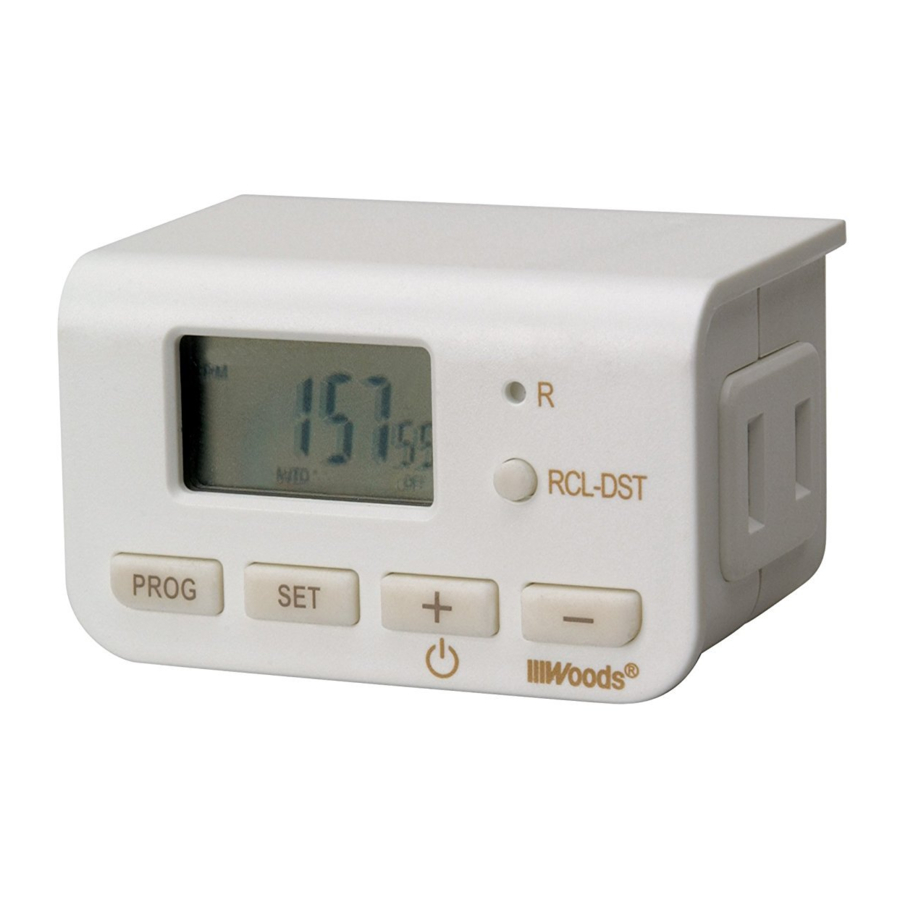
Pressthe R button with a tooth pick to erase any previous settings.
To Set the Current Time
Press and hold the SET button for 2 seconds. The hour will begin to flash, press the + or - button to adjust the hour up or down. To change from AM to PM press the + or - button 12 times. Press the SET button again to advance to the minute setting. The minutes will begin to flash, press the + or - button to adjust the minutes up or down. Press the PROG button to exit setting time of day.
To Program the Timer
- Press the PROG button once to display the first setting "1 ON --:--".
- Press the SET button once to enter the hour setting mode.
- The hour will begin to flash, press the + or - button to adjust the hour up or down.
- Press the SET button again to enter the minutes setting mode.
- The minutes will begin to flash, press the + or - button to adjust the minutes up or down.
- Press the SET button again to enter the program setting mode.
- Press the + button once to display the second setting "1 OFF --:--".
- Repeat the procedure to create the "off" setting.
Repeat steps 1 thru 8 for additional "on/off" settings.
Press the PROG button to exit program setting mode.
Review On/Off Settings
It is important to review all settings, even if you only use one, to make sure there are no extra, unintended settings. Press the PROG button once to display the first setting "1 ON". Press the + button to advance and cycle through the settings. Stop on any setting you want to change or remove.
- To Change a Setting: press the SET button once to enter the timer program setting mode
- To Remove or Restore a Setting: press the PROG button to display the first setting "1 ON" and press the + button until the display shows the setting you want to remove. Press the RCL-DST button once to remove a setting. The display will replace the setting with dashes "--:--". Press the RCL-DST button again to restore a setting (and press SET if you then want change the setting)
Daylight Savings Time Feature
Press RCL-DST button to advance the time of day one hour for daylight savings time. "+1h" will appear in the lower left corner of the display. Press the button again to set the time back one hour.
To Connect the Timer
Plug device into the timer and turn the device on. Plug timer into wall outlet.
To Override the Timer
Press the + button as necessary to display:
"ON" - the plugged in device is switched on permanently.
"OFF" - the plugged in device is switched off permanently.
"AUTO" - the plugged in device follows your programmed timer settings.

Documents / ResourcesDownload manual
Here you can download full pdf version of manual, it may contain additional safety instructions, warranty information, FCC rules, etc.
Download Woods 50007 - Indoor 24-Hour Digital Timer 2-C Manual
Advertisement


Need help?
Do you have a question about the 50007 and is the answer not in the manual?
Questions and answers