Advertisement
Quick Links
Advertisement

Related Manuals for Nibe Contura C 520T


Summary of Contents for Nibe Contura C 520T
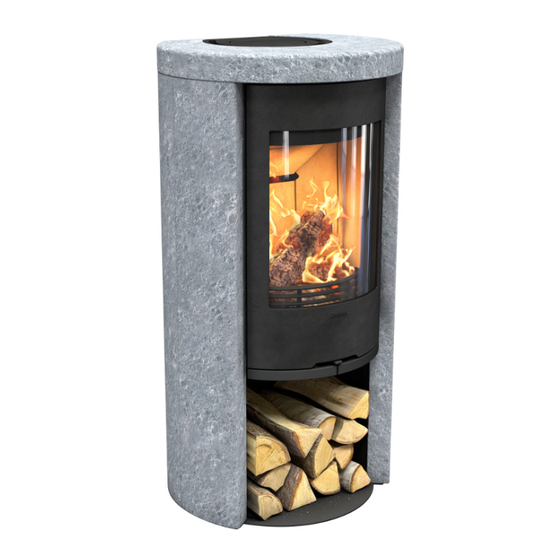
- Page 1 Installation Instructions C 520T www.contura.eu...
- Page 2 Nominal output 5 kW Efficiency 80 % Flue gas temperature in connector at nominal 299°C output The undersigned is responsible for the manufacture and conformity with the declared performance. Niklas Gunnarsson, Business area manager NIBE STOVES Markaryd, March 17, 2015...
-
Page 3: Table Of Contents
CONTENTS A warm welcome to Contura. A warm welcome to the Contura family. We hope you will get a great deal of pleasure from your new stove. As a new owner of a Contura stove you have secured a product with timeless design and long service life. -
Page 4: Technical Details
FACTS Technical details Important to remember! Installation by authorised Structural support Effect 3-7kW Nominal effect 5 kW technician Check that the wood joists are strong Efficiency up to 80% enough to bear the weight of the stove and This manual contains instructions about chimney. -
Page 5: Prior To Installation
PRIOR TO INSTALLATION Prior to installation If the insert needs to be put down to be moved, loose components should be removed. Removal of the hearth cladding is described at the end of these installation instructions. 1 Fire bars 2 Grate disc 3 Hot air grate 4 Fire bricks (Vermiculite) 5 Type plate... -
Page 6: Connection To Chimney
CHIMNEY Connection to chimney • The stove meets the requirements for connecting to chimneys • A flue with sharp bends and horizontal routing reduces the dimensioned for 350°C flue gas temperature. draught in the chimney. Maximum horizontal flue is 1 m, on the condition that the vertical flue length is at least 5 m. -
Page 7: Supply Of Combustion Air
SUPPLY AIR/ACCESSORY Supply of combustion air When a stove is installed in a room, the demand for air supply to the room increases. Air can be provided indirectly via a vent in the outer wall or via a duct from the outside that is connected to the connector on the underneath of the stove. -
Page 8: Installation Distances
INSTALLATION DISTANCES Installation distances C 520T WHEN INSTALLING TURNTABLE (OPTION) the fol- The minimum distance in front of lowing installation distances do not apply. the stove opening to combustible See the separate turntable installation instructions. parts of the building or interior decoration must be at least 1 m. -
Page 9: Assembly
ASSEMBLY Assembly... - Page 10 ASSEMBLY READY! If the stove’s loose components are removed these must be reinstalled in reverse order when the stove is put in place. Final inspection of the installation It is extremely important that the installation is inspected by an authorised chimney sweep before the stove is used.
-
Page 11: Installation Of The Door
REMOVAL Installation of the door The door can be held in the open position using the push button on the underside of the stove. Removing the hearth surround How to remove the hearth surround (Vermiculite) Handle the vermiculite with care. Lift the smoke baffle with one hand whilst removing the sides pieces. - Page 12 NIBE AB · Box 134 · 285 23 Markaryd · Sweden www.contura.eu Contura reserves the right to change dimensions and procedures described in these instructions at any time without 811259 IAV SE-EX C520T Style-2 special notice. The current edition can be downloaded from 2015-07-02 www.contura.eu...
Need help?
Do you have a question about the Contura C 520T and is the answer not in the manual?
Questions and answers