
Related Manuals for Phaetus Rapido Hotend 2


Summary of Contents for Phaetus Rapido Hotend 2
- Page 1 Rapido Hotend Assembly Instruction Please read and keep this manual carefully before using our products properly...
-
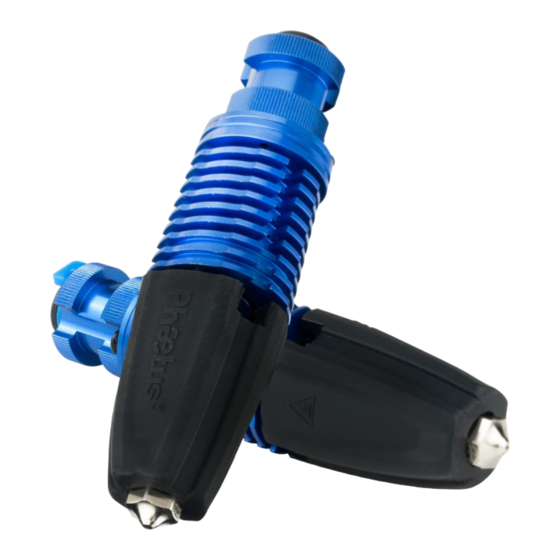
Page 2: Product Appearance
Product Appearance Thank you for buying Phaetus' Rapido Hotend 2. www.phaetus.com... -
Page 3: Product Features
One-handed Suitable for nozzle change all filament types Specifications Product Name: Rapido Hotend 2 Product Size: HF: φ23mm * 71mm / UHF: φ23mm * 79mm HF Default Nozzle:Plated copper 0.4 / 1.75mm,Hardened steel 0.4 / 1.75mm Product Color: Blue / Black... -
Page 4: Product Exploded View
Collect Clip Bowden Collect M2.5x5 Countersunk Screw Adapter Heatsink M3.0*6.0 Flat Plug Core Head Screw Temperature Sensor Spring Cover Assembled Heatblock M1.6x12 Ti Alloy Hardened Screw Copper Plated Adapter Nut(UHF Version Only) Ultra Flow Silicone Sock Nozzle(UHF Version Only) www.phaetus.com... -
Page 5: Parts And Accessories
H2.0 Hex Key*1pcs M2.5*8.0 Cap Head Screw*4pcs M2.5*5 Countersunk Screw*2pcs Heater Extension Cable (1m)*1pcs White Temperature Sensor Extension Cable (1m)*1pcs M1.6*9.3 Titanium Cap Head Screw*1pcs H10.0 Open Spanner*1pc (Only for Rapido Hotend 2 UHF) Leaf Spring*1pc Cabletie*3pc Thermal Grease*1pcs www.phaetus.com... - Page 6 · The universal structure design realizes the fast switching of large flow and super large flow print heads. · Interchangeable design of different types of nozzles to meet the requirements of high temperature and fiber filaments printing. www.phaetus.com...
- Page 7 1: Insert the Bowden collet into the top of the adapter, insert the collet clip between the Bowden collet and the adapter to secure the Bowden collet. 2: Install the adapter on the heatsink using the two M2.5x5 countersunk screws. www.phaetus.com...
- Page 8 Please ensure that you tighten the 3 titanium screws evenly so that you do bend or damage the thin heat- break. Ideally tighten the three screws with 0.1Nm of torque. The gap between the heatblock and the heatsink should now be about 2.5mm. www.phaetus.com...
- Page 9 5: Now tighten the M3x6 grub screw on the heatsink to fix the heatbreak fixation in place. 6: Install the nozzle using a hot-tightening method. www.phaetus.com...
- Page 10 7: The final step is to install the silicone protective cover onto the heating block. www.phaetus.com...
- Page 11 UHF Version Assembly 1: Install the copper alloy adapter nut onto the φ0.6 copper alloy nozzle. 2: Install the nozzle onto the heating block using a hot tight- ening method (the tightening torque for the hot nozzle is about 2.5 Nm). www.phaetus.com...
- Page 12 3: Put on the silicone protective case. www.phaetus.com...
- Page 13 Hot - Tightening 1: Hot tightening is the last mechanical step before the Rapido Hotend 2 is ready. Hot tightening is essential to seal the nozzle against the heatbreak, this will ensure that the molten filaments does not leak out of the hotend during use.
- Page 14 Copyright Phaetus © 2023 Phaetus. All rights reserved. phaetus.com Phaetus, the Phaetus logo, are trademarks of Phaetus, registered in China and other countriesand regions. Other company and product names mentioned herein may be trademarks of their respective companies. Every effort has been made to ensure that the information in this manual is accurate.
Need help?
Do you have a question about the Rapido Hotend 2 and is the answer not in the manual?
Questions and answers