Advertisement
Table of Contents
SmartVision 60 Installation
SmartVision 60 Installation
Package Contents
Package Contents
NOTE
NOTE
We recommend that you use the accessories provided or approved by Yealink.
The use of unapproved third-party accessories may result in poor performance
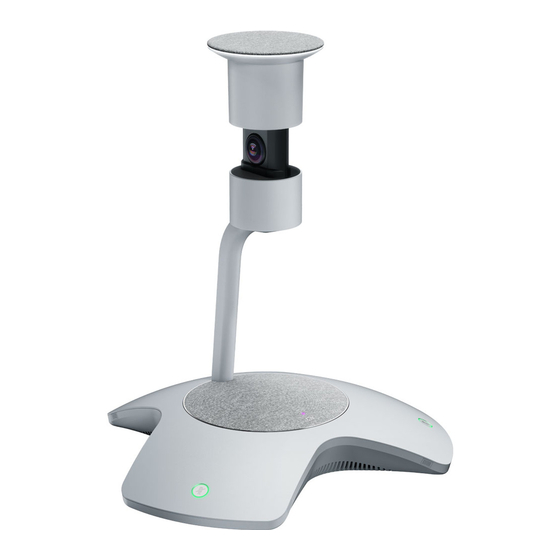
Hardware Introduction
Hardware Introduction
NO.
NO.
Name
Name
Description
Description
1
SmartVision 60 Installation
Advertisement
Table of Contents

Related Manuals for Yealink SmartVision 60


Summary of Contents for Yealink SmartVision 60
- Page 1 SmartVision 60 Installation SmartVision 60 Installation Package Contents Package Contents NOTE NOTE We recommend that you use the accessories provided or approved by Yealink. The use of unapproved third-party accessories may result in poor performance Hardware Introduction Hardware Introduction Name Name...
- Page 2 USB-C Port Connect to the MCore Pro. Reset Button Reset to factory defaults. Connect a universal security cable to the SmartVision 60 so that Security Slot you can lock it down. Circular LED Indicator Indicate the device status and Cortana status.
- Page 3 Half of the LED flashes, with the first segment in blue and the second segment in Cortana Thinking status. white Cortana Response Blue and white breathing light flash alternately status. Installation Installation Assemble your SmartVision 60 Assemble your SmartVision 60 Paste on a table Paste on a table...
- Page 4 SmartVision 60 Installation Place SmartVision 60 in a Meeting Room Place SmartVision 60 in a Meeting Room...
- Page 5 NOTE NOTE It is recommended that you can deploy the SmartVision 60 at about 1/3 of the front of the conference table. The distance between the SmartVision 60 and the seats should be around 3.5~4 meters for optimal audio and video effects.
Need help?
Do you have a question about the SmartVision 60 and is the answer not in the manual?
Questions and answers