
Related Manuals for ALAULM ULC-4327FTB-21


Summary of Contents for ALAULM ULC-4327FTB-21
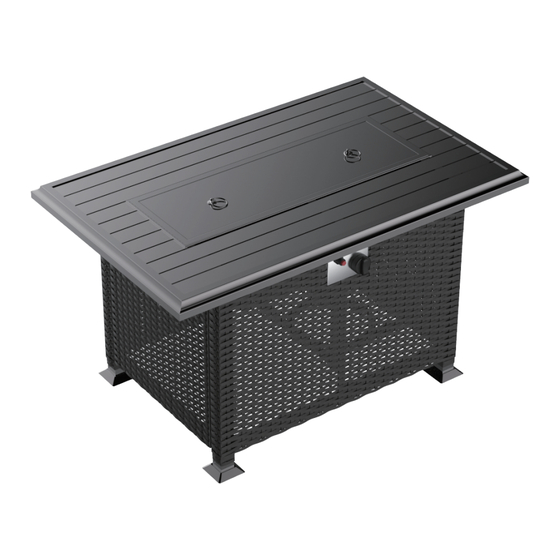
- Page 1 Gas Fire Pit Table Assembly & Care instructions Model:ULC-4327FTB-21 Please read & retain for future reference...
- Page 2 Keep the instructions for future reference Do not use this appliance if any part has been underwater. Immediately call a qualified service technician to inspect the appliance and to replace any part of the control system and any gas control that has been under water;”...
-
Page 3: Warning Safety Rules
WARNING SAFETY RULES PLEASE READ THE FOLLOWING SAFETY RULES PRIOR TO OPERATION OF THE HEATER DANGER FIRE OR EXPLOSION HAZARD WARNING: For Outdoor Use Only. Installation and service must be performed by a qualified installer,service agency,or the gas supplier. 1) For use outdoors or in amply ventilated areas. 2) An amply ventilated area must have a minimum of 25 % of the surface area open. - Page 4 WARNING Read the instructions before installation and use. This appliance must be installed and the gas cylinder stored in accordance with the regulations in force; Do not obstruct the ventilation holes of the cylinder housing; Do not move the appliance when in operation; Shut off the valve at the gas cylinder or the regulator before moving the appliance;...
-
Page 5: Table Of Contents
TABLE OF CONTENTS Warning Safety Rules ............4 Caution ................6 Heater Stand and Location ..........7 Gas Requirements ............7 Leakage Test ..............7 Operation And Storage ............9 Cleaning and Care ............11 Parts and Specifications ..........12 Parts List..............15 Problems Check List............22... -
Page 6: Caution
CAUTION purchase. Frequent cleaning may be required as necessary. showed as photo right; The use of this appliance in enclosed areas can be dangerous and is PROHIBITED;... - Page 7 Warning: Fig.1 the manufacturer. prior to use. The propane cylinder should NOT be dropped or handled roughly. death. may result in leakage of propane. DO NOT store a space propane cylinder under or near this appliance. Disconnect the cylinder when the appliance is not being used.
-
Page 8: Heater Stand And Location
HEATER STAND AND LOCATION CEILING The heater is primarily for outdoor use only. Always ensure that The heater must be checked with a full cylinder. Turn the gas supply ON. and re-check. -
Page 9: Operation And Storage
OPERATION AND STORAGE TO TURN ON THE FIRE PIT TO TURN OFF THE FIRE PIT HIGH HIGH HIGH Storage... - Page 10 A. Construction and characteristics B. Specifications The hose and regulator assembly must conform to local standard codes. Regulator outlet pressure should meet the corresponding appliance b)A statement that solid fuels shall not be burned in this appliance;...
-
Page 11: Cleaning And Care
CLEANING AND CARE Wipe off powder coated surfaces with soft, moist rag. Do not clean the heater with cleaners that are combustible or corrosive. Remove debris from the burner to keep it clean and safe for use. Cover the burner unit with the optional protective cover when the heater is not in use. - Page 12 ASSEMBLY PARTS...
-
Page 13: Parts List
PARTS LIST Part Description Description Table Top Right Side Panel Left Side Panel Rear Panel Gas Cylinder Base Front Panel Stiffener Panel 4PCS Metal Foot Caster Burner Burner Lid Pull Ring 2PCS... - Page 14 PARTS LIST Part Description Description Bolt M4*6 2PCS Bolt M6*15 16PCS Bolt M6*30 4PCS Bolt M6*35 6PCS Allen wrench Knob Adjustable foot 4PCS Glass Stones 6KGS Cover...
- Page 15 Extra Part Description Description Bolt M4*6 Bolt M6*15 2PCS Bolt M6*30 Bolt M6*35 WARNING : Failure to locate parts in accordance with these diagrams, or failure to use special parts provided with this equipment, may result in property damage or personal injury.
- Page 16 Step 1 :Attach gas cylinder base(E) to front panel(F) using bolts(P) . Install the knob(R). NOTE :Please fully tighten all bolts at this time. M6x35 Step 2 :Screw caster(I) to gas cylinder base(E) NOTE :Please fully tighten all bolts at this time.
- Page 17 Step 3: Attach right side panel(B) and left side panel(C) to table top(A) using bolts(N) . NOTE: Please fully tighten all bolts at this time.Carefully and gently to prevent damage to the burner equipment M6x15 Step 4: Attach rear panel(D) to right side panel(B) and left side panel (C) using bolts(P).
- Page 18 Step 5: Attach stiffener panel(G) to side panel(B) and left side panel(C) using bolts(O). NOTE: Please fully tighten all bolts at this time. M6x30 Step 6: Bolt(N) the metal foot(H) to the left and right side panels. NOTE: Please fully tighten all bolts at this time. M6x15...
- Page 19 Step 7: Mount adjustable foot(S) on the metal foot(H) NOTE: Please fully tighten all bolts at this time. Step 8: Attach burner(J) to table top(A) using bolts(N). NOTE: Please align the holes well and determine the direction of the fire switch(J) controller, do not reverse the top and bottom.Please fully tighten all bolts at this time.
- Page 20 Step 9: Align front panel and gas cylinder base (E&F) with the right side plate (B) and insert the assembly. NOTE: Please wear gloves to prevent the broken glass stone(T) from scratching your hands. Pour the glass stone (T) into the burner and place it evenly.
- Page 21 NOTE: We recommend the use of furniture covers to protect the patio fire pit when not in use; Please remove the wind guard before you use waterproof table cover. CLEANING AND MAINTENANCE Clean frame with mild soapy water,rinse thoroughly. Dry frame parts completely.Do not use bleach,acid, or other solvents on the fabric and metal parts.
-
Page 22: Problems Check List
Pilot light assembly bent Place pilot properly Not in correct location Position properly and retry If the appliance is in case of any defaults or problems of assembly or use, please don't try to modify it by yourself. Contact with: E-mail:Service@alaulm.com... - Page 23 HANGZHOU HANGGE INTERNATIONAL TRADE CO., LTD. Room 1309 building 1 No. 650 Bin'an Road, Changhe street, Binjiang District, Hangzhou, Zhejiang, CN,310000 Questions, problems, missing parts? Do not hesitate to contact our customer service before returing the item. Customer Service Email: service@alaulm.com...
Need help?
Do you have a question about the ULC-4327FTB-21 and is the answer not in the manual?
Questions and answers
The copper cable labeled 227918C Dash **** – zero one broken from the Brass fitting for the igniter how do I replace that?