
Related Manuals for HKC 42997


Summary of Contents for HKC 42997
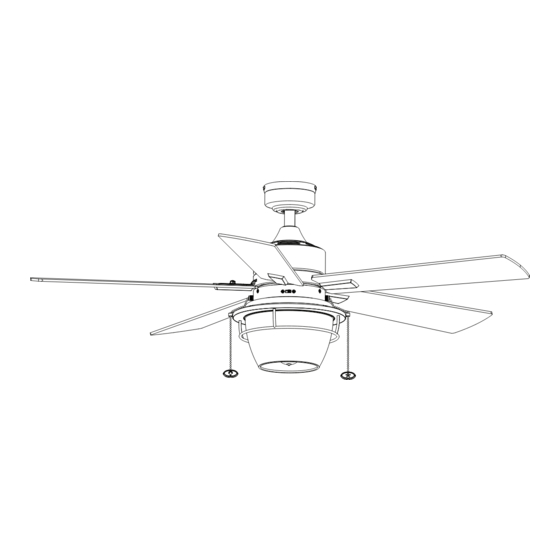
- Page 1 52” CEILING FAN Owner’s Manual Model # 42997 RATED FOR DAMP LOCATIONS To obtain service, please contact the Service Department: , 8 a.m. - 5 p.m. Central, Monday - Friday. 1-877-706-3267 9935 • 010224...
-
Page 2: Package Contents
PACKAGE CONTENTS Unpack your fan and check the contents. You should have the following items: PACKAGE CONTENTS 1. Canopy 12. Fitter Plate 2. Canopy Cover 13. Fitter Plate Screw (x3) 3. Mounting Bracket Screw 14. Light Pan (x4) 15. Light Pan Screw (x3) 4. -
Page 3: Mounting Options
DIMENSION REFERENCE A. 18.4 in. B. 10.9 in. C. 7.17 in. D. 5.13 in. MOUNTING OPTIONS Two Mounting Options Downrod Mount Angled Ceiling Mount (Up to 16 degrees) Choose one of the following mounting options: Downrod Mount is best suited for ceilings 8 ft. or higher. For taller ceilings you may want to use a longer downrod (not included). -
Page 4: Safety Instructions
--Consult the dealer or an experienced radio/TV technician for help. Please note changes or modifications not expressly approved by the party responsible for compliance could void the user’s authority to operate the equipment. HKC-US 3350 Player’s Club Parkway, #225 Memphis, TN 38125... -
Page 5: Care And Maintenance
SAFETY INSTRUCTIONS WARNING: To avoid risk of electric shock, be sure to shut off power at the main fuse or circuit breaker box before installing or servicing this fixture. Turning off the electrical power by using the light switch is not sufficient to prevent electrical shock. - Page 6 ASSEMBLY INSTRUCTIONS 1. Turn OFF the electrical power at the main fuse or circuit breaker. DANGER: Failure to disconnect the power supply prior to installation may result in serious injury or death. Mounting Bracket Screw 2. Loosen all four mounting bracket screws located on the mounting bracket and completely remove the two screws from the round holes in the canopy.
- Page 7 ASSEMBLY INSTRUCTIONS 5. Slide the downrod into the yoke of the motor Yoke Cover assembly, align the holes, then re-install the downrod Set Screw pin and downrod clip. Secure with the two set screws Downrod and slide the yoke cover down until it rests on top of the motor assembly.
- Page 8 ASSEMBLY INSTRUCTIONS Braided Cable SECONDARY HANGING SYSTEM For installation in the United States: Building codes in the U.S.A. do not require installation of a Secondary Brace Hanging System. If desired, the braided cable can be cut and removed using wire cutters (sold separately). Skip to Step 10.
- Page 9 ASSEMBLY INSTRUCTIONS 10. Use the push-in connectors to connect the lead wire WARNING: Do NOT wire the fan motor to a variable-speed (dimmer) to the supply wires from outlet box according to the wall control. wiring diagram and the following instructions: Black (hot) •...
- Page 10 ASSEMBLY INSTRUCTIONS Fitter Plate 14. Remove one of the three fitter plate screws preassembled to the fitter plate and loosen the other two but do not remove. Feed the 9-pin connector through the center hole in the light pan. Align the keyhole slots in the light pan with the loosened screws in the fitter plate.
- Page 11 OPERATING INSTRUCTIONS 1. Using a ceiling fan will allow you to raise your thermostat setting in summer and lower your Reverse Switch thermostat setting in winter without feeling a difference in your comfort. In warmer weather, push the reverse switch to the left for downward airflow creating a wind chill effect.
-
Page 12: Troubleshooting
TROUBLESHOOTING If you have difficulty operating your new ceiling fan, it may be the result of incorrect assembly, installation or wiring. In some cases, these installation errors may be mistaken for defects. If you experience any faults, please check the Troubleshooting section below. If a problem cannot be remedied or you are experiencing difficulty in installation, please contact the Service Department: 1-877-706-3267, 8 a.m. -
Page 13: Limited Lifetime Warranty
1-877-706-3267 Model Name: 52” Ceiling Fan Model No: 42997 Set forth below, the manufacturer warrants the fan motor for this ceiling fan to be free from defects in workmanship and material for the life of the product. Also, subject to the limitations below, the manufacturer warrants all ceiling fan parts (“ceiling fan parts”...
Need help?
Do you have a question about the 42997 and is the answer not in the manual?
Questions and answers