Advertisement
TOOLS REQUIRED FOR ASSEMBLY
Electric Hand Drill, Phillips Head Bit, 3/8" Magnetic Hex
Driver Bit, Socket Set and Ratchet.
BEFORE ASSEMBLING THE WORKBENCH
Read through the assembly instructions to familiarize your-
self with the order in which the parts are assembled.
We suggest that you clear & vacuum the area where the
bench is to be assembled.
It is important that the bench is assembled in the same
sequence as instructed.
HARDWARE
All assembly hardware is provided.
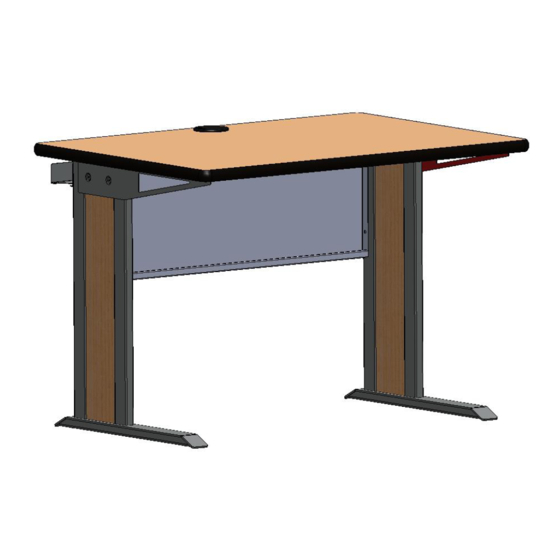
Attach the legs to the modesty panel using (4) 1/4-20 x
1/2" Flange head bolts. The bolts will thread into pre-
installed threaded inserts in the sides of the legs
3985 S. Fletcher Road ∙ Chelsea, MI 48118
(800) 396-4642 ∙ Fax (734) 428-7672
PCR-WT Workstation
1/4-20 x 1/2"
Flange Head Bolt
www.greenemfg.com
Advertisement
Table of Contents

Related Manuals for GMI PCR-WT


Summary of Contents for GMI PCR-WT
- Page 1 3985 S. Fletcher Road ∙ Chelsea, MI 48118 (800) 396-4642 ∙ Fax (734) 428-7672 www.greenemfg.com PCR-WT Workstation TOOLS REQUIRED FOR ASSEMBLY Electric Hand Drill, Phillips Head Bit, 3/8” Magnetic Hex Driver Bit, Socket Set and Ratchet. BEFORE ASSEMBLING THE WORKBENCH Read through the assembly instructions to familiarize your- self with the order in which the parts are assembled.
- Page 2 3985 S. Fletcher Road ∙ Chelsea, MI 48118 (800) 396-4642 ∙ Fax (734) 428-7672 www.greenemfg.com Once legs and modesty panel are attached hang the wire tray over the top of the modesty panel. Holes in the top of the modesty panel will line up with holes in the wire tray. Attach the top to the base.
Need help?
Do you have a question about the PCR-WT and is the answer not in the manual?
Questions and answers