Westinghouse LVM-37w1 User Manual
37” hd video monitor
Hide thumbs
Also See for LVM-37w1:
- Quick connect manual (2 pages) ,
- Brochure (4 pages) ,
- User manual (23 pages)
Table of Contents
Advertisement
Advertisement
Table of Contents

Related Manuals for Westinghouse LVM-37w1


Summary of Contents for Westinghouse LVM-37w1
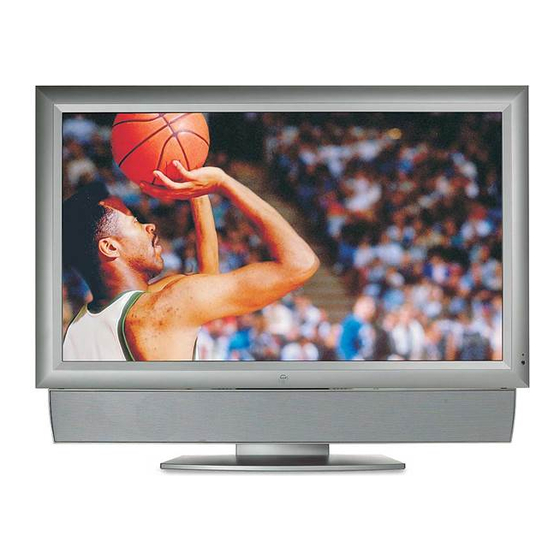
- Page 1 37” HD VIDEO MONITOR Model LVM-37w1...
-
Page 2: Table Of Contents
Safety Guidelines…………………………………………….……..… 2 Cleaning the HD Video Monitor………………..……………….…… 3 INSTALLATION Package Contents……………………………….……………………. 4 Front View of the HD Video Monitor……………..………………….. 5 Rear View of the HD Video Monitor……………….………..………. 5 Side View of the HD Video Monitor…..……………………...……… 6 Remote Control…………………..…………………………..……….. 8 Installation………….…………………………………………………. -
Page 3: Product Safety Instructions
• Do not attempt repairs yourself. Your warranty does not cover repairs or attempted repairs by anyone not authorized by Westinghouse Digital. • If the HD Monitor will not be used for a long period of time, unplug the HD Monitor and remove the batteries from the remote control. -
Page 4: Safety Guidelines
IMPORTANT NOTICE CONCERNING POWER CORD SELECTION The specific power cord for this HD Monitor is enclosed and has been selected according to the country of destination and must be used to prevent electric shock. Use the following guidelines if it is necessary to replace the original cord set, or if the cord set is not enclosed. -
Page 5: Cleaning The Hd Video Monitor
Westinghouse Digital does not recommend the use of any ammonia or alcohol-based cleaners on the HD Monitor screen or case. Some chemical cleaners have been reported to damage the screen and/or HD Monitor case. Westinghouse Digital will not be liable for damage resulting from the use of any ammonia or alcohol-based cleaners. -
Page 6: Installation Package Contents
INSTALLATION Package Contents Your product package includes: • 37” Westinghouse HD Video Monitor • Remote Control (with batteries) • Power Cord • Quick Connect Guide • User’s Manual • Component Video Cable (Green, Blue, Red) • Audio Cable (Red, White) -
Page 7: Front View Of The Hd Video Monitor
Front View of the HD Video Monitor Use the buttons on the right side of the HD Monitor or on the remote control to display the On Screen Display (OSD). The OSD controls are defined in “OSD Functions” on page 12. -
Page 8: Side View Of The Hd Video Monitor
Side View of the HD Video Monitor 1. Menu 2. Volume + / - 3. OSD Selection 4. Input 5. Power Button Turn OSD Menu ON/OFF Increase/Decrease sound adjust a highlighted control while in the OSD Menu. Highlight a control while in the OSD Menu. - Page 9 Side View of the HD Video Monitor 1. DVI2 (Supports up to 1080i) Using a 20-pin DVI cable, connect to a computer or other device with a DVI output. 2. DVI2 Audio Input (Right / Left) Connect an external audio source to this jack.
-
Page 10: Remote Control
Remote Control The Remote Control will transmit to the HD Monitor up to 10 feet away. 1. POWER: Switch the power On/Off 2. INPUT Select input source 3. OSD SUB-MENU SELECTION Select OSD sub-menu option directly 4. PREVIOUS OSD MENU Select previous OSD menu 5. -
Page 11: Installation
Installation 1. Insert Remote Control Batteries 1) Remove the battery cover. 2) Insert the batteries corresponding to the (+) and (−) marks on the battery compartment. 3) Re-attach the battery cover. CAUTION: • Only use AAA batteries. • Do not mix new and old batteries. This may result in cracking or leakage, which may pose a fire risk or lead to personal injury. - Page 12 2. Connect audio and video cables to a PC Connect one or all of the following into the back of the HD Monitor IMPORTANT: Before beginning, VGA CONNECTION: Connect an analog VGA cable from your PC VGA OUT port to the HD Monitor VGA IN port.
- Page 13 Connect the power cord to the HD Monitor then to a properly grounded AC outlet. 5. Turn Power On Press the Power ON button on the right side of the HD Monitor, or press the Power ON (Red) button on the remote control.
-
Page 14: Osd Function
OSD sub-menu. Main Menu To select a sub-menu, press ▲/▼ on the right side of the HD Monitor or the ▲/▼ key on the remote control. Also, by using the number keys on the remote control, you can select a... -
Page 15: Color Temp / Sharpness / Aspect Ratio
PICTURE PARAMETERS: Function Name Brightness Brightness adjustment Contrast Contrast adjustment Saturation Saturation adjustment Hue adjustment Color Temp Color temperature adjustment (Color 1, Color 2, Color 3) Sharpness adjustment Sharpness (Sharpness cannot be adjusted in PC mode) Aspect Ratio Set display to “STANDARD” / “FILL” / “ZOOM” Backlight Backlight adjustment Reset... -
Page 16: Pc Parameters: Auto Adjust / Clock / Phase / Position
PC PARAMETERS: Function Name Auto Adjust Automatically adjust the horizontal phase of the image Clock Clock adjustment Phase Phase adjustment Position Adjust the horizontal and vertical position of the image NOTE: The GRAPHIC menu is only available when VGA source is selected. Function... -
Page 17: Reset
AUDIO SETTINGS: Function Name Volume Volume adjustment Bass Bass adjustment Treble Treble adjustment Balance Balance adjustment Mute Select Audio OFF or ON Speaker Select internal or external speaker Reset Reset audio settings Function... -
Page 18: Swap / Pip Position / Pip Size / Audio From
PICTURE-IN-PICTURE: Function Name Display Mode OFF --> PIP --> PBP --> POP Main Source Select main screen sources VGA --> DVI1--> DVI2 --> AV --> S-Video--> YPbPr1 --> YPbPr2 PIP Source Select sub screen sources Please see PIP/PBP/POP specification in Table 1 Swap Swap main screen and sub-screen source PIP Position... -
Page 19: Sleep Timer / Transparency / Dpms
GENERAL SETTINGS: Function Name Menu Position OSD horizontal/vertical position adjustment Menu Timeout Set the time to turn off the OSD automatically Language OSD language selection Sleep Timer Set sleep timer to turn off the power automatically Transparency Set OSD transparency level DPMS Select DPMS On/Off System Info... -
Page 20: Specifications
Preset Timing Mode (Pre-adjusted to reduce blanking: 1920x1080 at 60Hz) Warning: Do not set the graphics card in your computer to exceed these refresh rates; doing so may result in permanent damage to the HD Monitor. Note: Product Specifications are subject to change without notice. -
Page 21: Troubleshooting
Remote Control Code Not Found in a “Universal” Remote • Purchase a separate “learning” remote control. How Can I Find More Help? • Log on to: www.westinghousedigital.com • Contact Westinghouse Customer Service at (866) 287-5555 or write us at service@westinghousedigital.com... - Page 22 SE-UM-3701-0501...
Need help?
Do you have a question about the LVM-37w1 and is the answer not in the manual?
Questions and answers